
Japanese Chicken Gyoza Recipe
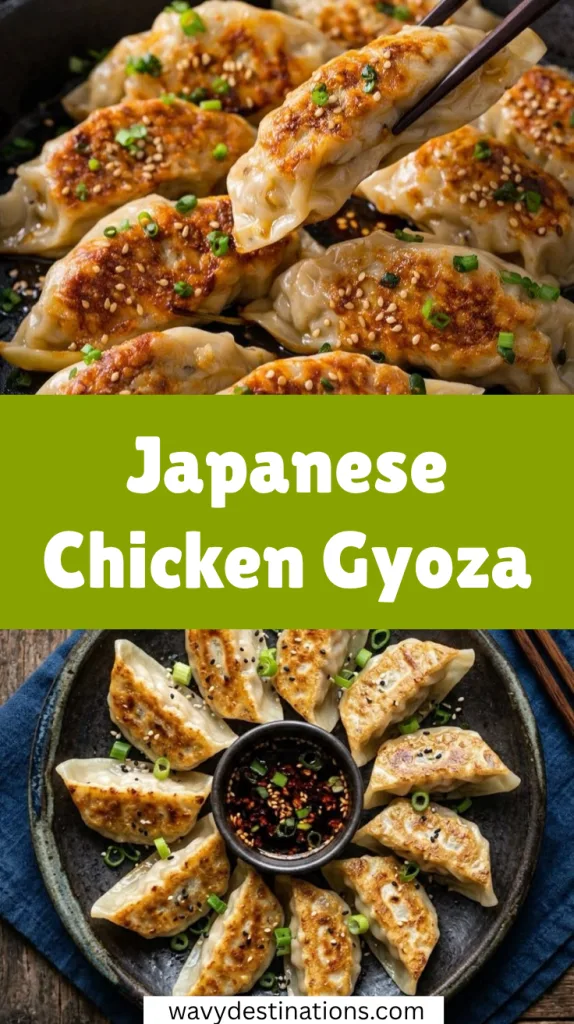
I just finished making a batch of these Japanese Chicken Gyoza, and I’m so excited about how they turned out. The process of pleating the delicate wrappers around the savory filling is so satisfying, and the aroma that fills the kitchen as they pan-fry is just mouthwatering.
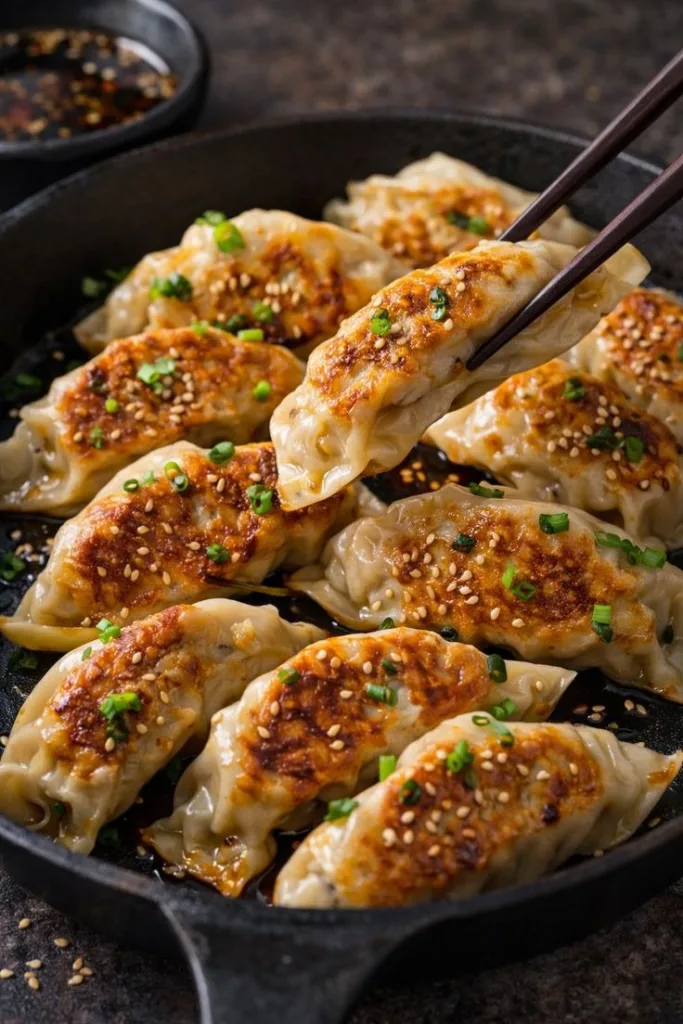
That moment when you lift the lid to see them perfectly steamed with those crispy golden-brown bottoms is pure magic. I’ve already eaten a few straight from the pan, dipped in that simple, zesty sauce. These little dumplings are the perfect bite, and I know they’re going to be a huge hit.
Ingredients
Here are the key components you’ll need to create authentic and delicious chicken gyoza from scratch.
For the Chicken Gyoza:
- 300g ground chicken: For the juiciest filling, use ground chicken thigh meat if you can find it.
- 100g Napa cabbage: This mild, sweet cabbage adds moisture and a subtle crunch. Finely chopping it is key.
- 1 package Gyoza wrappers: Look for round, thin wrappers in the refrigerated section of most supermarkets or Asian grocery stores. They make the process much quicker.
- 10g scallion (spring onions): Finely sliced, these add a fresh, delicate onion flavor that complements the chicken.
- 1 clove garlic, grated: Using fresh, grated garlic provides a much better flavor than garlic powder.
- 1 tbsp soy sauce: Provides the essential salty, umami backbone for the filling.
- 1 tbsp sake: This Japanese rice wine adds a layer of complexity and helps tenderize the meat.
- 1/2 tbsp mirin: A sweet rice wine that balances the savory flavors with a touch of sweetness.
- 1 tbsp salt: Used initially to draw moisture from the cabbage, ensuring your filling isn’t watery.
For the Gyoza Dipping Sauce:
- 10ml soy sauce: The savory base of your dipping sauce.
- 10ml rice vinegar: Adds a bright, tangy acidity that cuts through the richness of the dumplings.
Note: This recipe makes approximately 30 gyoza, which is enough for about 4-5 servings as an appetizer.
Variations
This gyoza recipe is a classic, but it’s also incredibly versatile. Feel free to experiment with these variations.
- Pork Gyoza: Swap the ground chicken for ground pork for a richer, more traditional filling.
- Vegetarian/Vegan: Omit the chicken and increase the amount of vegetables. Sautéed shiitake mushrooms, carrots, and firm tofu make a wonderful filling.
- Spicy Filling: Add a pinch of red pepper flakes or a teaspoon of chili garlic sauce to the chicken mixture for a little bit of heat.
- Gluten-Free: Use gluten-free tamari in place of soy sauce and find gluten-free dumpling wrappers, or make your own with a gluten-free flour blend.
Cooking Time
- Prep Time: 30 minutes
- Cook Time: 15 minutes
- Total Time: 45 minutes
Equipment You Need
- Large Frying Pan with a Lid: You’ll need this for the pan-frying and steaming cooking method that gives gyoza their signature texture.
- Mixing Bowl: A large bowl is essential for combining all your filling ingredients evenly.
- Small Bowl: For holding the water you’ll use to seal the gyoza wrappers.
- Cutting Board and Knife: For finely chopping the cabbage and scallions.
How to Make Japanese Chicken Gyoza?
Creating homemade gyoza might seem complex, but it’s a simple and rewarding process. The steps involve preparing a flavorful filling, carefully wrapping the dumplings, and then pan-frying them to perfection. This method ensures you get that irresistible combination of a crispy, golden bottom and a tender, juicy top. The fun is in the folding, so don’t worry if they aren’t perfect at first!
Step 1: Prepare the Filling Ingredients
Begin by finely slicing the Napa cabbage and placing it in a bowl. Sprinkle it with the salt and mix well. Let it sit for about 5 minutes; the salt will draw out excess water from the cabbage, which prevents the filling from becoming soggy. After 5 minutes, use your hands to firmly squeeze out as much liquid as possible from the cabbage. Discard the water. In a large mixing bowl, combine the squeezed cabbage, ground chicken, scallions, grated garlic, soy sauce, sake, and mirin. Mix everything together with your hands until just combined.
Step 2: Wrap the Gyoza
Set up your wrapping station. Place a small bowl of water nearby. Hold a gyoza wrapper flat in the palm of your non-dominant hand. Dip a finger in the water and moisten the outer edge of half the wrapper. Place about a tablespoon of the chicken filling in the center of the wrapper. Be careful not to overfill it, as this will make sealing difficult. Fold the wrapper in half over the filling to create a half-moon shape.
Step 3: Pleat and Seal the Dumplings
Now, create the pleats. Using your thumb and index finger, make small, overlapping folds along the top edge of the wrapper, pressing it against the flat back edge as you go. Aim for about 4 to 5 pleats per gyoza. Press firmly along the pleated seam to ensure it’s sealed tightly. As you finish each one, place it on a lightly floured surface or parchment-lined tray to prevent sticking. Give the finished gyoza a gentle curve.
Step 4: Cook the Gyoza
Heat a neutral oil in your large, lidded frying pan over medium heat. Carefully arrange the gyoza in the pan with the flat side down, making sure they don’t touch. Fry for about 2-3 minutes, until the bottoms are golden brown and crispy. Without removing the gyoza, pour about 1/4 cup (50ml) of water into the pan and immediately cover it with the lid. Let the gyoza steam for about 3 minutes, or until the water has mostly evaporated. Remove the lid and continue to cook for another minute until any remaining water is gone. Serve immediately.
Additional Tips for Making this Recipe Better
After making these gyoza a few times, I’ve learned a couple of things that make the process smoother and the results even tastier.
- I can’t stress enough how important it is to squeeze the water out of the cabbage. The first time I made these, I skipped this step, and my filling was too wet, which made the wrappers tear. Don’t skip it!
- When wrapping, I find it easiest to set up an assembly line. I lay out a few wrappers, add filling to all of them, and then fold and pleat them in a batch. It gets you into a rhythm.
- Don’t overcrowd the pan when frying. I cook my gyoza in two batches to make sure they all get a crispy bottom and have room to steam properly.
- For the dipping sauce, I like to add a tiny drop of sesame oil and a few sesame seeds. It adds a nice nutty flavor that complements the chicken perfectly.
How to Serve Japanese Chicken Gyoza?
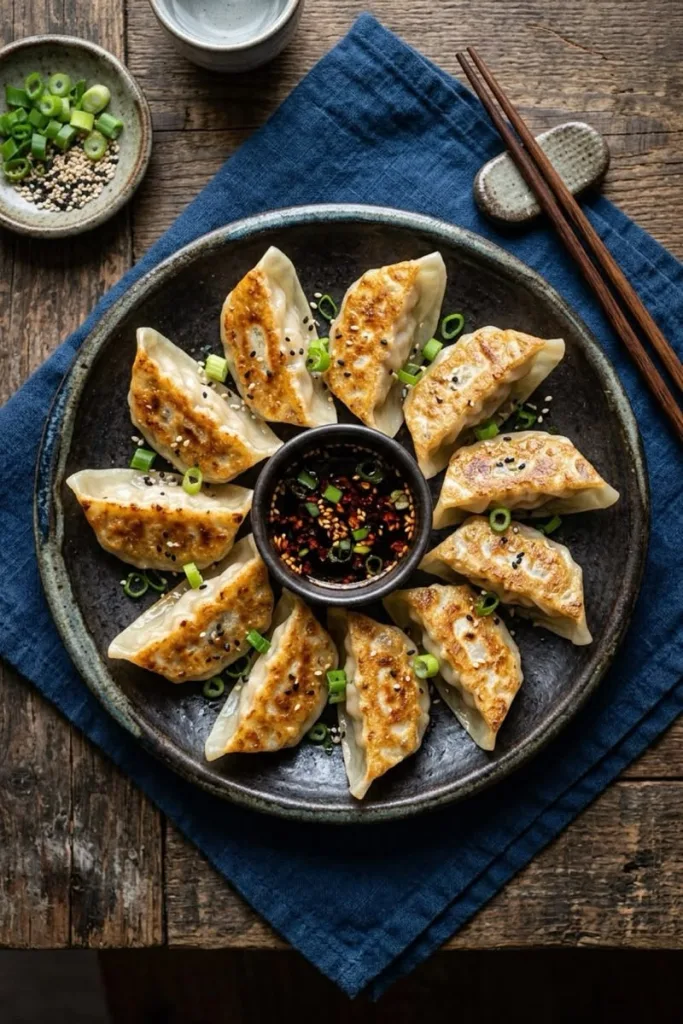
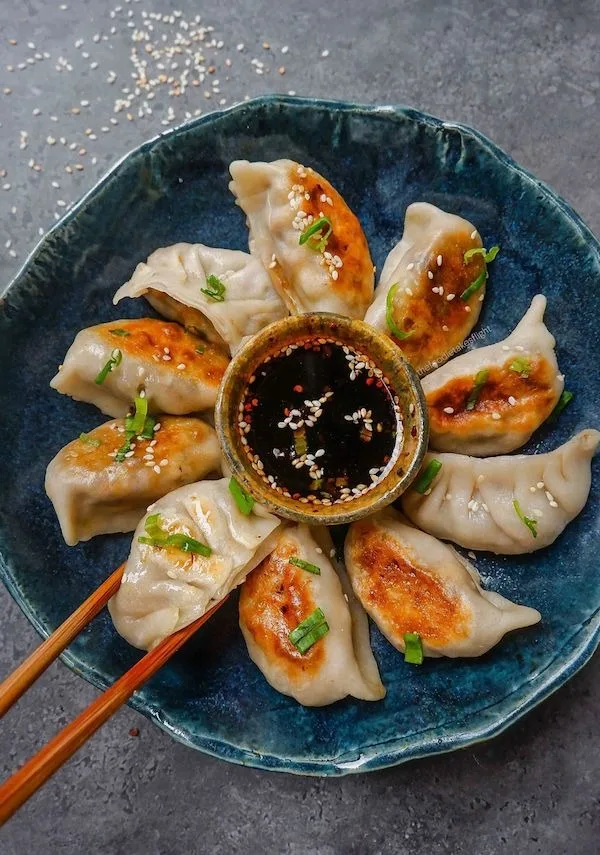
Serve the gyoza hot and fresh from the pan, with the crispy bottoms facing up to show them off. Arrange them on a platter for sharing. The classic way to serve them is with a small dipping bowl for each person containing the simple soy and rice vinegar sauce. For a bit of garnish, you can sprinkle some finely sliced scallions or toasted sesame seeds over the top. They are fantastic as an appetizer for a Japanese meal or can be served as a main course with a side of steamed rice and a simple cucumber salad.
Nutritional Information
This is an approximate nutritional value per serving, which can vary based on specific ingredients used.
- Calories: 1 kcal
- Protein: 1g
- Carbohydrates: 1g
- Fat: 1g
Make Ahead and Storage
Gyoza are great for making in a big batch to enjoy later. Proper storage is key to keeping them fresh.
To make ahead, you can prepare the filling up to a day in advance and store it in an airtight container in the refrigerator. You can also fully assemble the gyoza and freeze them for later. To freeze uncooked gyoza, place them in a single layer on a parchment-lined baking sheet and freeze until solid. Then, transfer them to a freezer bag. They can be cooked directly from frozen; just add an extra couple of minutes to the steaming time.
Store any leftover cooked gyoza in an airtight container in the refrigerator for up to 2 days. To reheat, you can pan-fry them again with a little oil to crisp up the bottoms or simply microwave them for a minute until heated through. For best results, cover them with a damp paper towel in the microwave to keep them from drying out.
Why You’ll Love This Recipe?
Here are a few reasons why this chicken gyoza recipe is sure to become a favorite.
- Perfect Texture Combination: The contrast between the crispy, pan-fried bottom and the soft, steamed wrapper is incredibly satisfying and what makes gyoza so unique and delicious.
- Fun to Make: The process of filling and pleating the dumplings is a fun, hands-on activity. It’s a great recipe to make with family or friends, turning meal prep into a social event.
- Deliciously Savory Filling: The simple yet flavorful filling of juicy chicken, sweet cabbage, and aromatic garlic is packed with umami and perfectly seasoned.
- Great for Any Occasion: Whether you need a crowd-pleasing appetizer for a party or a comforting weeknight dinner, these gyoza fit the bill. They are elegant enough for entertaining but simple enough for a casual meal.