
Creamy Coconut Lemonade Recipe
I just poured myself a glass of this Creamy Coconut Lemonade, and it is hands down the most refreshing drink I have made all summer. It reminds me of a lighter, zestier version of a piña colada but without the heaviness, making it perfect for a hot afternoon.
The balance between the tart fresh lemon juice and the rich, velvety coconut milk is honestly addictive. I love how simple it was to blend together, and straining it really gave it that professional, smooth texture. It’s definitely going to be my go-to beverage for the next backyard barbecue.

Ingredients
Here are the simple ingredients you will need to make this tropical twist on classic lemonade.
- 2 cups water: Cold filtered water works best here, or you can swap this for coconut water if you want to double down on the tropical flavor profile.
- 1 cup canned full-fat coconut milk: Using full-fat canned milk is crucial for getting that rich, creamy texture; lite milk works but won’t be as satisfying.
- 1/2 cup lemon juice: Freshly squeezed juice is non-negotiable for the best flavor, as bottled lemon juice often has a metallic or artificial aftertaste.
- 1/3 cup honey or maple syrup: Honey adds a lovely floral sweetness, while maple syrup is a perfect vegan alternative that dissolves easily.
- 1/8 tsp kosher salt: A tiny pinch of salt helps to pop the citrus flavors and bridge the gap between the creamy coconut and the tart lemon.
Note: This recipe yields approximately 3 to 4 servings.
Variations
This recipe is naturally delicious, but you can easily tweak it to fit your dietary needs or taste preferences.
- Sugar-Free Option: Swap the honey or maple syrup for liquid stevia or monk fruit sweetener to reduce the sugar content significantly.
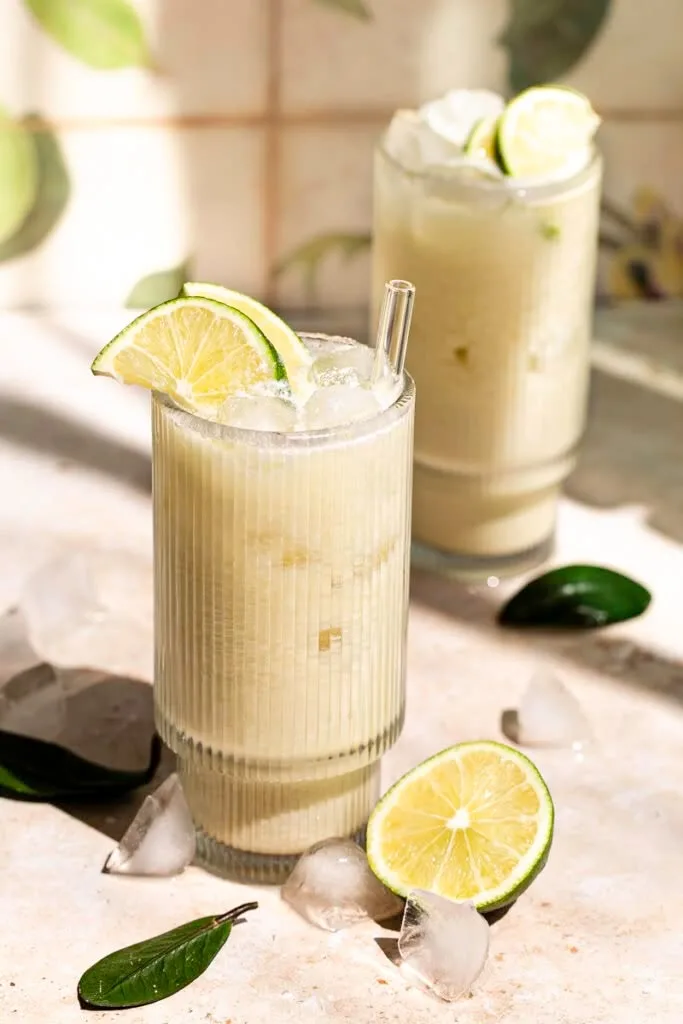
- Lime Twist: Replace the lemon juice with lime juice to make a drink closer to a Brazilian lemonade, which pairs beautifully with the coconut.
- Sparkling Version: Replace half of the water with sparkling water or club soda right before serving for a bubbly, fizzy treat.
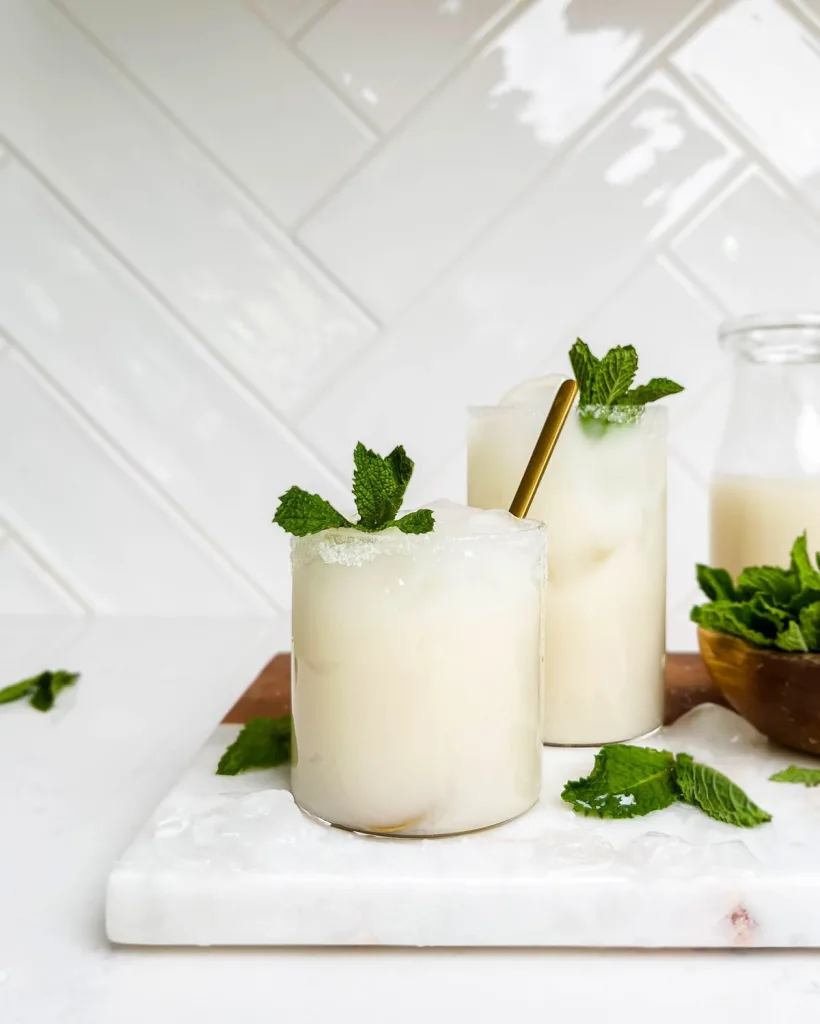
- Herbal Infusion: Blend in a few fresh mint leaves or basil leaves for an herbaceous note that makes the drink feel even more sophisticated.
Cooking Time
- Prep Time: 5 minutes
- Cooking Time: 0 minutes
- Total Time: 5 minutes
Equipment You Need
- High-Speed Blender: Used to emulsify the coconut milk, water, and lemon juice into a frothy, cohesive drink.
- Fine Mesh Sieve: Essential for straining out any small coconut fat granules or pulp to ensure a perfectly smooth texture.
- Citrus Juicer: Makes extracting fresh juice from your lemons much easier and more efficient than squeezing by hand.
- Pitcher: Needed for storing the lemonade in the refrigerator after mixing.
How to Make Creamy Coconut Lemonade?
Blend the Ingredients
Start by gathering all your ingredients and placing them into the pitcher of a high-speed blender. Pour in the water, the canned coconut milk, the freshly squeezed lemon juice, your choice of sweetener, and that important pinch of salt. Secure the lid tightly and blend on high speed for about 30 to 60 seconds. You want to blend until the mixture looks completely combined, frothy, and slightly foamy on top.
Strain for Smoothness
Once you have blended the mixture, place a fine mesh sieve or a nut milk bag over a large pitcher or bowl. Pour the lemonade through the strainer slowly to catch any coconut solids or tiny fat granules that might have separated during blending. This step might seem optional, but I highly recommend it because it guarantees that silky, creamy mouthfeel that makes this drink so special. Discard any solids left in the strainer.
Chill and Serve
After straining, the lemonade is ready to drink, but it is best served ice cold. You can place the pitcher in the refrigerator to chill for an hour if you have time, or simply get your glasses ready immediately. Fill your glasses with plenty of ice cubes to ensure the drink stays refreshing until the very last sip. Pour the lemonade over the ice, give it a quick stir, and enjoy your tropical creation.

Additional Tips for Making this Recipe Better
After making this a few times, I’ve found a few tricks that really elevate the final result.
- I always keep my canned coconut milk in the fridge before making this. Using cold ingredients right from the start means you can drink it immediately without waiting for it to chill or diluting it with too much ice.
- I found that the quality of lemons matters immensely. If you can find Meyer lemons, use them; they are sweeter and less acidic than regular lemons, which gives the drink a smoother flavor profile.
- Don’t skip the straining step. I tried skipping it once because I was in a rush, and the texture was slightly gritty from the coconut fat, which took away from the “creamy” experience.
- I recommend adjusting the sweetener to your taste. Lemons vary in acidity, so taste the mixture after blending and add a little more honey if it’s too tart for your liking.
How to Serve Creamy Coconut Lemonade?
This drink looks beautiful when presented with a little extra flair. For a fun touch, rim your glasses by rubbing a lemon wedge around the edge and dipping it into a mix of sugar and lemon zest. Serve the lemonade over plenty of ice and garnish with a wheel of fresh lemon or a sprig of fresh mint for a pop of green. It pairs wonderfully with spicy foods like tacos or curry, as the creamy coconut helps cool down the palate.
Nutritional Information
Here is a quick look at the estimated nutrition per serving for this creamy drink.
- Calories: ~140-160 kcal
- Protein: 1g
- Carbohydrates: 15g
- Fat: 12g
Make Ahead and Storage
This lemonade is great for making in advance, though natural separation will occur.
You can store the lemonade in a sealed pitcher or jar in the refrigerator for up to 5 days. Since coconut milk has natural fats, they may separate and float to the top, so just give the container a vigorous shake or stir before pouring.
You can also freeze this lemonade into popsicle molds for a delicious frozen treat. The high fat content from the coconut milk keeps the popsicles creamy rather than icy. If freezing the liquid for storage, leave some room in the container for expansion and thaw in the fridge overnight.
Why You’ll Love This Recipe?
There are so many reasons this drink will become a summer staple in your house.
- Dairy-Free Creaminess: You get all the satisfaction of a creamy, rich drink without using any dairy products, making it perfect for vegans or those with lactose intolerance.
- Incredibly Refreshing: The combination of hydrating water, electrolytes from the coconut, and bright citrus makes it the ultimate thirst-quencher on a hot day.
- Simple Pantry Ingredients: You likely have most of these items in your kitchen right now, meaning you can whip this up whenever a craving strikes without a special grocery run.
- Fully Customizable: Whether you want it sweeter, tarter, or fizzier, this base recipe is incredibly forgiving and easy to adjust to your exact taste preferences.