
Pumpkin Mousse Pie Recipe
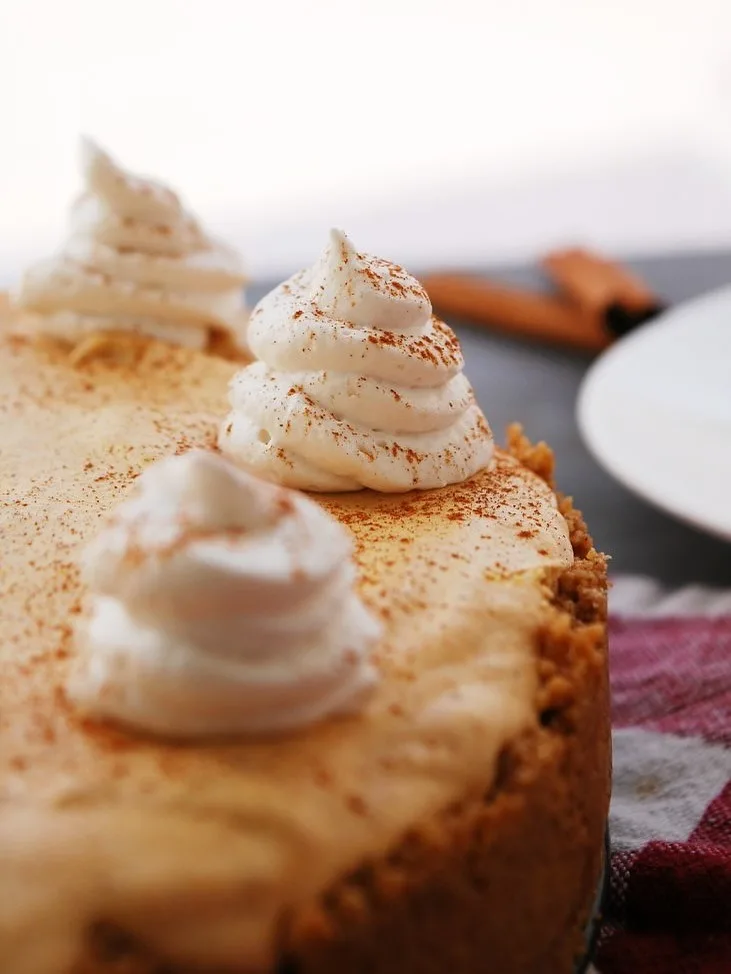
I just finished making this No-Bake Pumpkin Mousse Pie, and I am completely head over heels for how light and velvety it turned out! The combination of a crunchy graham cracker crust and a spiced, cloud-like pumpkin filling makes it an absolute showstopper.
I love that I didn’t even have to turn on my oven to get a holiday-worthy dessert on the table. Every single bite melts in your mouth with warm autumn spices and sweet whipped cream. If you are looking for a stress-free dessert that tastes like pure fall magic, this one is definitely for you!
Ingredients
Choosing the right quality ingredients is essential to getting that signature silky mousse structure and rich spiced flavor.
- 1 1/2 cups Graham Cracker Crumbs – Provides the buttery, crunchy base; use fine crumbs so the crust packs together tightly without crumbling.
- 1/3 cup Granulated Sugar – Sweetens the crust lightly to balance the savory notes of the graham crackers.
- 6 tablespoons Unsalted Butter, melted – Holds the crust together firmly; avoid using salted butter so the base doesn’t turn out overly salty.
- 8 ounces Cream Cheese, softened – Gives the pumpkin mousse stability, structure, and a subtle tang; make sure it is full-fat block cream cheese at room temperature.
- 1 cup Pure Pumpkin Puree – Infuses authentic pumpkin flavor and vibrant color; do not use canned pumpkin pie mix, which contains added sugars and spices.
- 1 cup Powdered Sugar – Dissolves effortlessly into the cream cheese and pumpkin mixture for a perfectly smooth texture.
- 1 1/2 teaspoons Pumpkin Pie Spice – Brings warm cozy notes of cinnamon, nutmeg, ginger, and cloves to every bite.
- 1 teaspoon Pure Vanilla Extract – Enhances the overall sweet flavor profile of the mousse and crust.
- 1 cup Heavy Whipping Cream, cold – Whipped to stiff peaks and folded into the pumpkin mixture to create that airy, cloud-like mousse texture.
Note: Serves 8 generous slices when set in a standard 9-inch pie dish.
Variations
Customize your pie with these fun flavor tweaks and simple ingredient swaps to fit your personal taste.
- Gingersnap Crust Swap: Replace the graham cracker crumbs with crushed gingersnap cookies for an extra zesty, spiced flavor punch in the crust.
- Bourbon-Spiced Mousse: Stir 1 tablespoon of quality bourbon into the pumpkin cream cheese mixture for a sophisticated, warm depth of flavor.
- Dairy-Free Option: Swap the cream cheese and heavy cream for plant-based cream cheese and chilled full-fat coconut cream whipped to stiff peaks.
Cooking Time
Here is the complete time breakdown to help you plan out making this simple no-bake dessert.
- Prep Time: 20 minutes
- Chill Time: 4 hours
- Total Time: 4 hours 20 minutes
Equipment You Need
Having these key kitchen tools on hand will make whipping up this no-bake pie quick and seamless.
- 9-inch Pie Dish: Shapes and holds the graham cracker crust and light pumpkin mousse filling.
- Electric Hand or Stand Mixer: Beats the cream cheese until smooth and whips the cold heavy cream to stiff peaks.
- Mixing Bowls: Holds the separate crust, cream cheese base, and whipped cream mixtures before combining.
- Rubber Spatula: Gently folds the whipped cream into the pumpkin base without deflating the airy mousse texture.
- Measuring Cups and Spoons: Ensures accurate portions of spices, sugar, and liquid ingredients.
- Measuring Cup or Glass Bottom: Used to press the crumb mixture firmly and evenly into the pie dish.
How to Make Pumpkin Mousse Pie?
Follow these simple step-by-step instructions to create a crisp crust and a light, airy pumpkin mousse filling.
Preparing the Graham Cracker Crust
In a medium bowl, combine the graham cracker crumbs, granulated sugar, and melted butter until the mixture resembles wet sand. Press the mixture firmly into the bottom and up the sides of a 9-inch pie dish using the flat bottom of a measuring cup. Place the crust in the refrigerator to chill and set while you assemble the filling.
Beating the Pumpkin Cream Base
In a large mixing bowl, beat the softened cream cheese, pure pumpkin puree, powdered sugar, pumpkin pie spice, and vanilla extract on medium speed until smooth and creamy. Ensure there are no lumps of cream cheese remaining so your mousse stays completely silky.
Whipping and Folding the Cream
In a separate cold bowl, beat the cold heavy whipping cream until stiff peaks form. Gently fold one-third of the whipped cream into the pumpkin mixture to lighten it, then carefully fold in the remaining whipped cream with a rubber spatula just until combined and no white streaks remain.
Filling and Chilling the Pie
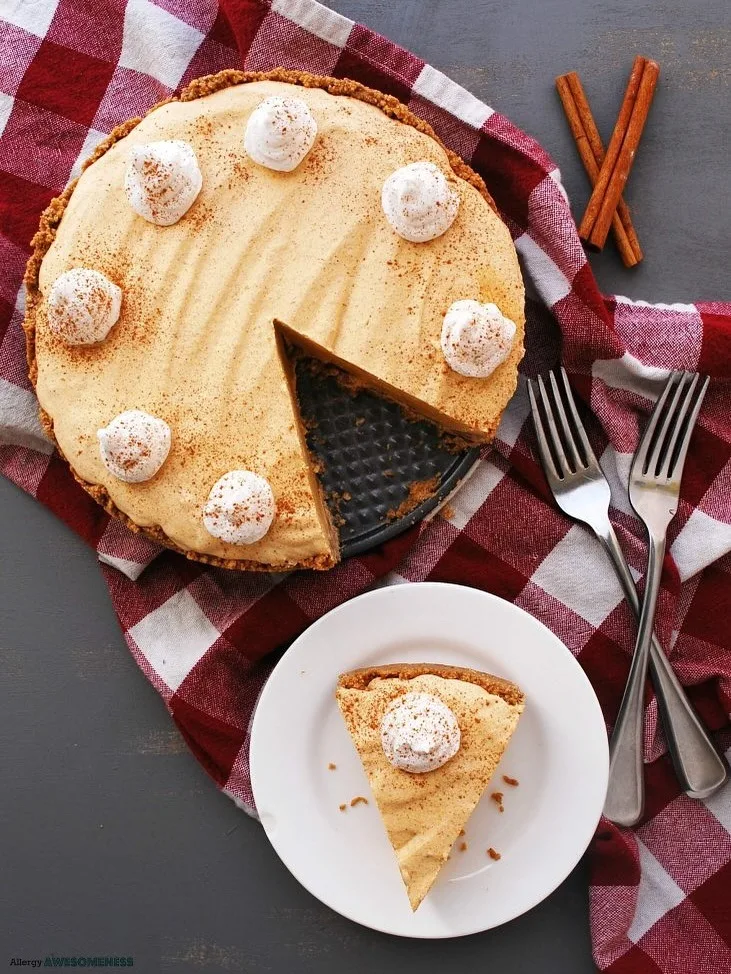
Spoon the fluffy pumpkin mousse into the chilled graham cracker crust, smoothing the top with an offset spatula. Cover the pie loosely with plastic wrap and refrigerate for at least 4 hours, or overnight, until the mousse is firm and set enough to slice cleanly.
Additional Tips for Making this Recipe Better
From my personal experience making this recipe, these simple tips will help you get the best texture and presentation possible.
- I always recommend using very cold heavy cream and a chilled bowl so your whipped cream reaches stiff peaks quickly and holds its volume.
- When I press the crust into the pan, I use the bottom of a flat glass to get an even thickness along the sides and bottom so it doesn’t break apart when sliced.
- I make sure to fold the whipped cream in very gently by hand so I don’t knock out all the air that gives the mousse its fluffy structure.
- For me, letting the pie chill overnight in the fridge is the secret to getting clean, picture-perfect slices that hold their shape on a plate.
How to Serve Pumpkin Mousse Pie?
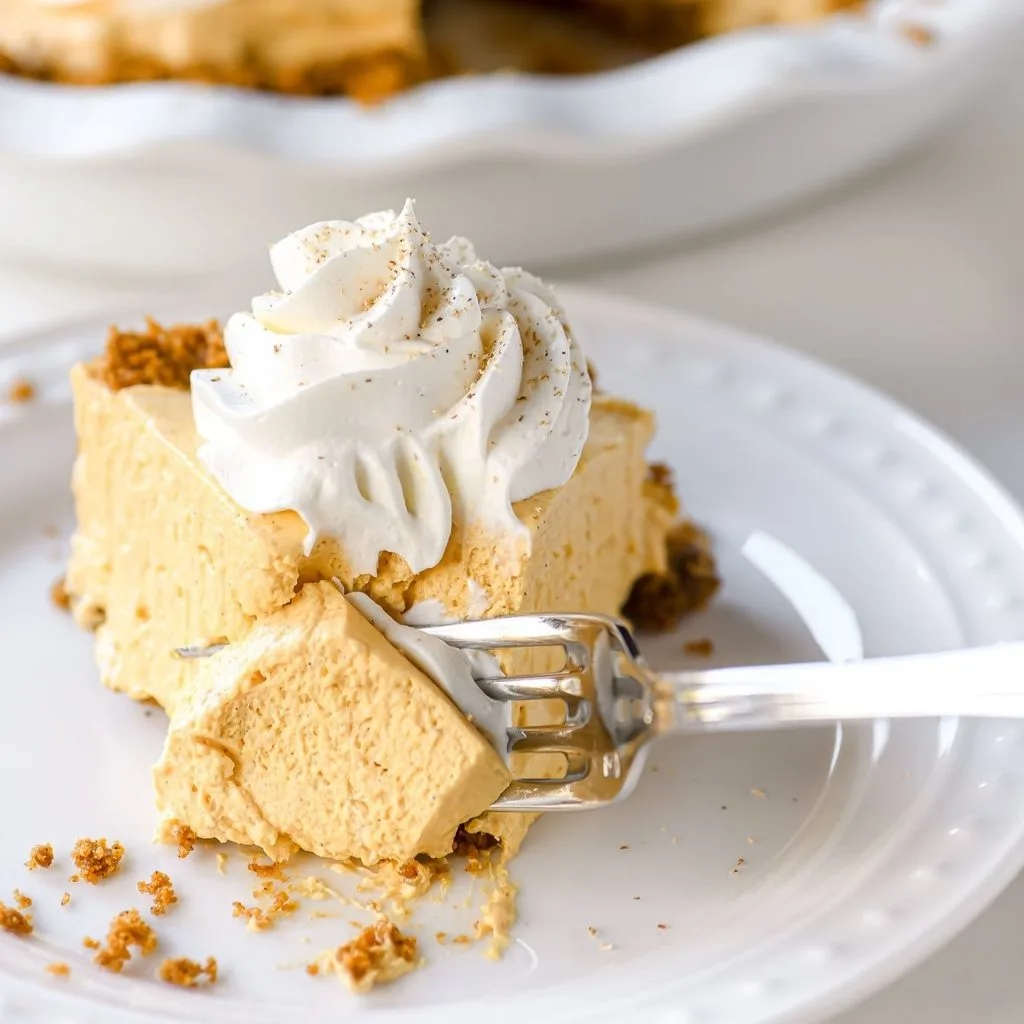
Serve this chilled pie directly from the refrigerator for the ultimate refreshingly light treat. Top each slice with a big dollop of fresh whipped cream, a light dusting of ground cinnamon or pumpkin pie spice, and a sprinkle of chopped toasted pecans or crushed graham crackers for extra crunch. It looks stunning sliced on a dessert platter alongside hot coffee or spiced apple cider.
Nutritional Information
Here is an estimated nutritional breakdown for a single serving of this no-bake pie:
- Calories: 380 kcal
- Protein: 4 g
- Carbohydrates: 38 g
- Fat: 24 g
Make Ahead and Storage
Keep your no-bake pie fresh, firm, and ready to enjoy with these simple storage and freezing guidelines.
Refrigerating
Store the pie covered with plastic wrap or in an airtight container in the refrigerator. It stays remarkably fresh, fluffy, and delicious for up to 4 to 5 days.
Freezing
You can freeze the assembled pie for up to 1 month by wrapping it tightly in plastic wrap and aluminum foil. Thaw it in the refrigerator overnight before slicing and serving.
Restoring and Serving
No reheating is required for this cold dessert; simply pull it out of the fridge right before serving. If frozen, give it a fresh dollop of whipped cream after thawing to make it look brand new.
Why You’ll Love This Recipe?
This no-bake dessert will easily earn a top spot on your holiday menu for so many wonderful reasons.
- No Oven Required: Keeps your kitchen cool and frees up precious oven space during busy holiday cooking days.
- Light & Airy Texture: Offers a silky, cloud-like alternative to heavy traditional baked pumpkin pies.
- Easy Make-Ahead Dessert: Can be made a full day in advance, allowing you to focus on your main meal without last-minute stress.
- Incredible Autumn Flavor: Packed with warm spices, sweet pumpkin, and rich cream cheese that pleases every fall flavor lover.