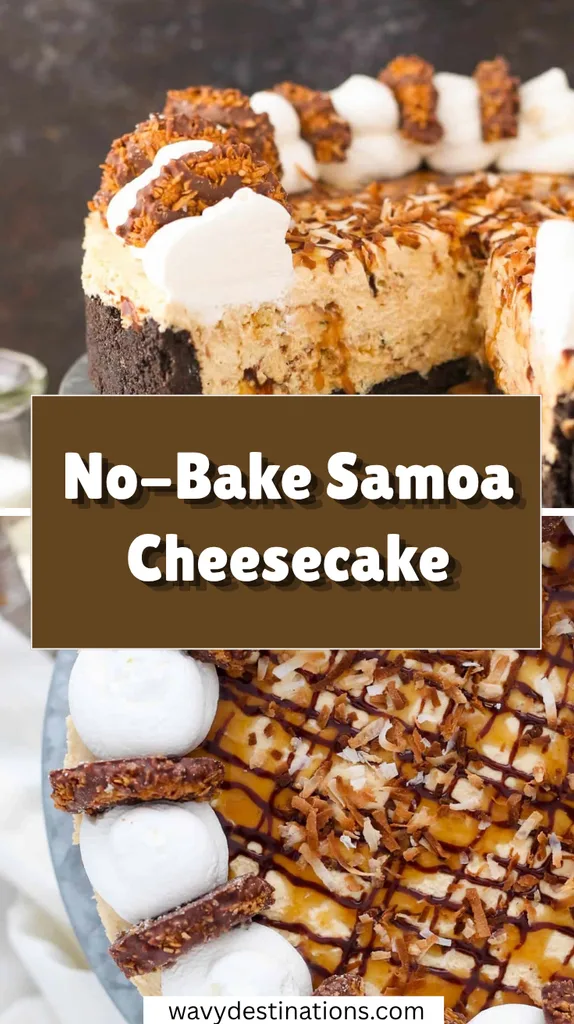
Frosted Animal Cookie Cheesecake Recipe
I made a batch of this Frosted Animal Cookie Cheesecake for a weekend party, and it was an absolute hit that vanished in seconds! The combination of a crunchy, sweet circus cookie crust paired with a silky, pink cheesecake filling brought back the best nostalgic childhood memories. I loved how simple this no-bake recipe was to whip together without ever having to turn on the oven.
Every slice is packed with fun colors, rich creaminess, and that iconic circus cookie flavor that puts a smile on everyone’s face. If you are looking for a fun, vibrant dessert that requires minimal effort, this recipe is guaranteed to be a crowd-pleaser!
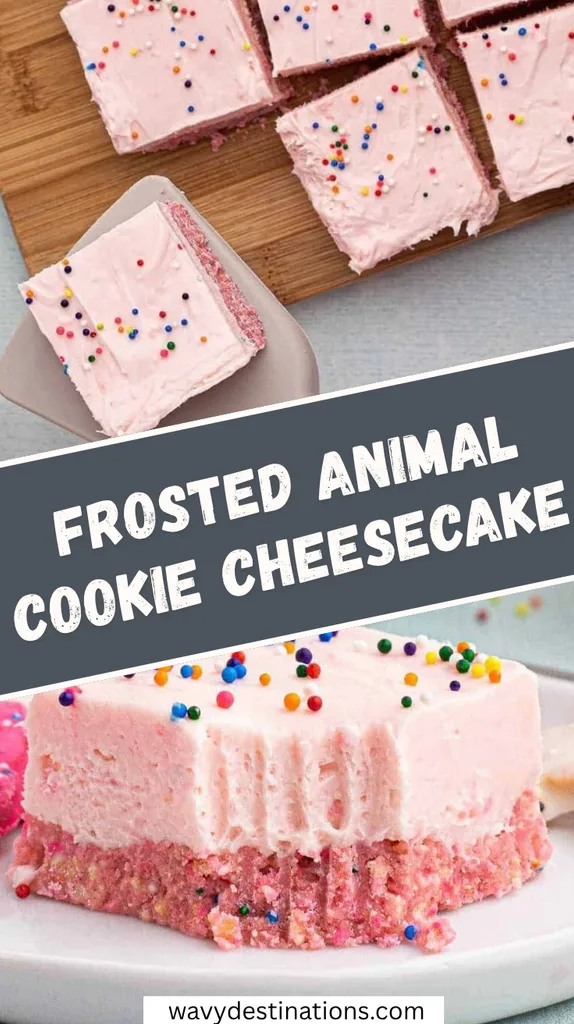
Ingredients
Using the right mix of sweet frosted cookies and rich dairy elements ensures your no-bake cheesecake sets up beautifully with a velvety texture.
- Frosted animal cookies (11 ounces / 1¼ bags – plus extra for topping) – Crushed to form the sweet, iconic cookie crust base that holds the dessert together.
- Unsalted butter (½ cup / 1 stick, melted) – Binds the crushed cookie crumbs into a firm, dough-like crust that sets cleanly in the fridge.
- Granulated sugar (1 tablespoon) – Adds a touch of extra sweetness to help lock the cookie crust together.
- Cream cheese (16 ounces / 2 bricks, room temperature) – Provides the rich, tangy, and velvety foundation for the cheesecake filling; use full-fat brick cream cheese for the best set.
- Powdered sugar (1 cup) – Blends smoothly into the cream cheese without leaving any gritty texture behind.
- Pure vanilla extract (1 teaspoon) – Elevates the creaminess with a warm, aromatic vanilla note.
- Pink candy melts (1 cup) – Melted into the filling to add sweet chocolate flavor and help the no-bake cheesecake firm up smoothly.
- Pink food coloring (Optional) – Adds an extra pop of bright pink color to give the filling a vibrant, fun look.
- Rainbow sprinkles (Optional, for topping) – Provides that classic, colorful circus cookie appearance and a fun crunch on top.
Note: Serves 9 to 12 sweet dessert bars (about 9 to 12 full servings).
Variations
You can easily customize this playful recipe with different cookie bases, colors, or dietary substitutions.
- White Chocolate Swap: Replace the pink candy melts with high-quality white chocolate chips for a rich, vanilla-forward flavor profile.
- Dairy-Free Adaptation: Use plant-based brick cream cheese, vegan butter, and dairy-free white chocolate melts to make a friendly vegan dessert alternative.
- Gluten-Free Version: Swap traditional frosted animal cookies with gluten-free frosted animal crackers so everyone can enjoy a slice.
- Birthday Cake Flavor Boost: Stir a half teaspoon of cake batter extract or almond extract into the cream cheese filling for an extra festive birthday cake taste.
Cooking Time
This simple timeline breaks down the brief hands-on prep time and essential chilling period.
- Prep Time: 15 minutes
- Chilling Time: 2 to 3 hours
- Total Time: 2 hours 15 minutes
Equipment You Need
Having these basic baking tools ready makes preparing this no-bake treat super quick and clean.
- 8×8-inch baking pan – Used to assemble and set the cookie crust and creamy cheesecake filling smoothly.
- Parchment paper – Used to line the pan with overhang handles for easy lifting and neat slicing later.
- Food processor or Ziplock bag – Used to crush the frosted animal cookies into fine, uniform crumbs.
- Stand mixer or hand mixer – Used to beat the room temperature cream cheese, sugar, and melted candy into a silky filling.
How to Make Frosted Animal Cookie Cheesecake Recipe?
Follow these simple, step-by-step instructions to assemble this fun, vibrant no-bake cheesecake in no time.
Prepare the Cookie Crust Base
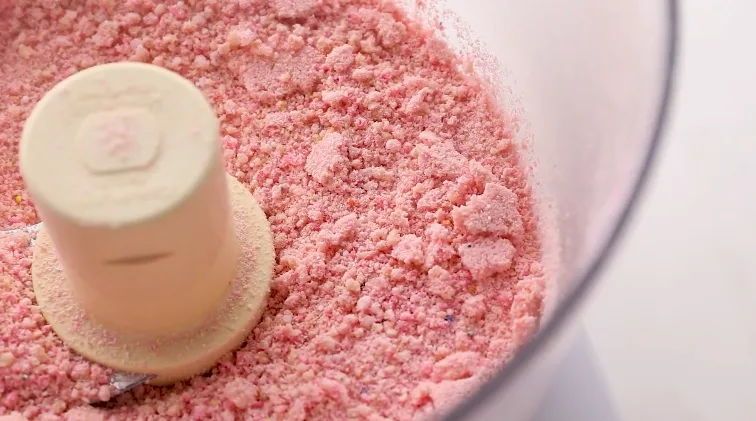
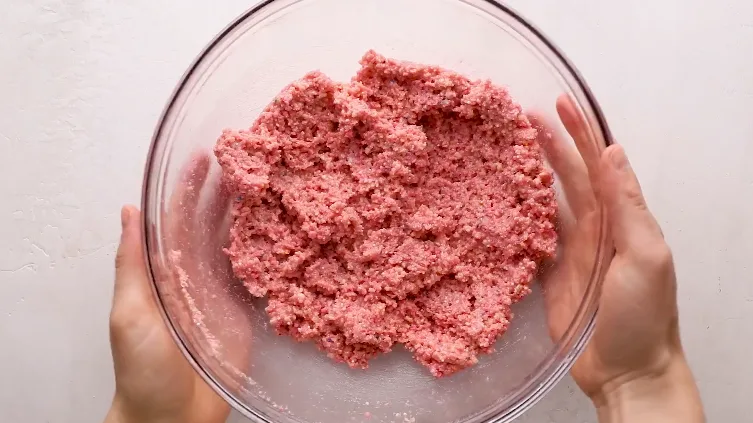
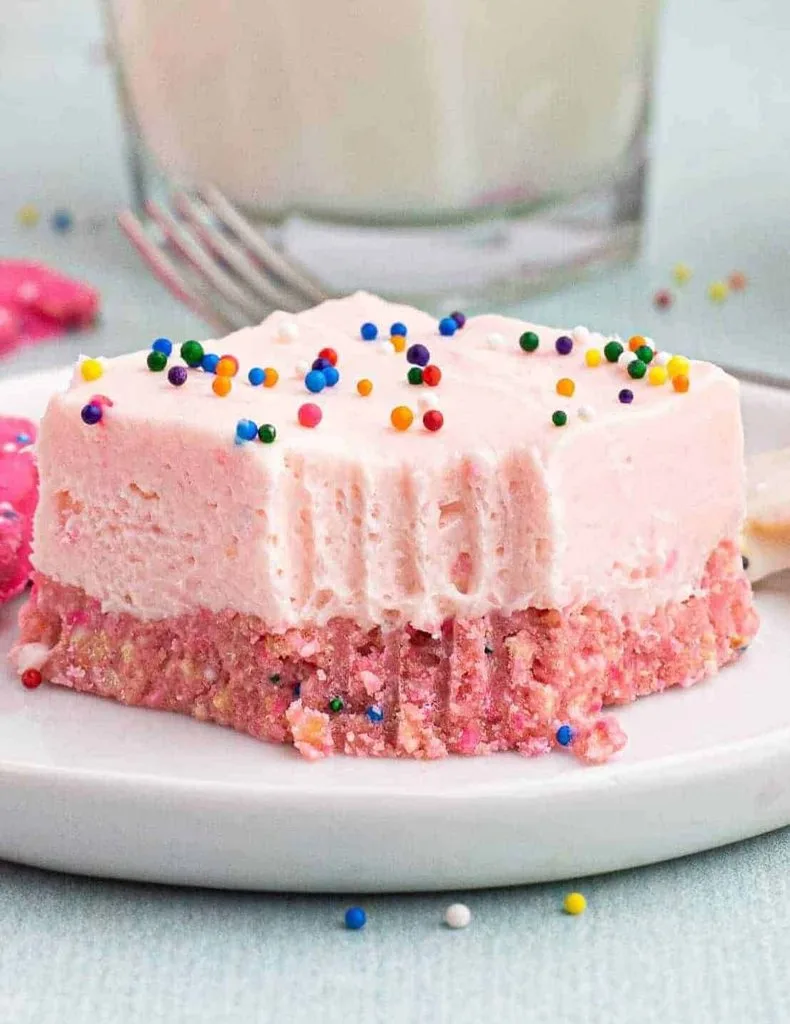
Creating a firm, sweet crust provides the perfect foundation for your creamy cheesecake layer. Line an 8×8-inch baking pan with parchment paper, leaving an inch of overhang on the sides for easy removal later. Crush the 11 ounces of frosted animal cookies in a food processor or Ziplock bag until they reach a fine powder consistency. In a bowl, stir the cookie crumbs together with the ½ cup of melted butter and 1 tablespoon of granulated sugar until dough-like, then press firmly into the bottom of the prepared pan and chill in the refrigerator while making the filling.
Mix the Creamy Cheesecake Filling
Combining the room temperature cream cheese with melted candy melts creates a silky filling that sets beautifully without baking. In the bowl of a stand mixer fitted with the paddle attachment, beat the 16 ounces of softened cream cheese, 1 cup of powdered sugar, and 1 teaspoon of vanilla extract together until completely smooth and fluffy. While the mixer runs on low speed, melt the 1 cup of pink candy melts in a microwave-safe bowl in 30-second bursts, then slowly pour the melted candy into the cream cheese mixture along with optional pink food coloring until fully combined.
Assemble, Chill, and Serve
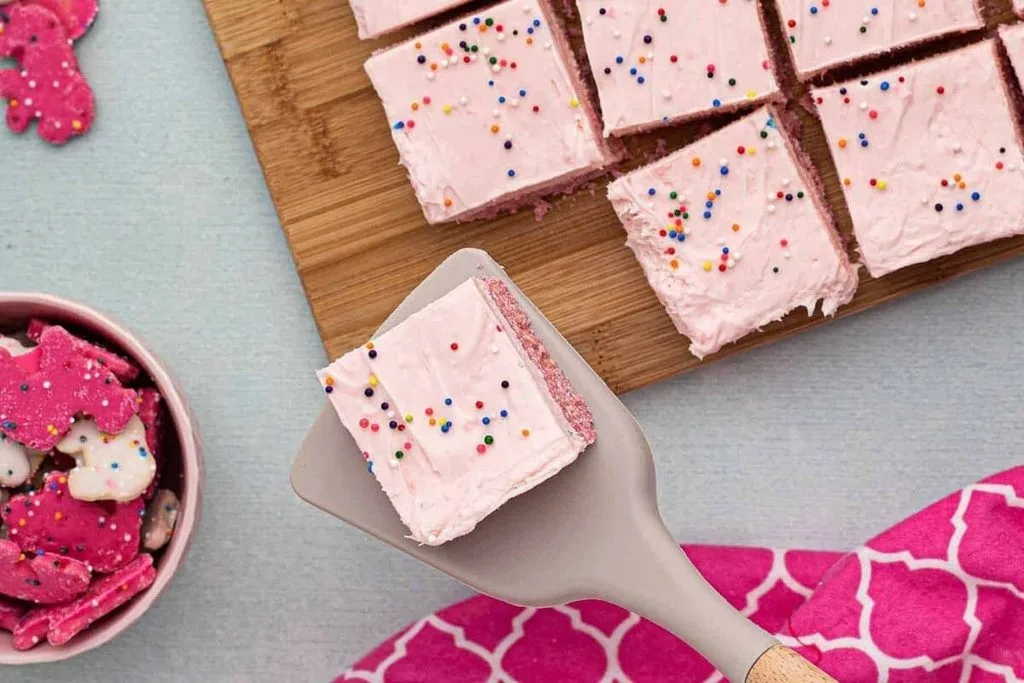
Spreading the filling evenly and letting it chill ensures clean, beautiful dessert slices. Pour the cream cheese filling over the chilled cookie crust, using a spatula to spread it smoothly into every corner. Place the baking pan in the refrigerator for 2 to 3 hours until the cheesecake is completely set and firm. Before serving, top generously with rainbow sprinkles and extra whole frosted animal cookies, then use the parchment paper handles to lift, cut into squares, and serve cold.
Additional Tips for Making this Recipe Better
A few tested tips from my own kitchen will ensure your no-bake cheesecake turns out picture-perfect every time.
- Use room temperature cream cheese: I always leave my cream cheese bricks on the counter for an hour before mixing so there are zero lumps in the filling.
- Cool the melted candy melts slightly: When I melt the pink candy melts, I let them cool for a couple of minutes before pouring them into the cream cheese so the temperature difference doesn’t cause clumping.
- Press the crust down firmly: I like using the flat bottom of a measuring cup to pack the cookie crust tightly into the pan so it doesn’t crumble when sliced.
- Slice with a warm knife: For clean, professional-looking squares, I wipe my knife blade with hot water and dry it between every single cut.
How to Serve Frosted Animal Cookie Cheesecake Recipe?
Lift the chilled cheesecake out of the pan using the parchment paper overhang and place it on a cutting board to slice into neat 9 or 12 square bars. Top each bar with a generous scatter of bright rainbow sprinkles and press a whole frosted animal cookie right into the center of each slice. Arrange the colorful squares on a white dessert platter or serve them on party plates alongside a scoop of vanilla ice cream or a dollop of whipped cream.
Nutritional Information
Below is an estimated breakdown of essential nutritional metrics per serving bar.
- Calories: 440 kcal
- Protein: 5 g
- Carbohydrates: 48 g
- Fat: 26 g
Make Ahead and Storage
Proper chilling and storage keep this no-bake cheesecake tasting fresh and firm for days.
Reheating
Because this is a cold no-bake dessert, no reheating is required. Serve straight from the refrigerator for the best firm texture.
Freezing
Wrap the fully set cheesecake squares tightly in plastic wrap and aluminum foil, then store them in a freezer-safe container for up to 1 month. Thaw in the refrigerator overnight before topping with fresh sprinkles and serving.
Storing and Freshness
Keep leftover cheesecake bars covered in an airtight container in the refrigerator. They will remain fresh, firm, and delicious for up to 4 to 5 days.
Why You’ll Love This Recipe?
This Frosted Animal Cookie Cheesecake brings nostalgic fun and effortless sweetness to any occasion.
- Easy No-Bake Preparation: Requires zero oven time and comes together in just 15 minutes of active prep, making it stress-free.
- Nostalgic Fun Flavor: Combines the beloved taste of classic frosted circus cookies with a rich, tangy cream cheese filling.
- Vibrant and Festive Look: Bright pink colors, rainbow sprinkles, and cute cookie toppings make it an eye-catching centerpiece for birthday parties and gatherings.
- Perfect Make-Ahead Dessert: Sets up in the fridge effortlessly, allowing you to prepare it hours or a day ahead of your event.