Ice fishing tents: a practical guide to warmth, safety, and setup
Intro: cold, wind, and condensation — what really matters on the ice
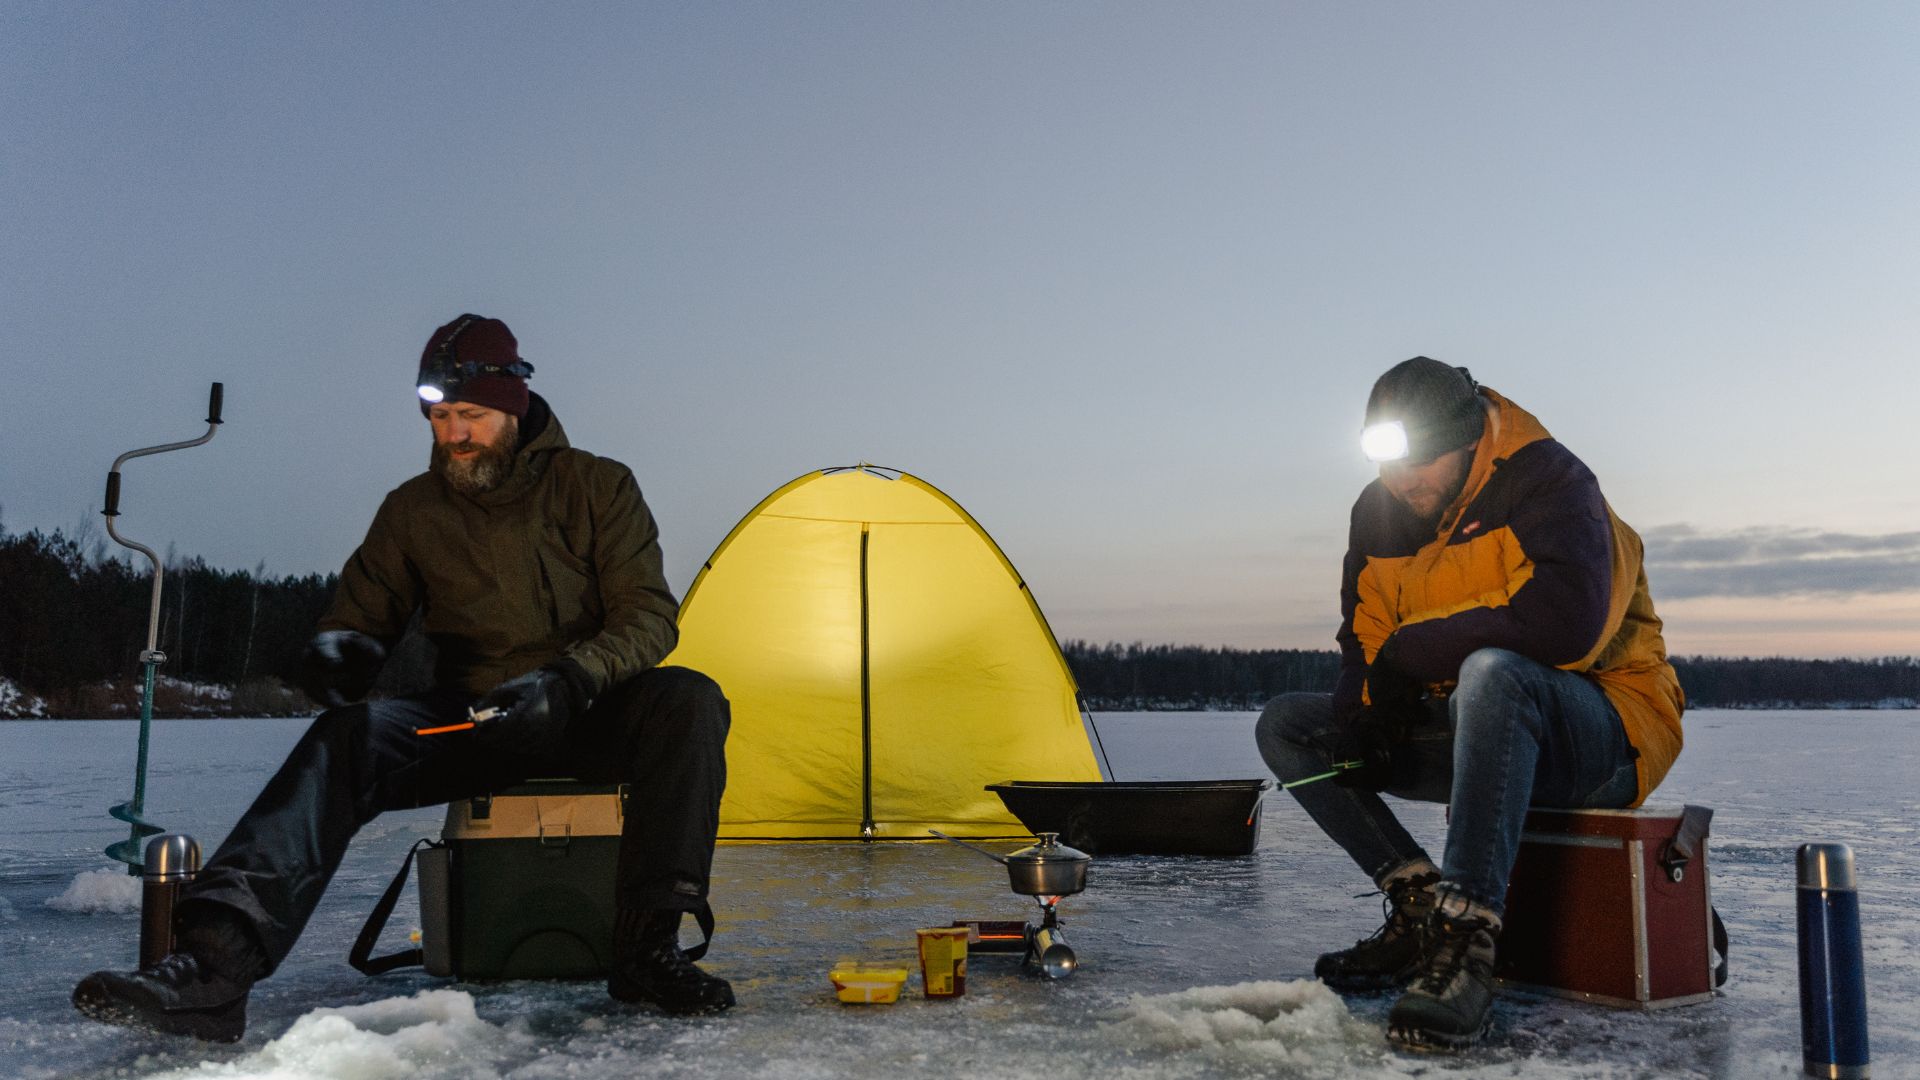
Bitter wind, blowing snow, and wet gear can turn a promising day into a short one. The fix isn’t more layers; it’s choosing an ice fishing shelter that holds heat, manages airflow, and sets up fast so you can focus on the bite. This guide covers shelter types, real-world insulation, safe heating, smart sizing, and anchoring that stays quiet in gusts.
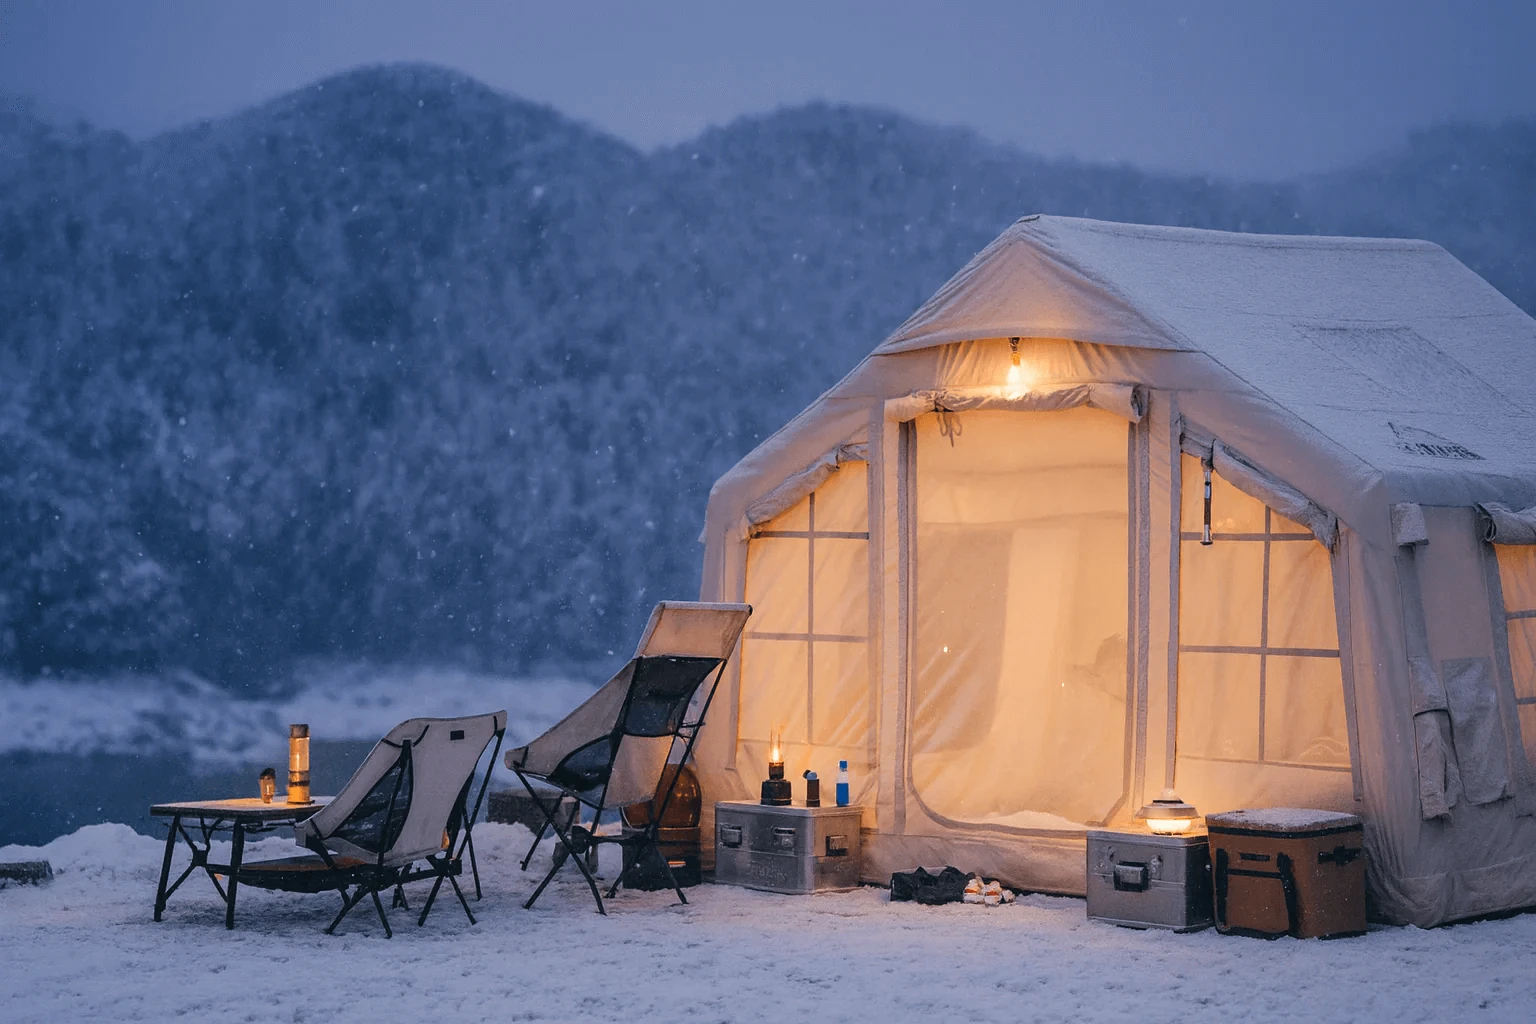
Inflatable designs have raised the bar for comfort on the ice. They pitch quickly, seal out drafts, and pair well with a stove jack for steady, dry warmth—key to reducing condensation and keeping hands nimble. If that’s your target setup, consider a winter inflatable tent with wood stove.
Coody tent inflatable price is a good first stop for current configurations and budgets. Compare by fishing style (run-and-gun versus set-and-stay), true standing height, and floor options that keep slush under control. Prefer a ready package tuned for cold-weather comfort? Look at an inflatable winter tent.
Types of shelters: hub, flip-over, cabin, or inflatable
Your ideal ice fishing shelter depends on how you move, how long you stay, and how you heat the space.
Hub shelter (pop up ice shelter). Fast to deploy with solid space-to-weight. Works well for pairs. Needs good ice anchors and guy lines for wind resistance. Usually floorless; add a removable floor for warmer feet.
Flip-over. Built on a sled for true mobility. Setup is instant and relocating holes is easy. Trade-offs: tighter headroom and smaller fishable footprint; heavier to haul by hand.
Cabin or hard-sided. Best thermal comfort and storm readiness, but not truly portable; think basecamp and multi-day trips with vehicle support.
Inflatable ice fishing tent. Rapid pitch, stable air-beam structure, tight seals that block drafts, and natural compatibility with a stove jack. Typical features include insulated panels, a snow skirt, and a generous peak height.
Warmth and safety with a wood stove
Heat on the ice is about control, not just output. Aim for steady warmth with clean airflow.
Stove placement and clearances. Set the stove on a fire-resistant mat with a rigid base. Keep clearances all around; use heat shields with a small air gap if space is tight. Route the flue straight up through the jack for reliable draft.
Ventilation that works. Create a low intake and a high exhaust: crack a near-floor vent upwind and a roof or upper wall vent leeward. Even in deep cold, keep both slightly open to avoid carbon monoxide buildup and to push moisture out.
Chimney essentials. Enough stack above the roofline stabilizes draft in gusts. A spark arrestor helps but check it for icing. Burn dry wood in small, frequent feeds to maintain even heat.
Safety must-haves. A carbon monoxide detector, an ABC extinguisher, heat-resistant gloves, and a metal ash container. Store fuel away from traffic lanes. For overnights, don’t choke the stove to smolder; bank a small, clean bed of coals, keep vents open, and set a wake timer—or relight in the morning.
Materials and build quality that keep heat in
A warm, quiet shelter starts with the right fabric and construction.
Shell and coatings. Ripstop fabric with a durable waterproof coating and good wind resistance keeps sleet out and flutter down. A solid hydrostatic rating helps you compare.
Insulation. Quilted or double-wall liners create a still-air gap that evens interior temperature and cuts condensation. Removable liners let you shed weight on mild days.
Seams and hardware. Reinforced corners and guy points prevent tears from “walking.” Heavy-duty zippers with big pulls work in gloves and resist icing; zipper garages reduce drafts. Window flaps should seal wide and tight.
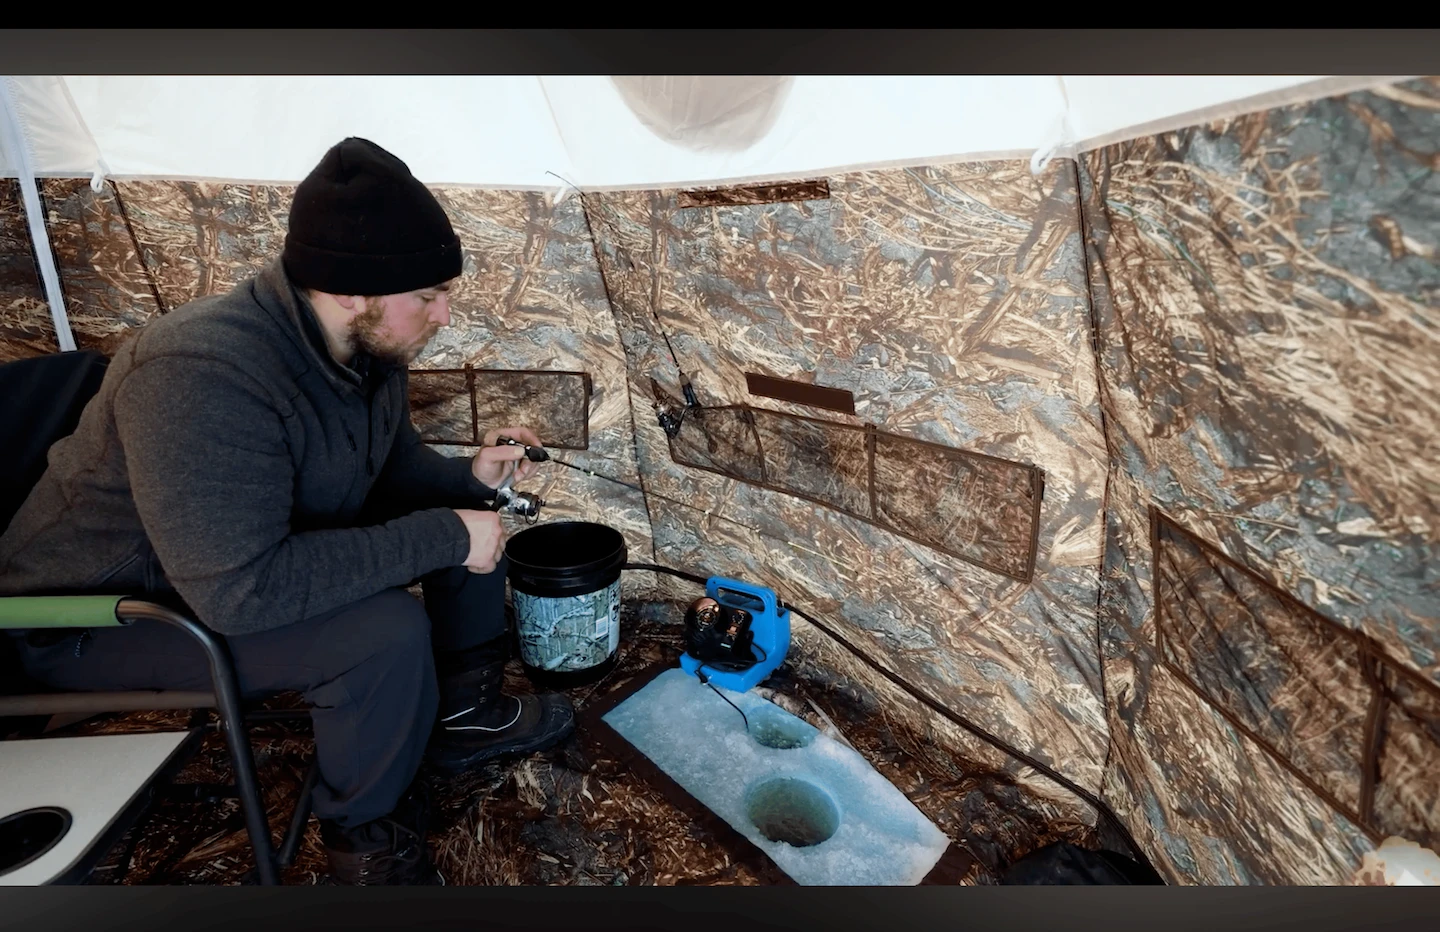
Snow skirt and floor options. A wide snow skirt blocks base-level drafts. Choose no floor for fast hole-hopping, a removable floor for long sits, or tile systems that channel drainage around holes.
Stove jack and shielding. Heat-resistant jack fabric with a snug collar keeps sparks and melt out. Interior shields prevent hot spots and help the shell last.
Size and layout for real fishing use
Space shrinks once holes are drilled and the stove is lit. Plan for movement, not just headcount.
Core footprint. Keep a two-foot aisle from door to stove and holes. Each angler gets a lane—chair, two holes, and a small gear pocket—separated by a narrow buffer. Standing room near the door speeds layering and tending the fire.
Stove-first planning. Place the stove near a corner with a straight flue. Leave a safe bubble and a clean path from the door for refueling. Store wood along the cold-side wall; keep seating on the warm side.
Group templates. Solo day: centered chair, two offset holes, small side table. Two anglers, long sit: opposing lanes with a center aisle. Three to four with overnights: parallel lanes, sleeping pads opposite, drying line high along the ridge.
Setup and anchoring on ice
Pick flat, firm ice away from pressure cracks. Brush off loose snow so anchors bite, then face a solid wall into the wind and keep the door downwind.
Quick flow. Lay out the footprint; preattach guy lines. Erect to about 80% to square the base; align the stove jack. Finish erection, close doors and windows, then anchor corners, sides, and roof tie-outs in that order. Retension when warm.
Anchors that hold. Screw-in ice anchors at a slight leeward angle load into the ice; a short pilot hole helps on glare ice. Double up windward corners. In deep snow, bury a sideways “deadman” and pack snow over it.
Line management. Keep guy lines low and aligned with panel pull. Add shock-cord sections or tensioners to smooth gusts. Use adjustable hitches and trim tag ends.
Skirt and drafts. After anchoring, pack snow along the skirt to seal the base. Leave small gaps near the intake vent to maintain airflow when heating.
Care, storage, and transport
Warm, quiet shelters are the ones that dry fast and pack clean.
Drying and cleaning. Knock off ice, open vents during breakdown, and hang open at home until liners feel crisp. Rinse grit with lukewarm water; spot-clean with mild soap; wipe the stove jack and shields.
Zippers and hardware. Tap off ice gently; don’t force pulls. Lube dry zippers lightly. Inspect guy points and replace frayed cord before it fails.
Storage and carry. Store loose, cool, and dry—out of sun. Keep pump, anchors, and repair kit with the shelter. Roll, don’t cram; use compression straps you can tighten in gloves. Balance sled weight low and centered.
Buyer’s one-screen checklist and closing
- Insulated shell with honest waterproof and wind ratings
- Quality stove jack and heat shields, clearances, and vents
- Reinforced seams, heavy-duty zippers, wide window and vent closures
- Wide snow skirt; floor style that matches how you fish
- Multiple guy points, reflective lines, robust D-rings
- Pack size and weight you’ll actually haul
Dial these in and you’ll get a thermal ice shelter that pitches clean, stays quiet in gusts, conserves fuel, and keeps the inside dry—so you fish longer with warm hands and a clear head.