
Banana Pudding Cheesecake
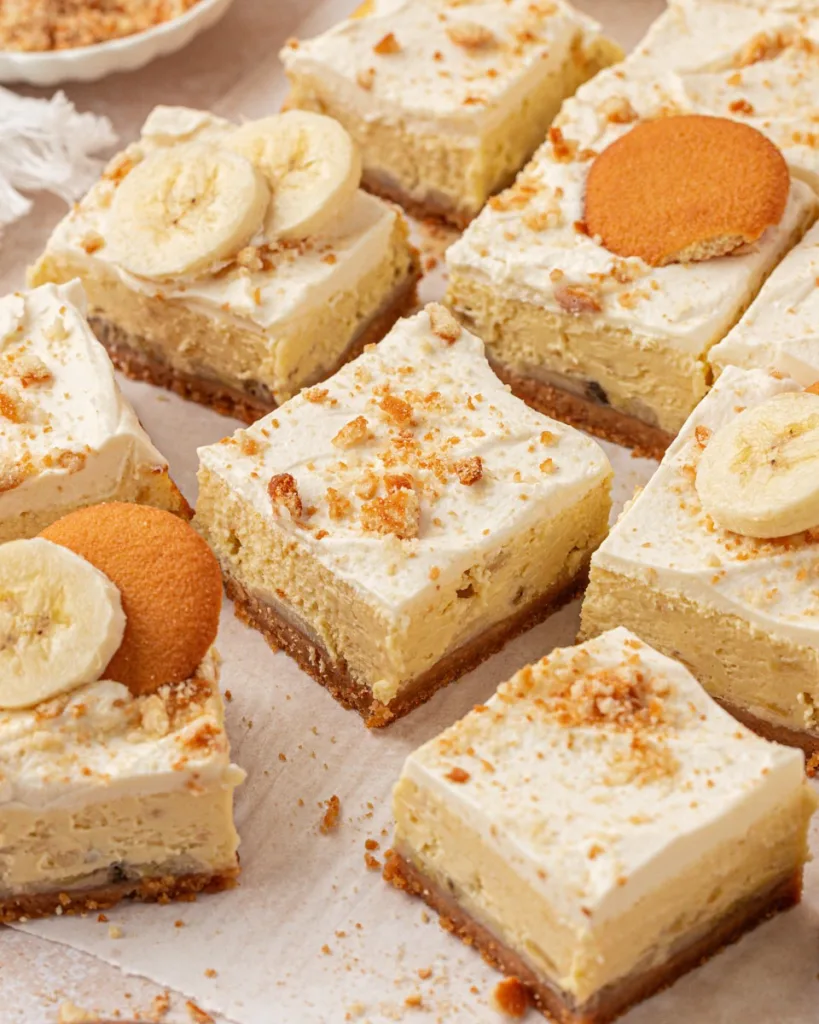
After pulling this Banana Pudding Cheesecake from the fridge, I couldn’t wait to slice into it. The moment I did, the incredible aroma of banana and creamy cheesecake filled the air, and I knew it was going to be a hit. Marrying two of my all-time favorite desserts felt like a stroke of genius, and the result was even better than I imagined.
The crust made from Nilla Wafers is perfectly crisp, and the filling is so smooth and packed with real banana flavor. Seeing it all come together, especially with the whipped cream on top, was so rewarding.
Ingredients
Here is the full list of ingredients you’ll need to create this decadent dessert.
For the Nilla Wafer Crust
- 3 cups whole Nilla wafers (about 1 ⅔ cups crushed): These classic vanilla-flavored cookies create a crust that perfectly complements the banana filling.
- ¼ cup granulated sugar: Adds just a touch of extra sweetness to the crust.
- 5 tablespoons unsalted butter, melted: This is the binder that holds the cookie crumbs together to form a sturdy base.
For the Banana Pudding Cheesecake Filling
- 32 ounces brick-style cream cheese, softened: It’s crucial to use full-fat, brick-style cream cheese at room temperature for a smooth, lump-free filling.
- 1 cup mashed ripe banana: Use very ripe bananas (the ones with lots of brown spots) for the sweetest, most intense banana flavor.
- ½ cup full-fat sour cream, at room temperature: Sour cream adds a slight tang and incredible creaminess, lightening the dense texture of the cream cheese.
- 1 cup granulated sugar: Provides the sweetness needed to balance the tangy cream cheese.
- 1 (3.4 oz) box dry instant banana cream pudding mix: This is a key ingredient for amplifying the banana flavor and helping the cheesecake set. Do not use the cook-and-serve variety.
- 1 teaspoon pure vanilla extract: Enhances all the other sweet flavors in the cheesecake.
- 4 large eggs, at room temperature: Eggs are essential for the structure and rich custard-like texture of the cheesecake.
For the Optional Toppings
- 2 cups whipped cream: You can use homemade or store-bought whipped topping for a light and airy finish.
- 1 to 2 bananas, sliced: Fresh banana slices add a decorative touch and reinforce the banana flavor.
- 10 to 20 Nilla wafers: Use whole or crushed wafers to garnish the top for extra crunch and visual appeal.
Note: This recipe will yield one 9-inch cheesecake, which serves about 12 people.
Variations
This cheesecake is fantastic as is, but you can easily put your own spin on it.
- Chocolate Swirl: Gently swirl a half cup of melted and slightly cooled semi-sweet chocolate into the batter before baking for a banana-chocolate combination.
- Caramel Drizzle: Once the cheesecake has chilled, drizzle it with a generous amount of caramel sauce for a decadent finishing touch.
- Graham Cracker Crust: If you can’t find Nilla Wafers, a classic graham cracker crust is a delicious alternative.
- Greek Yogurt Swap: If you don’t have sour cream, you can substitute it with an equal amount of full-fat plain Greek yogurt for a similar tangy and creamy effect.
Cooking Time
- Prep Time: 40 minutes
- Cooking Time: 1 hour 20 minutes
- Total Time: 8 hours (includes 6 hours of cooling and chilling)
Equipment You Need
- 9-inch Springform Pan: This two-piece pan is essential for easily removing the cheesecake without damaging its sides.
- Food Processor: The quickest way to turn Nilla Wafers into fine, even crumbs for the crust.
- Stand Mixer or Handheld Mixer: Necessary for beating the cream cheese and other ingredients into a perfectly smooth batter.
- Large Roasting Pan: Used to create the water bath, which helps the cheesecake bake gently and prevents cracks.
- Aluminum Foil and Oven Bag: These are used to wrap the springform pan to make it completely waterproof for the water bath.
How to Make Banana Pudding Cheesecake?
This recipe combines a classic dessert with the rich texture of cheesecake in a few key stages. First, you’ll create a flavorful Nilla Wafer crust. Then, you’ll whip up a creamy banana-infused filling. The final, and most crucial, part is the gentle baking process using a water bath, which ensures a crack-free, perfectly set cheesecake.
Step 1: Make the Nilla Wafer Crust
First, preheat your oven to 325°F (163°C) and line the bottom of a 9-inch springform pan with parchment paper. In a food processor, pulse the Nilla Wafers until they become fine crumbs. Transfer the crumbs to a bowl, stir in the granulated sugar, and then pour in the melted butter. Mix until all the crumbs are evenly moistened. Press this mixture firmly and evenly into the bottom of the prepared pan. Bake the crust for 10 minutes, then set it aside to cool while you prepare the filling.
Step 2: Prepare the Cheesecake Filling
Start by putting a large pot of water on the stove to boil for the water bath. In the bowl of a stand mixer, beat the softened cream cheese on low-medium speed for 1-2 minutes until it’s completely smooth. Add the mashed banana and sour cream, mixing until just combined. Next, add the granulated sugar, the dry instant pudding mix, and vanilla extract, and mix again until smooth. In a separate bowl, lightly beat the eggs, then add them to the batter, mixing on low speed only until they are just incorporated.
Step 3: Assemble and Bake the Cheesecake
Wrap the outside of your springform pan with two or three layers of heavy-duty aluminum foil. For extra protection against leaks, place the wrapped pan inside an oven bag and fold the sides down. Pour the cheesecake filling over the cooled crust and smooth the top. Place the springform pan inside a large roasting pan and pour the boiling water into the roasting pan until it comes about an inch up the sides of the cheesecake pan. Carefully transfer the entire setup to the oven and bake for 70-80 minutes.
Step 4: Cool and Chill
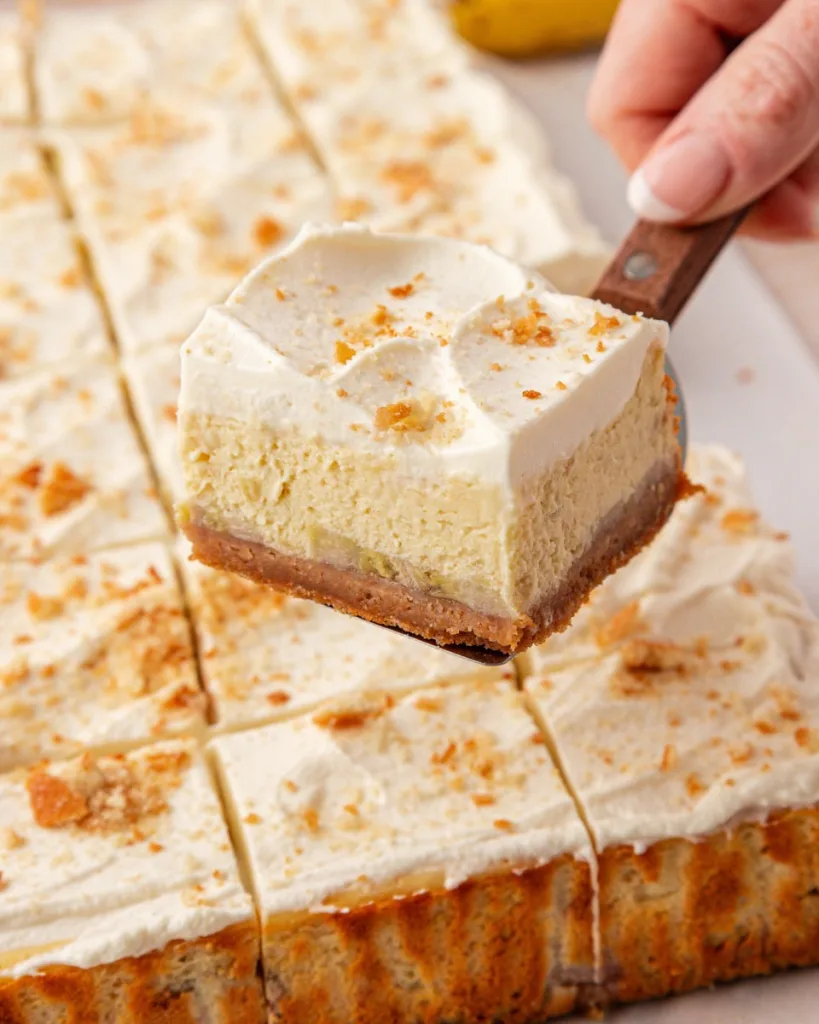
The cheesecake is done when the edges are set but the center still has a slight jiggle. Turn off the oven, crack the door open, and let the cheesecake cool inside the warm oven for one hour. This gradual cooling process is key to preventing cracks. After an hour, remove the cheesecake from the oven and water bath, and let it cool completely on a wire rack. Once at room temperature, cover it tightly and refrigerate for at least 5-6 hours, or preferably overnight, to allow it to fully set.
Additional Tips for Making this Recipe Better
After making this a few times, I’ve gathered some tips that I believe are essential for getting it just right.
- I cannot emphasize enough the importance of having all your dairy ingredients—cream cheese, sour cream, and eggs—at room temperature. It truly is the secret to a silky, lump-free batter.
- When it’s time to add the eggs, I mix them in on the lowest speed and stop as soon as they are combined. Over-mixing the eggs incorporates too much air, which is a common reason cheesecakes crack.
- The water bath might seem like a hassle, but it’s a non-negotiable step for me. It creates a humid environment in the oven that helps the cheesecake bake evenly and stay creamy.
- I always wait to add the toppings until just before serving. Fresh bananas will brown if they sit out for too long, so adding them at the last minute keeps the cheesecake looking its best.
How to Serve Banana Pudding Cheesecake?
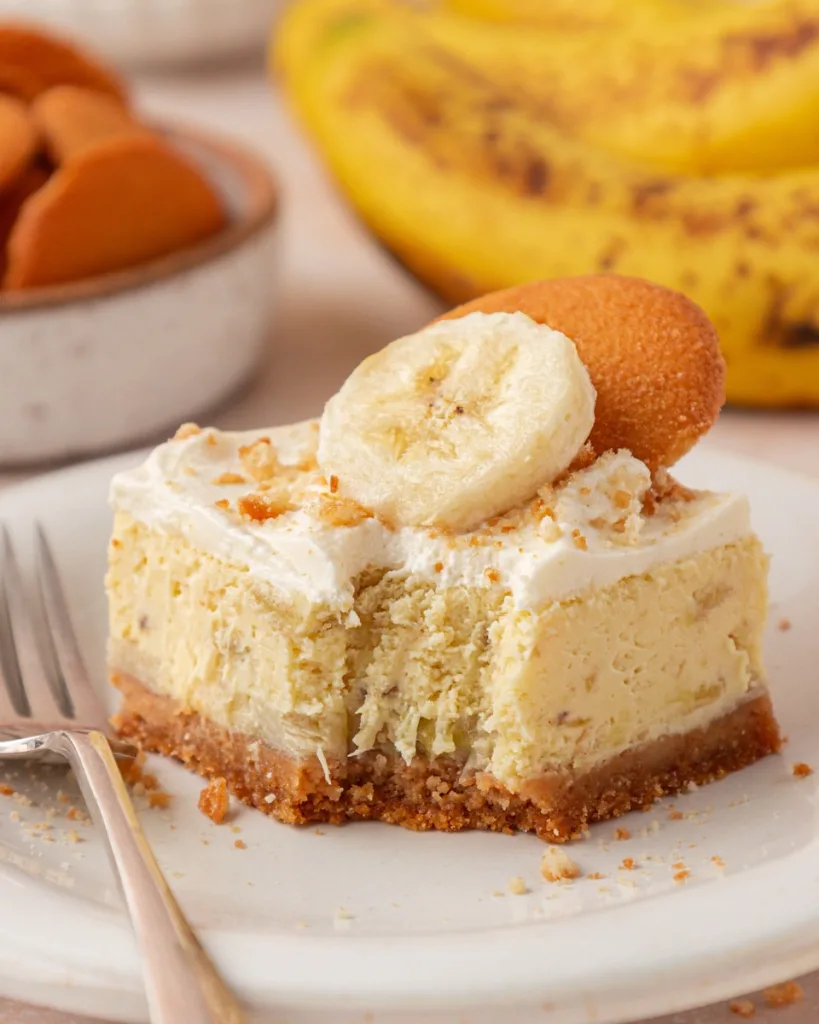
This cheesecake is a showstopper all on its own, but a few simple touches can elevate its presentation. For a classic banana pudding look, pipe swirls of homemade whipped cream around the edge of the cheesecake. Garnish with fresh banana slices and whole or crushed Nilla Wafers. For clean, beautiful slices, dip a sharp knife in hot water and wipe it dry before each cut. This dessert is rich and satisfying, so a small slice goes a long way.
Nutritional Information
Here is a general estimate of the nutritional values for one slice of this cheesecake.
- Calories: Approximately 500-600 per slice
- Protein: 8g
- Carbohydrates: 55g
- Fat: 30g
Make Ahead and Storage
This is an excellent dessert to make in advance, as it needs a long time to chill and set properly.
You can bake the cheesecake up to four days before you plan to serve it. Keep it stored, covered tightly, in the refrigerator. Wait to add any toppings, like whipped cream and fresh bananas, until just before you are ready to serve.
This cheesecake also freezes beautifully. To freeze, wrap the entire chilled cheesecake (or individual slices) tightly in plastic wrap, followed by a layer of aluminum foil. It can be frozen for up to 3 months. To serve, thaw it overnight in the refrigerator.
Why You’ll Love This Recipe?
There are many reasons this Banana Pudding Cheesecake will become a new go-to dessert.
- The Best of Both Worlds: It combines the comforting, nostalgic flavor of classic banana pudding with the rich, decadent texture of a creamy cheesecake.
- Show-Stopping Presentation: With its golden crust, creamy filling, and decorative toppings, this cheesecake looks as incredible as it tastes, making it perfect for special occasions.
- Intense Banana Flavor: Using both ripe mashed bananas and banana pudding mix ensures a deep, authentic banana taste that isn’t artificial or overwhelming.
- Perfectly Creamy Texture: The recipe instructions, including the use of room temperature ingredients and a water bath, are designed to give you a flawless, crack-free cheesecake every time.