
Cannoli Cheesecake Bars Recipe
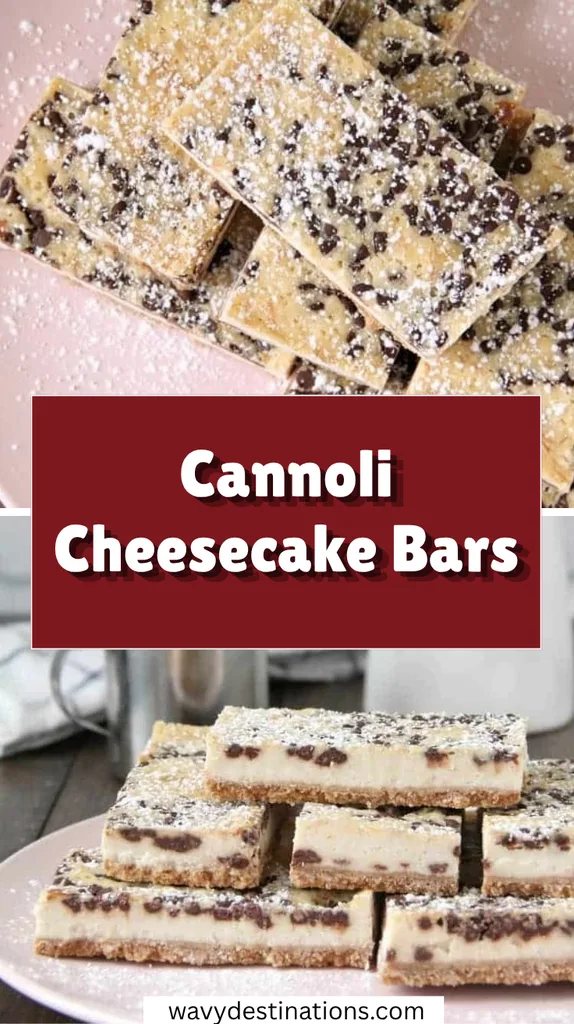
I recently made these Cannoli Cheesecake Bars, and they are hands-down one of the most incredible twist-on-a-classic desserts to come out of my kitchen! By pairing crisp waffle cone crumbs with a silky blend of ricotta, mascarpone, orange zest, and cinnamon, this recipe perfectly captures the irresistible flavor profile of a bakery-fresh Italian cannoli.
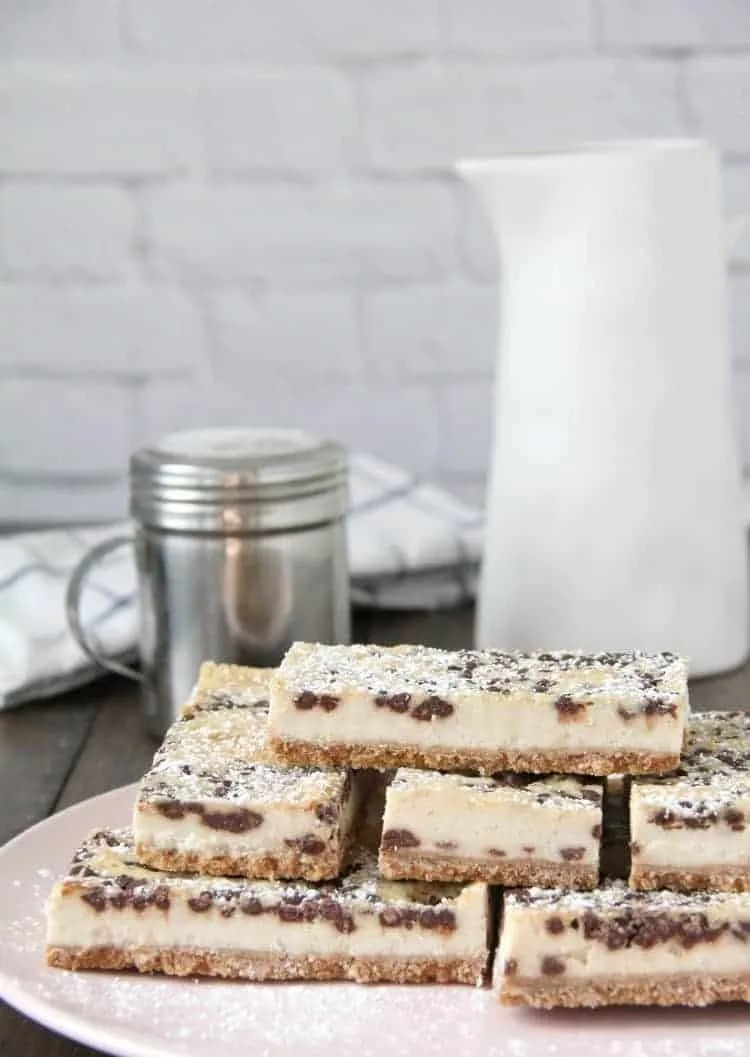
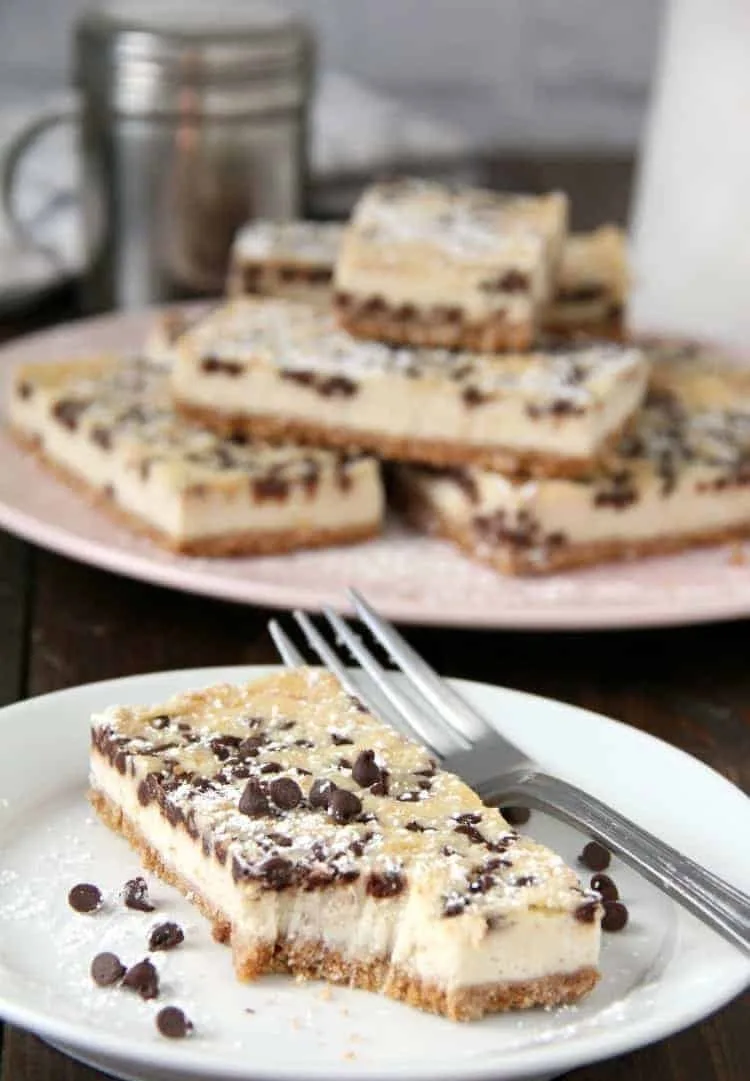
Watching the mini chocolate chips sink gently into the creamy layer as it bakes yields an unbelievably rich, sliceable bar. Whether you are hosting a dinner party, bringing a treat to a family gathering, or just satisfying a sweet tooth, these portable cheesecake squares are guaranteed to be a hit!
Ingredients
The combination of smooth cheeses, citrus hints, and spiced waffle cone crust delivers that quintessential cannoli taste in every bite.
- Waffle cone crumbs (1 1/2 cups, about 10-12 cones) – Creates a sweet, light, authentically crisp crust that mimics a fried cannoli shell (graham cracker crumbs work great as a substitute).
- Melted butter (5 tablespoons) – Binds the crumbs together so the crust sets firm and golden.
- Ricotta cheese (8 ounces, room temperature) – Full-fat is preferred; yields the classic light, slightly grainy texture signature to traditional cannoli fillings.
- Mascarpone cheese (8 ounces, room temperature) – Adds a lush, creamy richness that cuts through the ricotta for a smooth cheesecake consistency.
- Granulated sugar (1/2 cup) – Perfectly sweetens the cheese filling without overpowering the subtle spices.
- Eggs (2 large, room temperature) – Binds the cheesecake filling so it bakes up smooth and sliceable.
- Vanilla extract (1 teaspoon) – Enhances the sweet cream flavors of the cheeses.
- Fresh orange zest (1/2 teaspoon) – Adds a bright, aromatic citrus note traditional to traditional Italian bakery treats.
- Ground cinnamon (1/4 teaspoon) – Gives a subtle background warmth essential to the authentic cannoli profile.
- Mini chocolate chips (3/4 cup) – Scattered over the top for rich chocolate bursts throughout every slice.
- Powdered sugar (optional, for dusting) – Adds an elegant finishing touch right before serving.
Note: Yields 8 large bars (or 16 smaller bite-sized squares).
Variations
Customize these sweet bars with simple swaps or fun flavor additions to make them your own.
- Pistachio Cannoli Bars: Fold 1/3 cup of finely chopped toasted pistachios into the filling or sprinkle them over the top alongside the chocolate chips.
- Chocolate-Dipped Crust: Brush a thin layer of melted dark chocolate over the baked crust and let it set before pouring in the cheesecake layer.
- Citrus Twist: Increase the orange zest to 1 full teaspoon or add 1/4 teaspoon of lemon zest for a brighter, punchier citrus flavor.
- Gluten-Free Option: Use certified gluten-free graham cracker crumbs or gluten-free ice cream cones to make the crust completely gluten-safe.
Credit: snappygourmet
Cooking Time
Here is a clear breakdown of the time needed to prepare, bake, and chill these delightful dessert bars.
- Prep Time: 15 minutes
- Baking Time: 30 to 45 minutes
- Chilling Time: 4 to 6 hours (or overnight)
- Total Time: ~5 hours 15 minutes (includes chill time)
Equipment You Need
Gather these basic baking essentials to ensure a smooth, effortless preparation process.
- 9×9-inch square baking pan – The perfect size for baking thick, even cheesecake bars.
- Parchment paper – Essential for lining the pan so you can easily lift the bars out for clean slicing.
- Electric mixer (handheld or stand mixer) – Beats the cheeses and sugar into a light, uniform filling.
- Medium & large mixing bowls – Used to combine the crust materials and beat the cheesecake batter.
- Rubber spatula – Helps spread the thick filling evenly into the prepared pan.
How to Make Cannoli Cheesecake Bars Recipe?
Follow these simple steps to build, bake, and chill your homemade cannoli cheesecake bars to perfection.
Prep the Oven and Build the Crust
Setting up your pan and crust first creates a solid, crispy foundation for the creamy filling. Preheat your oven to 350°F (175°C). Line the bottom and two sides of a 9×9-inch square baking pan with parchment paper, leaving a slight overhang on the sides for easy removal. In a medium bowl, combine the 1 1/2 cups of waffle cone crumbs and 5 tablespoons of melted butter until the crumbs are evenly moistened. Press the mixture firmly into the bottom of the prepared pan to form a thin, solid crust.
Mix the Creamy Cannoli Filling
Beating the cheeses smoothly ensures a silky texture throughout the baked bars. In a large mixing bowl, use an electric mixer on medium speed to beat together the 8 ounces of room-temperature ricotta, 8 ounces of mascarpone cheese, and 1/2 cup of granulated sugar until well combined and smooth. Beat in the 2 eggs one at a time. Add the 1 teaspoon of vanilla extract, 1/2 teaspoon of orange zest, and 1/4 teaspoon of ground cinnamon, beating just until incorporated.
Bake and Chill to Set
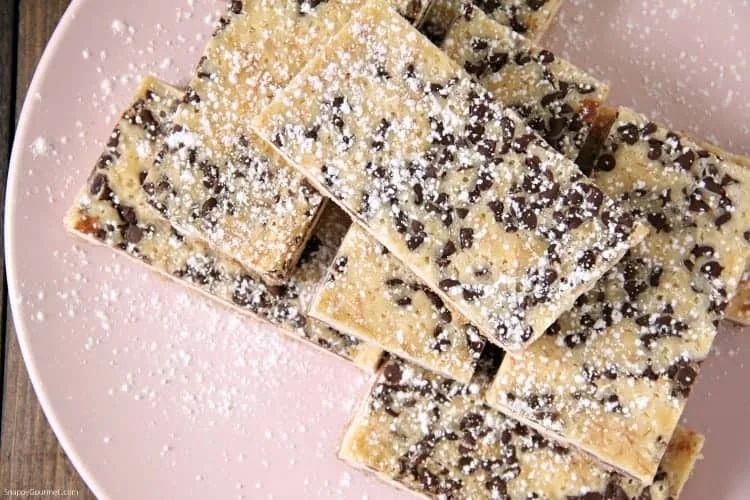
Slow baking sets the cheesecake layers while maintaining a lush, creamy texture. Pour the cheesecake filling over the crust, using a spatula to spread it into an even layer. Evenly sprinkle the 3/4 cup of mini chocolate chips over the top. Bake at 350°F for 30 to 45 minutes, or until the edges are slightly golden brown and the center is nearly set with just a slight jiggle. Remove from the oven, let cool completely at room temperature, then refrigerate for 4 to 6 hours (or overnight) to set fully before slicing into 8 bars and dusting with powdered sugar.
Additional Tips for Making this Recipe Better
Follow these helpful tricks to ensure your cheesecake bars turn out with the absolute best texture and presentation.
- Strain the ricotta overnight: If your ricotta cheese has excess liquid, strain it in a fine-mesh sieve or cheesecloth over a bowl in the fridge overnight to prevent a runny batter.
- Use room temperature ingredients: Bring your mascarpone, ricotta, and eggs to room temperature before mixing so they blend seamlessly without lumps.
- Chill before slicing: For extra neat, bakery-style cuts, freeze the chilled bars for 15 to 20 minutes before lifting them out with the parchment paper and slicing with a warm knife.
- Use mini chocolate chips: Regular chocolate chips can be too heavy and sink straight to the bottom; mini chips stay evenly distributed along the top layer.
How to Serve Cannoli Cheesecake Bars Recipe?
Lift the chilled cheesecake slab out of the pan using the parchment paper overhang and slice into 8 large rectangles or 16 bite-sized squares. Just before serving, dust the tops lightly with powdered sugar using a fine strainer. Serve cold alongside freshly brewed espresso, cappuccino, or an after-dinner dessert wine. They also pair wonderfully with fresh strawberries or raspberries on the side!
Nutritional Information
Below is an estimated breakdown of key nutritional facts per serving.
- Calories: 380 kcal
- Protein: 7 g
- Carbohydrates: 34 g
- Fat: 24 g
Make Ahead and Storage
These bars store exceptionally well, making them ideal for prepping ahead of events or gatherings.
Reheating
Because these are classic cold cheesecake bars, they should be served chilled or at room temperature and do not require reheating.
Freezing
Wrap individual baked and chilled bars tightly in plastic wrap and aluminum foil. Freeze for up to 2 months. Thaw frozen bars in the refrigerator overnight before dusting with powdered sugar and serving.
Storing and Freshness
Store leftover bars in an airtight container in the refrigerator for up to 5 days. Keep them chilled until ready to serve to maintain their firm structure.
Why You’ll Love This Recipe?
This clever bar recipe brings all the flavors of a beloved Italian pastry into an easy, sliceable treat.
- Iconic Bakery Flavor Profile: Combines sweet ricotta, tangy mascarpone, orange zest, and cinnamon for an authentic cannoli taste experience.
- Easy Slice-and-Serve Format: Eliminates the hassle of frying individual cannoli shells while providing all the same delicious textures.
- Fantastic Make-Ahead Dessert: Tastes even better after chilling overnight, making party prep completely stress-free.
- Unique Waffle Cone Crust: The waffle cone base provides a fun, crunchy texture that mimics real cannoli shells far better than standard graham crackers.


