
Butterfinger Fudge Recipe
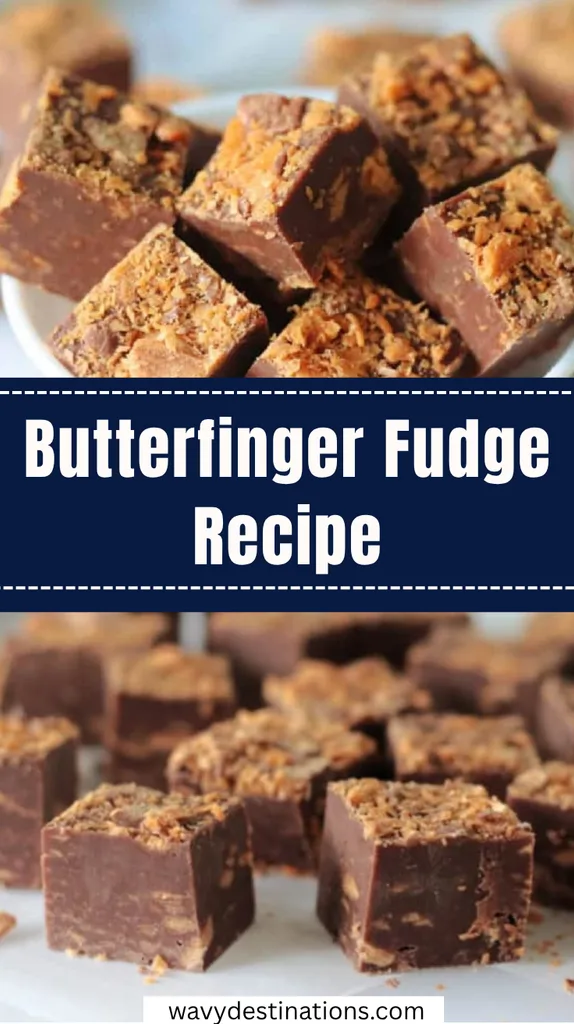
I recently made a batch of this copycat Butterfinger Fudge, and I was completely amazed at how transformational the combination of sweet candy corn and creamy peanut butter is! Heating candy corn down with peanut butter mimics the iconic, flaky, crisp layer of a classic Butterfinger candy bar in the most delicious way.
Balanced by rich sweetened condensed milk and smooth white chocolate, this fudge cures any sweet tooth craving with its rich, peanut-buttery goodness. It is a fantastic, crowd-pleasing treat to whip up for Halloween, autumn gatherings, or holiday dessert platters!
Ingredients
Combining sweet candy corn, creamy peanut butter, and smooth white chocolate creates a copycat Butterfinger taste with a rich, fudge-like texture.
- Candy corn (3 cups) – Melts down to provide the signature flaky, honeyed sweetness characteristic of a Butterfinger center.
- Peanut butter (1 cup / 268g) – Cuts through the sweetness of the candy corn and provides that classic savory, nutty peanut butter punch.
- Sweetened condensed milk (1 14-ounce can) – Adds rich creaminess and moisture to give the candy a soft, sliceable fudge structure.
- White chocolate chips (2 cups / 340g) – Melts into the mixture to bind the fudge together and give it a silky smooth mouthfeel.
- Milk chocolate chips (1 cup / 170g, optional) – Used for dipping or drizzling over the bottom or top of the fudge squares for an authentic chocolate coating.
- Vegetable oil (1 teaspoon, optional) – Used to thin out the melted milk chocolate slightly for smooth dipping.
Note: Yields approximately 16 to 25 squares depending on pan size and slice dimensions.
Variations
You can easily modify this sweet fudge recipe to adjust the chocolate coating, texture, or topping styles.
- Dark Chocolate Dipped: Substitute dark chocolate chips for milk chocolate when dipping the base to add a richer, slightly bitter contrast to the sweet center.
- Crushed Butterfinger Topping: Sprinkle finely chopped actual Butterfinger candy bars or roasted salted peanuts over the top of the fudge while it is still warm for extra crunch.
- Peanut Butter Drizzle: Melt an extra 2 tablespoons of peanut butter with a few white chocolate chips to drizzle decorative lines across the top before chilling.
- Chocolate Bottom & Top Coat: Spread a thin layer of melted milk chocolate into the bottom of your prepared pan, let it set, pour the fudge over it, and top with another layer of chocolate for a fully encased candy bar treat.
Cooking Time
Here is a breakdown of the prep, cook, and setting time required to make this delicious candy.
- Prep Time: 10 minutes
- Cooking Time: 10 minutes
- Cooling/Setting Time: 2 hours (15 minutes counter cooling + chilling time)
- Total Time: 2 hours 20 minutes
Equipment You Need
Gather these helpful kitchen essentials before getting started to ensure a smooth fudge-making process.
- 9×9-inch baking pan (or 8×8-inch pan for thicker fudge) – Used to shape and set the fudge evenly.
- Aluminum foil or parchment paper – Lines the pan for effortless removal and clean slicing.
- Cooking spray – Prevents the warm fudge mixture from sticking to the foil.
- Medium saucepan – Used to gently heat and melt the candy corn, peanut butter, and white chocolate together over low heat.
- Silicone spatula or wooden spoon – Essential for continuous stirring to prevent the milk and chocolate from burning.
- Wax paper-lined cookie sheet – Used if dipping the chilled fudge squares into melted chocolate.
How to Make Butterfinger Fudge?
Follow these step-by-step instructions to melt, set, and slice your homemade copycat Butterfinger fudge.
Prepare the Pan and Melt the Candy Corn Base
Setting up your pan first ensures you are ready to pour the fudge as soon as it melts. Line your 9×9-inch baking pan (or 8×8-inch pan for extra-thick squares) with aluminum foil and spray lightly with nonstick cooking spray. In a medium saucepan set over low heat, add the 3 cups of candy corn and 1 cup of peanut butter. Heat for about 3 minutes, stirring every 30 seconds to ensure the mixture does not scorch.
Add Condensed Milk and White Chocolate
Slowly melting in the remaining dairy elements creates a uniform, decadent fudge mixture. Pour in the 14-ounce can of sweetened condensed milk, stir, and continue cooking over low heat for another 3 minutes, stirring every 30 seconds (keep the heat low so the milk simmers gently without coming to a boil). Stir in the 2 cups of white chocolate chips. Continue stirring constantly over low heat until all the white chocolate chips are completely melted and the mixture turns completely smooth and uniform (it may take a couple of minutes of persistent stirring, but it will melt!).
Spread, Chill, and Dip in Chocolate
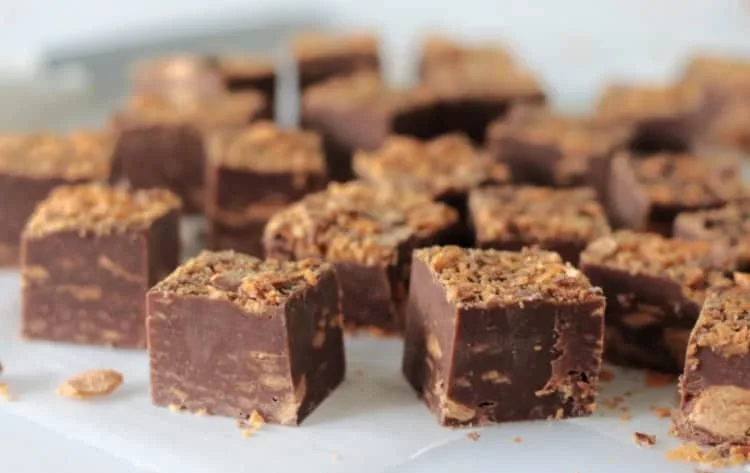
Setting the fudge properly makes it easy to slice into neat squares. Pour the thick mixture into your prepared baking pan and spread it out evenly with a spatula. Allow the pan to cool on the counter for about 15 minutes, then transfer it to the refrigerator to chill until completely firm and hardened (about 1 to 2 hours). Lift the fudge out using the foil overhang and slice into squares. If desired, melt 1 cup of milk chocolate chips with a tiny splash of vegetable oil in a microwave-safe bowl, dip the bottom of each fudge square into the chocolate, and place on a wax paper-lined sheet to harden before serving.
Additional Tips for Making this Recipe Better
A few smart techniques during preparation will give you the best texture and visual appeal.
- Keep heat strictly low: White chocolate and condensed milk burn easily; keeping your stove burner on low and stirring continuously prevents scorching and graininess.
- Choose a 9×9 pan for easier cutting: Using a 9×9-inch pan yields slightly thinner, perfectly bite-sized squares that are much easier to slice through than dense 8×8-inch blocks.
- Slice with a warm knife: For ultra-clean, sharp edge cuts, run a sharp chef’s knife under hot water, wipe it completely dry with a towel, and slice through the chilled fudge block.
- Don’t panic while stirring: As the white chocolate chips hit the hot peanut butter mix, it may look thick or separated at first, but continuous stirring over gentle heat will pull it all into a smooth fudge batter.
How to Serve Butterfinger Fudge?
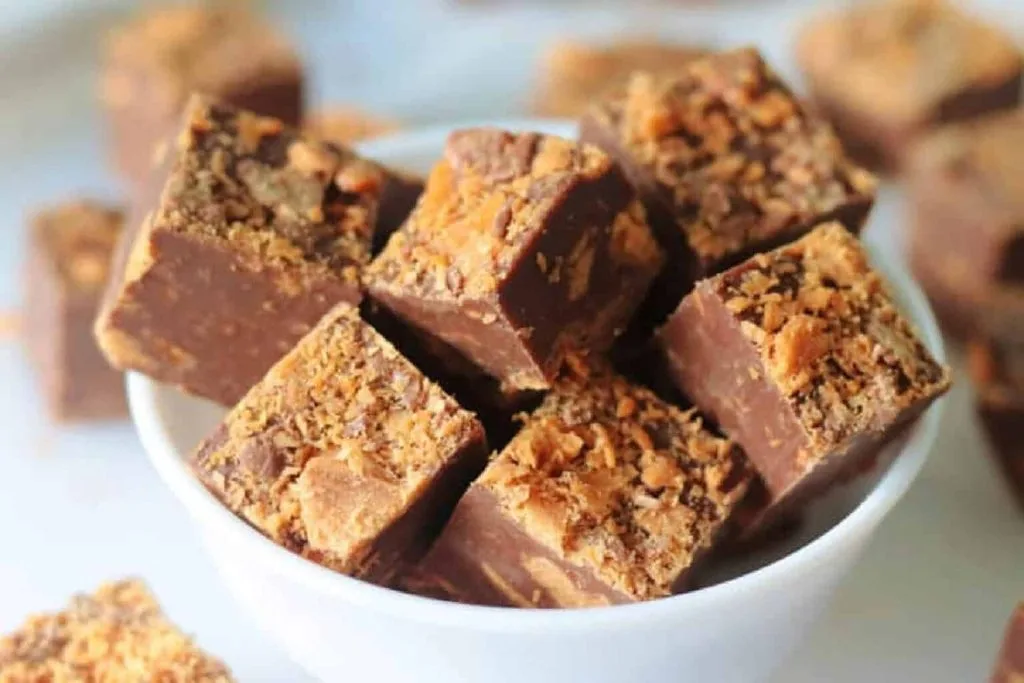
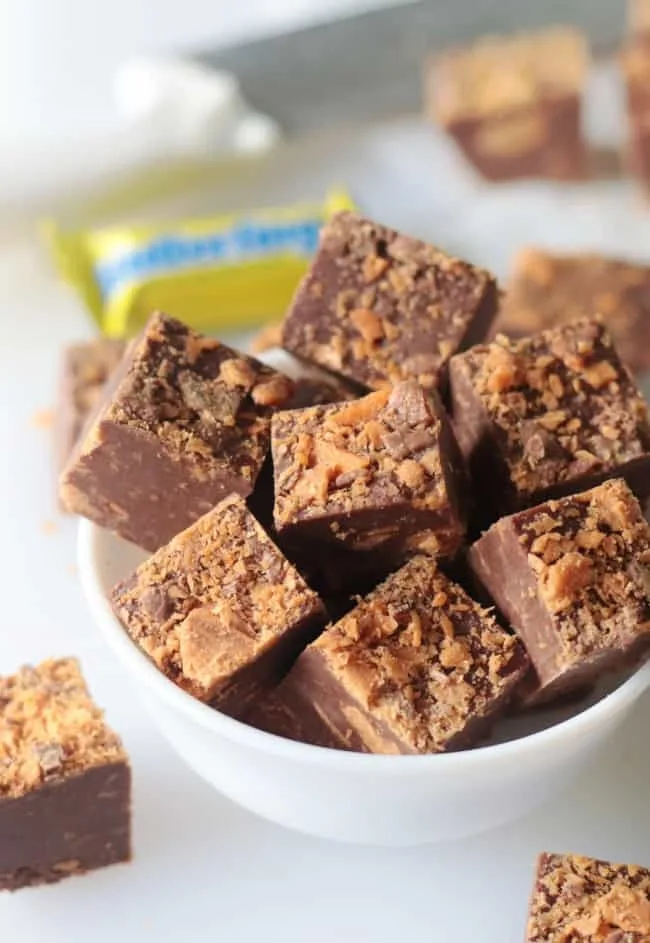
Slice the set fudge into small, 1-inch squares and arrange them on a festive platter or inside mini cupcake paper liners for easy grabbing. Serve alongside cold glasses of milk or hot espresso to complement the rich peanut butter and white chocolate profile. They also make fantastic edible gifts when packed into clear cellophaned treat bags tied with a festive ribbon during Halloween or fall holidays!
Nutritional Information
Below is an estimated breakdown of key nutritional facts per serving.
- Calories: 245 kcal
- Protein: 4.5 g
- Carbohydrates: 31.0 g
- Fat: 12.0 g
Make Ahead and Storage
This fudge has a fantastic shelf life, making it ideal for making ahead of holiday events.
Reheating
Fudge is designed to be served cold or at room temperature and should not be reheated in an oven or microwave, as high heat will cause the chocolate structure to melt into a liquid state.
Freezing
You can freeze the sliced fudge squares for long-term storage. Wrap the squares tightly in plastic wrap, then place them in an airtight freezer-safe bag or container for up to 3 months. Thaw in the refrigerator overnight before serving.
Storing and Freshness
Store the fudge squares in an airtight container with layers separated by parchment or wax paper. Keep in the refrigerator for up to 2 weeks or at cool room temperature for up to 1 week.
Why You’ll Love This Recipe?
This clever copycat recipe brings out the best in fall candy staples with minimal effort.
- Amazing Copycat Butterfinger Taste: Combining peanut butter and melted candy corn perfectly replicates the signature crisp, buttery flavor of the iconic candy bar.
- Uses Up Leftover Candy Corn: A brilliant and creative way to transform extra Halloween candy corn into an elevated, gourmet treat.
- Quick Stovetop Preparation: Takes just 10 minutes of active cook time on the stovetop without requiring a candy thermometer.
- Rich and Indulgent Crowd-Pleaser: The combination of peanut butter, white chocolate, and optional milk chocolate dip delivers an irresistible texture and flavor balance.


