Red Velvet Cheesecake Recipe
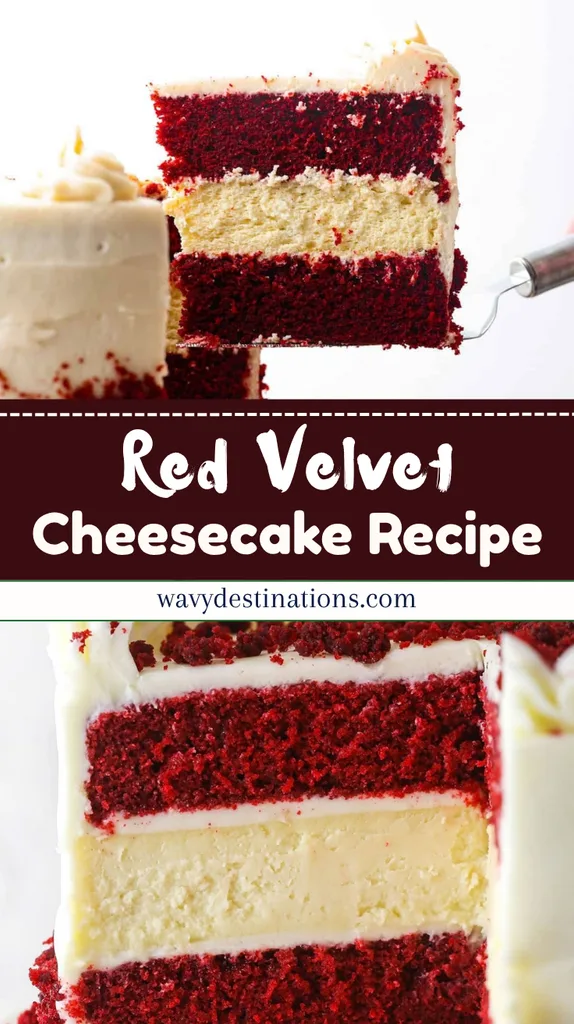
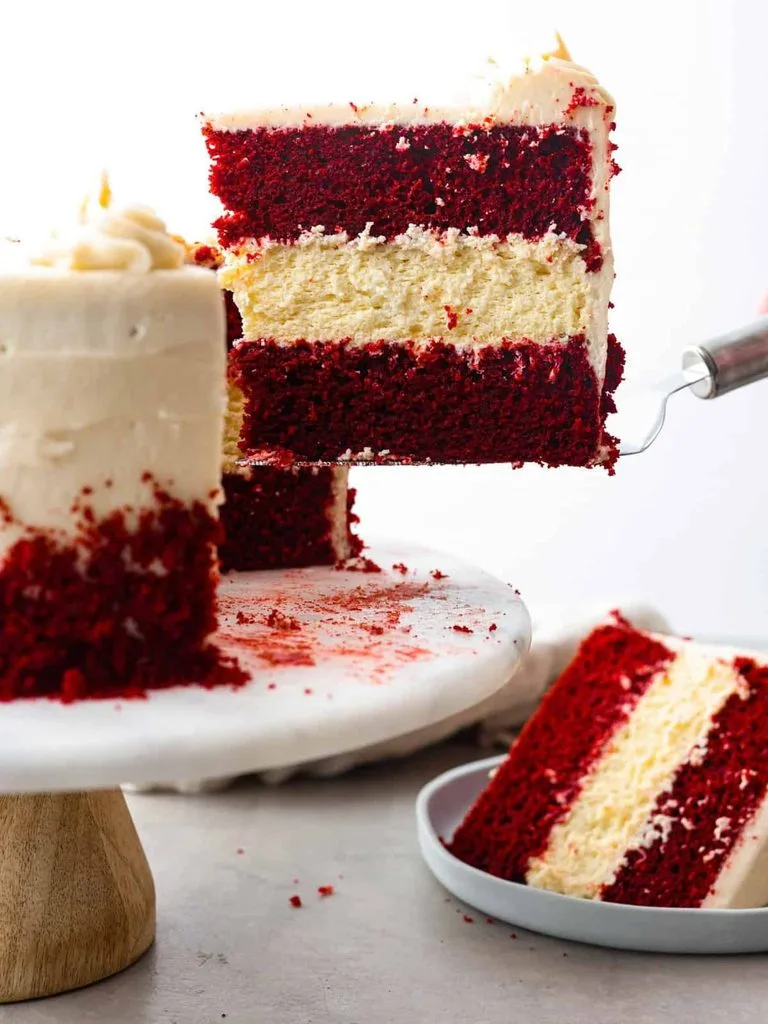
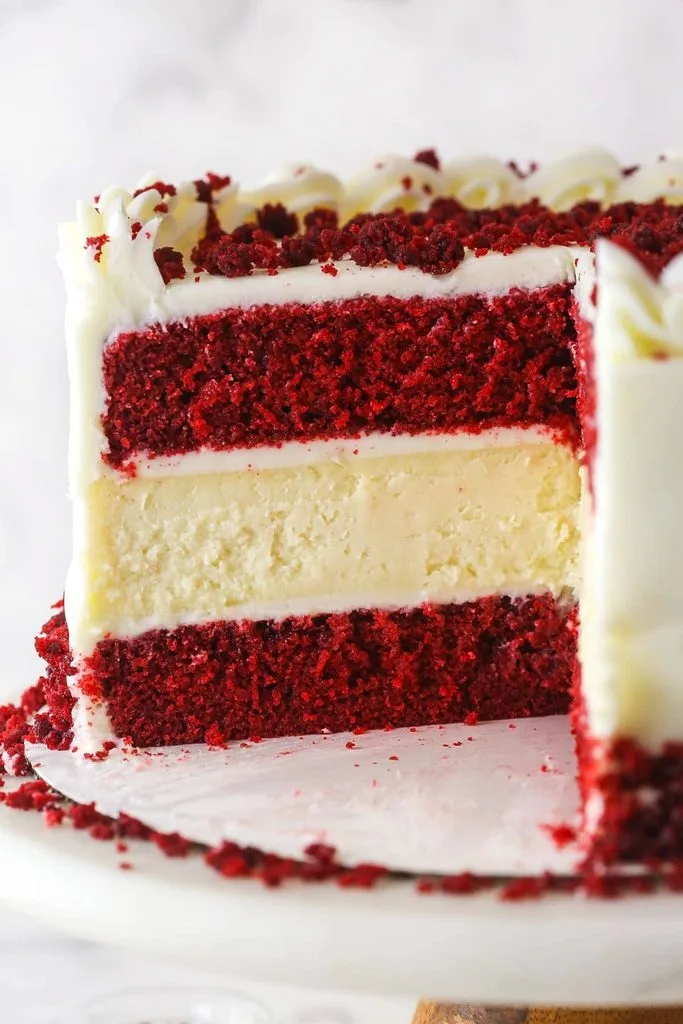
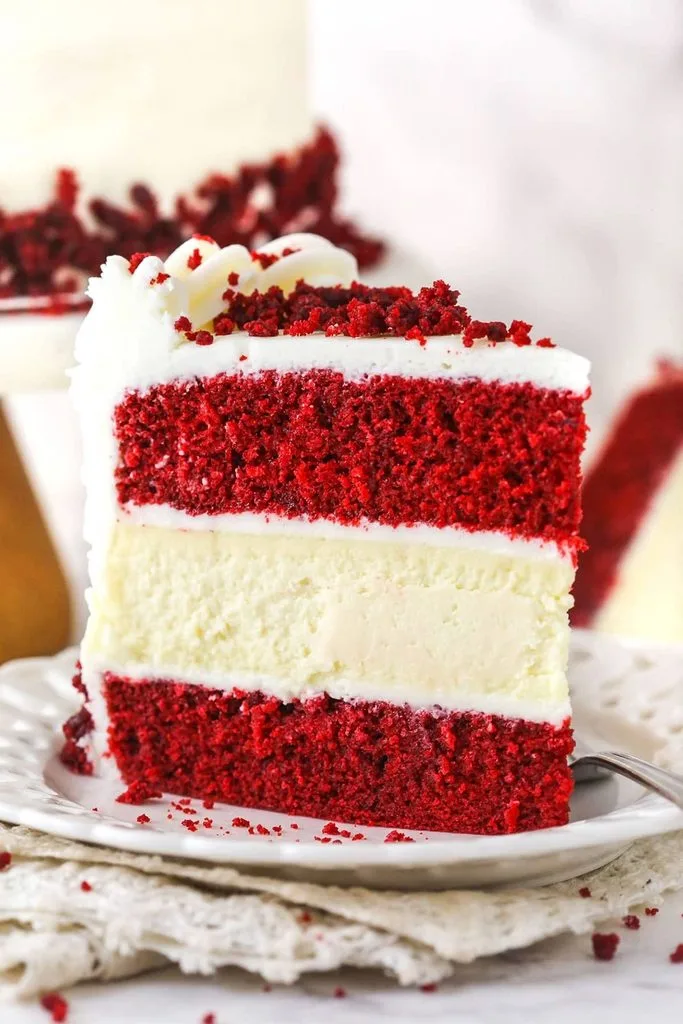
I recently baked this Red Velvet Cheesecake for a family celebration, and it completely stole the show on our dessert table! The combination of a rich, crimson cocoa-scented red velvet cake layer and a silky, tangy cream cheese filling creates an unforgettable slice.
I loved how the vibrant red color contrasted beautifully with the smooth white cheesecake layer and creamy frosting. My family polished off their slices in minutes and immediately asked when I could bake it again. If you are looking for an elegant, crowd-pleasing dessert that feels truly special, this recipe is guaranteed to impress!
Ingredients
Selecting high-quality ingredients ensures your cheesecake achieves that signature velvety texture and rich flavor profile.
For the Crust:
- Chocolate wafer cookies or Oreo cookies (2 cups, finely crushed) – Forms a deep, chocolatey base that complements the red velvet flavor; keep the cream filling if using Oreos.
- Melted butter (5 tablespoons, unsalted) – Binds the crushed cookie crumbs together so the crust sets firm and holds its shape.
For the Red Velvet Cheesecake Layer:
- Cream cheese (32 ounces / 4 8-ounce blocks, softened) – Use full-fat block cream cheese for the richest, smoothest texture without extra moisture.
- Granulated sugar (1 1/2 cups) – Sweetens the batter while helping smooth out the cream cheese mixture.
- Unsweetened cocoa powder (3 tablespoons) – Delivers that subtle, iconic chocolate note characteristic of classic red velvet.
- Sour cream (1/2 cup) – Adds a luscious tang and keeps the cheesecake texture dense yet silky.
- Pure vanilla extract (2 teaspoons) – Enhances the chocolate and cream cheese flavors throughout the batter.
- Red liquid or gel food coloring (1 to 2 tablespoons) – Gives the batter its iconic, vibrant crimson hue; gel food coloring yields a deeper color with less liquid.
- Eggs (4 large, room temperature) – Provides structural stability and richness; add them one at a time to avoid over-aerating the batter.
For the Cream Cheese Frosting & Garnish:
- Cream cheese (4 ounces, softened) – Forms the creamy, tangy base for the top decorative piping.
- Unsalted butter (1/4 cup, softened) – Adds structure and creaminess to the frosting mixture.
- Powdered sugar (1 1/2 cups, sifted) – Sweetens and stabilizes the frosting for easy piping.
- Fresh berries or chocolate curls (optional, for garnish) – Adds an elegant, bakery-style finish over the top of the chilled cake.
Note: Serves 12 to 16 slice servings (yields one 9-inch springform cake).
Variations
Customizing this showstopping dessert to suit different preferences or dietary needs is simple and fun.
- Gluten-Free Option: Swap standard chocolate wafer cookies for gluten-free Oreo-style cookies in the crust mixture.
- Marble Swirl Style: Reserve 1 cup of plain cheesecake batter before adding cocoa and red coloring, then swirl it into the top of the red velvet batter before baking.
- Individual Mini Cheesecakes: Divide the crust and batter into a 12-cup lined muffin tin and reduce the baking time to 20–22 minutes.
- White Chocolate Twist: Melt 4 ounces of high-quality white chocolate and fold it directly into the cream cheese filling for extra decadence.
Cooking Time
Planning your timeline carefully guarantees a perfectly set, crack-free cheesecake every time.
- Prep Time: 30 minutes
- Cooking Time: 1 hour 15 minutes
- Total Time: 7 hours 45 minutes (includes 6 hours of essential chilling time)
Equipment You Need
Having these basic baking tools ready makes preparing your cheesecake smooth and completely stress-free.
- 9-inch springform pan – Used to bake the cheesecake so the sides release cleanly without damaging the crust or filling.
- Electric hand mixer or stand mixer – Used to beat the cream cheese and sugar together into a completely smooth batter.
- Large roasting pan – Used to create a water bath (bain-marie) that bakes the cheesecake gently and prevents cracking.
- Heavy-duty aluminum foil – Used to wrap the outside of the springform pan tightly so water does not leak in during baking.
How to Make Red Velvet Cheesecake Recipe?
Follow these simple, step-by-step instructions to create a gorgeous, bakery-worthy cheesecake right in your kitchen.
Prepare the Crust and Oven
Setting up your pan correctly prevents sticking and protects your cheesecake from oven water leaks. Preheat your oven to 325°F (163°C) and wrap the outside bottom and sides of a 9-inch springform pan with three tight layers of heavy-duty aluminum foil. Combine the finely crushed chocolate cookie crumbs and melted butter in a bowl until evenly moistened. Press the crumb mixture firmly into the bottom of the prepared springform pan in an even layer, then bake for 10 minutes and let it cool completely while preparing the filling.
Mix the Red Velvet Filling
Creating a smooth, lump-free batter is the secret to achieving that signature velvety texture. In a large mixing bowl or stand mixer fitted with the paddle attachment, beat the softened cream cheese and granulated sugar on medium speed for 3 to 4 minutes until completely smooth and fluffy. Scrape down the bowl, then beat in the cocoa powder, sour cream, vanilla extract, and red food coloring until the color is vibrant and uniform. Lower the mixer speed and add the room-temperature eggs one at a time, mixing just until each egg is incorporated to avoid whipping excess air into the batter.
Bake in a Water Bath and Chill
Gentle baking and slow cooling ensure a perfectly smooth surface without any deep cracks. Pour the red velvet batter over the cooled cookie crust and smooth the top with a spatula. Place the wrapped springform pan inside a large roasting pan and carefully pour boiling water into the roasting pan until it reaches halfway up the sides of the springform pan. Bake at 325°F (163°C) for 65 to 75 minutes until the edges are set but the center still wobbles slightly, then turn off the oven, prop the door open slightly, and let the cheesecake cool inside for 1 hour before transferring to the fridge to chill for at least 6 hours.
Additional Tips for Making this Recipe Better
A few personal baking tips from my own kitchen testing will help you pull off a flawless cheesecake every single time.
- Use room temperature ingredients: I always set my cream cheese, sour cream, and eggs out on the counter two hours before baking so they blend together smoothly without leaving cold lumps.
- Do not overmix after adding eggs: When I add the eggs to the batter, I mix on the lowest speed just until combined because excess air trapped in the batter causes cracks during baking.
- Always use a water bath: Wrapping the pan in heavy foil and baking in hot water creates a gentle, humid environment that ensures a silky texture and crack-free top.
- Slice with a warm knife: I run my chef’s knife under hot tap water and wipe it clean with a towel between every single cut to get clean, professional-looking slices.
How to Serve Red Velvet Cheesecake Recipe?
Run a thin knife around the inside edge of the springform pan before carefully removing the outer ring. Transfer the chilled cheesecake to a serving pedestal, then pipe whipped cream cheese frosting around the top border using a star tip. Garnish the center with delicate chocolate curls, fresh red raspberries, or a light dusting of cocoa powder. Slice cleanly and serve chilled alongside a warm cup of espresso or coffee for the ultimate dessert experience.
Nutritional Information
Here is the approximate nutritional estimate per serving (1 slice, out of 14 total slices):
- Calories: 485 kcal
- Protein: 7 g
- Carbohydrates: 42 g
- Fat: 33 g
Make Ahead and Storage
Proper chilling and storage techniques keep your cheesecake tasting fresh and structural for days.
Reheating
Cheesecake is strictly served chilled or at cool room temperature. Never heat or microwave leftover slices, as heat will cause the cream cheese structure to melt and collapse.
Freezing
To freeze, chill the un-decorated cheesecake completely, then wrap the entire wheel (or individual slices) tightly in plastic wrap followed by aluminum foil. Freeze for up to 2 months, then thaw overnight in the refrigerator before decorating and serving.
Storing and Freshness
Keep the cheesecake stored in an airtight cake carrier or loosely covered with foil in the refrigerator. It will stay fresh, firm, and delicious for up to 5 days.
Why You’ll Love This Recipe?
This red velvet cheesecake brings together elegance, rich flavor, and crowd-pleasing appeal into one incredible dessert.
- Stunning Visual Appeal: The deep crimson red velvet color paired with white cream cheese frosting makes this an eye-catching centerpiece for holidays and special occasions.
- Unmatched Creamy Texture: Baking the cream cheese batter gently in a water bath produces an impossibly smooth, velvety bite every time.
- Classic Flavor Fusion: You get the best of both worlds with the subtle cocoa and buttermilk-style tang of red velvet blended into a rich cheesecake.
- Perfect Make-Ahead Dessert: Because it requires chilling overnight, you can easily prepare it a day in advance without any stress on the day of your event.