Stained Glass Cookies Recipe
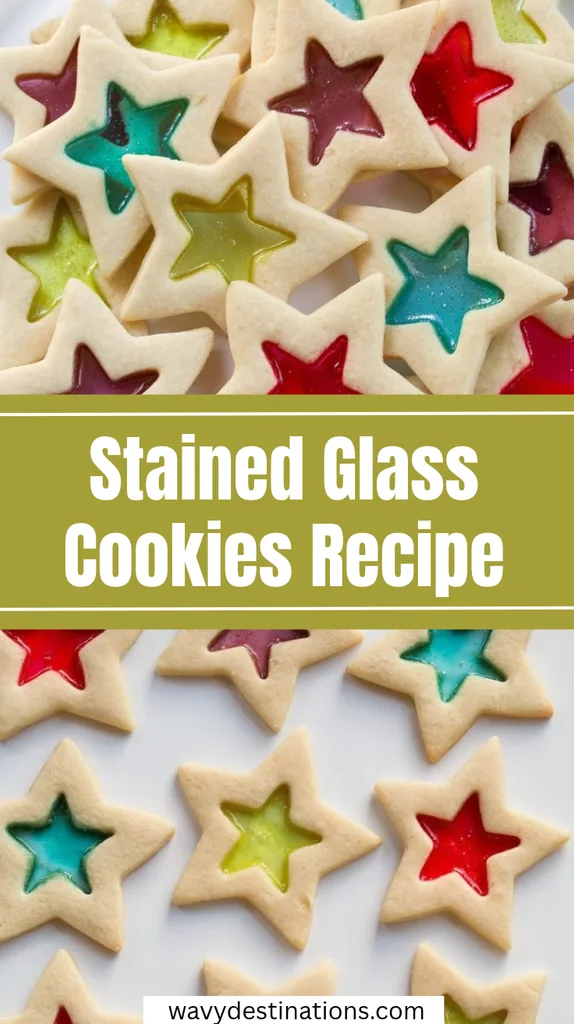
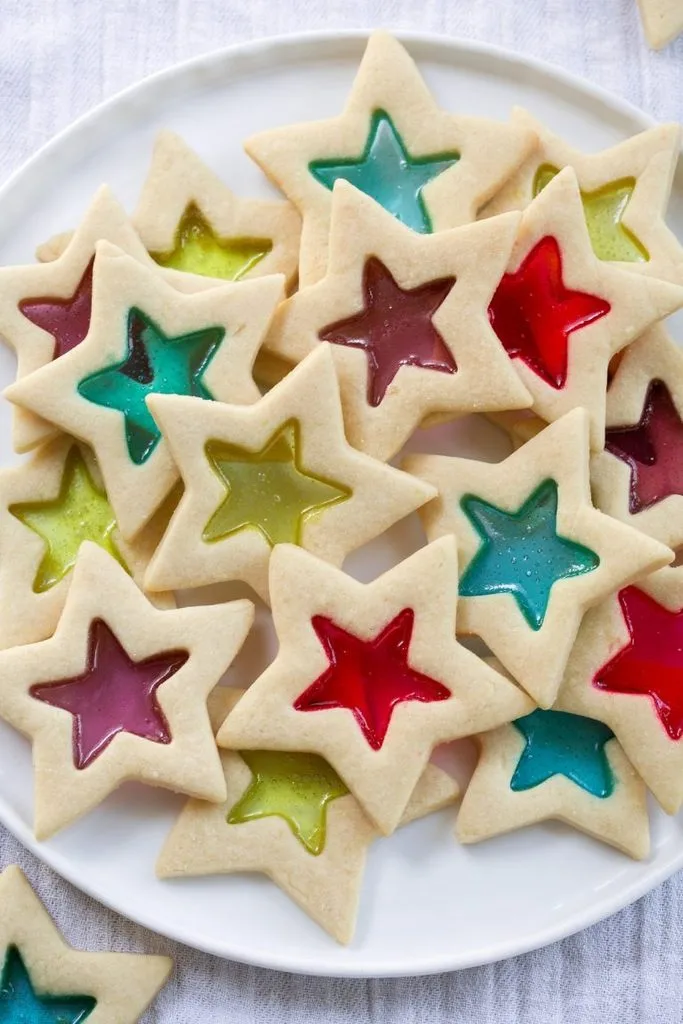
I made these beautiful Stained Glass Cookies for a holiday cookie exchange recently, and they were an absolute sensation on the dessert platter. After baking these myself, I can tell you that cutting out decorative window centers and filling them with crushed Jolly Ranchers creates a stunning, jewel-like translucent effect that looks like real stained glass.
The buttery sugar cookie base provides a tender, crisp crunch, while the melted hard candy sets into a smooth, glossy window that shines bright when held up to the light. I was so amazed by how effortlessly the crushed candies melt and level out in the oven to form a seamless candy pane.
Ingredients
Here is everything you will need to bake these vibrant window-pane cookies, along with helpful pro tips on why each component works so well.
- Jolly Ranchers hard candies (approx. 20) – crushed into small bits; melt smoothly in the oven to create glowing, translucent hard-candy glass windows.
- 1 cup (226g) unsalted butter, softened – room temperature butter creams smoothly with sugar to give the cookie dough a rich, melt-in-your-mouth flavor.
- 1 cup (200g) granulated sugar – provides the sweet foundation and creates crisp edges that hold their shape while baking.
- 1/4 tsp salt – cuts through the sweetness and enhances the rich vanilla and butter notes throughout the dough.
- 2 large eggs – bind the flour and butter together, giving the dough the ideal structure to be cut and moved without breaking.
- 1 tsp vanilla extract – brings a warm, comforting aroma to the buttery sugar cookie base.
- 3 cups (382g) all-purpose flour (spooned and leveled) – provides the exact structural foundation required to maintain clean cut-out shapes without spreading.
Note: Serves 12 as an eye-catching, festive cookie platter (yields approximately 24 star cookies depending on cutter size).
Variations
If you want to customize these decorative cookies for different holidays or taste preferences, give these simple ingredient swaps a try.
- Festive Color Themes: Use green and red hard candies for Christmas, or pastel fruit drops for Easter to suit any seasonal celebration.
- Citrus Herb Twist: Add 1 teaspoon of freshly grated lemon or orange zest to the sugar cookie dough for a bright citrus aroma that complements the candy centers.
- Gluten-Free Option: Swap the all-purpose flour for a 1:1 gluten-free measure-for-measure baking flour blend containing xanthan gum.
Cooking Time
Planning your baking schedule is completely simple with this clear time breakdown.
- Prep Time: 25 minutes
- Cooking Time: 14 minutes
- Total Time: 2 hours 0 minutes (includes 1 hour 20 minutes dough chilling and candy setting time)
Equipment You Need
Having these essential baking tools ready before you begin will make cutting, filling, and baking your stained glass cookies completely smooth.
- Silicone baking mat or parchment paper – strictly required so the melted Jolly Rancher windows release cleanly without sticking or tearing.
- Nesting star cookie cutters (3.5-inch and 1.75-inch) – cuts clean outer star borders and hollow center windows.
- Meat mallet or rolling pin & resealable bags – crushes the hard candies into small, uniform bits for even melting.
- Rolling pin – rolls the chilled sugar cookie dough out evenly to an ideal 1/5-inch thickness.
How to Make Stained Glass Cookies?
Creating picture-perfect stained glass cookies relies on chilling your cut dough cutouts firm and letting the melted candy cool completely on the pan. By filling the hollow cookie centers three-quarters full with crushed candies, you achieve a smooth glass window that sets perfectly level with the cookie edges.
Crushing Candies and Mixing Dough
Unwrap the Jolly Ranchers, separate them by color into small resealable bags, and crush them into small bits using a meat mallet; set aside. In the bowl of an electric stand mixer, cream together the softened butter, granulated sugar, and salt until light and well combined. Mix in the eggs one at a time, then blend in the vanilla extract. Set the mixer to low speed, slowly add the flour, and mix just until a cohesive dough forms.
Chilling and Rolling the Dough
Scrape the dough out, shape it into a flat rectangle, wrap securely in plastic wrap, and chill in the refrigerator for 1 hour. Cut the chilled dough into thirds, leaving one portion out to work with while keeping the remaining dough refrigerated. Roll the dough out on a lightly floured surface to about 1/5-inch thickness, then cut out large stars using a 3.5-inch star cookie cutter.
Cutting Centers and Filling Candy
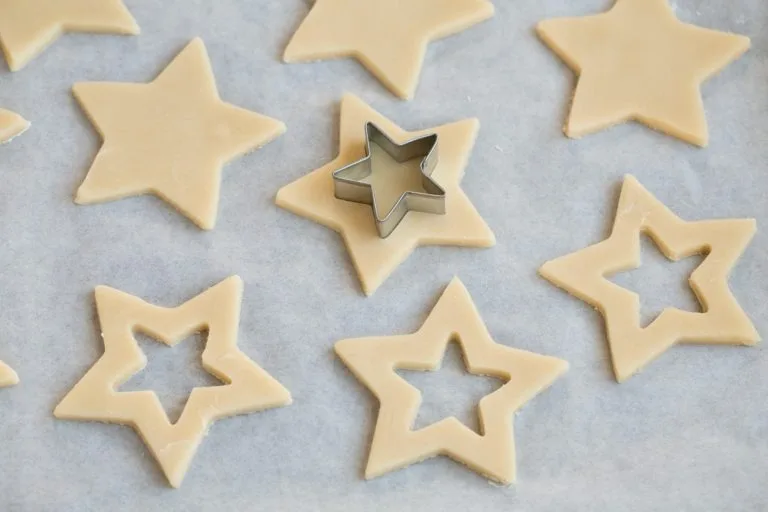
Transfer the cut outer stars onto a baking sheet lined with a silicone baking mat. Cut out smaller stars from the center of each cookie using a 1.75-inch cutter and remove the inner dough scraps (re-roll these scraps with remaining dough). Fill the hollow star centers about 3/4 of the way full with crushed Jolly Ranchers. Place the filled cookies in the refrigerator to chill for 15 to 20 minutes until firm while preheating your oven to 350°F (175°C).
Baking and Setting
Bake at 350°F (175°C) for 12 to 14 minutes until the cookie edges are set and the candy centers are completely melted and smooth. Remove the pan from the oven and let the cookies cool completely directly on the baking sheet until the melted candy centers solidify and harden completely before moving. Repeat with remaining dough and store in an airtight container.
Additional Tips for Making this Recipe Better
Here are a few personal observations and tricks I learned while making these cookies that will help you achieve absolute perfection in your own kitchen.
- I always make sure to use a silicone baking mat rather than parchment paper if possible, as silicone yields the smoothest, glass-like backings on the candy centers.
- In my experience, letting the baked cookies cool completely on the tray is non-negotiable; moving a warm cookie will cause the liquid candy center to tear away from the dough edges.
- I love poking a small hole near the top of each unbaked cookie with a straw if I want to thread ribbons through them and hang them as edible tree ornaments.
- Whenever I make these, I make sure not to overfill the cut-out centers with crushed candy so the melted glass stays flush with the cookie surface without overflowing.
How to Serve Stained Glass Cookies?
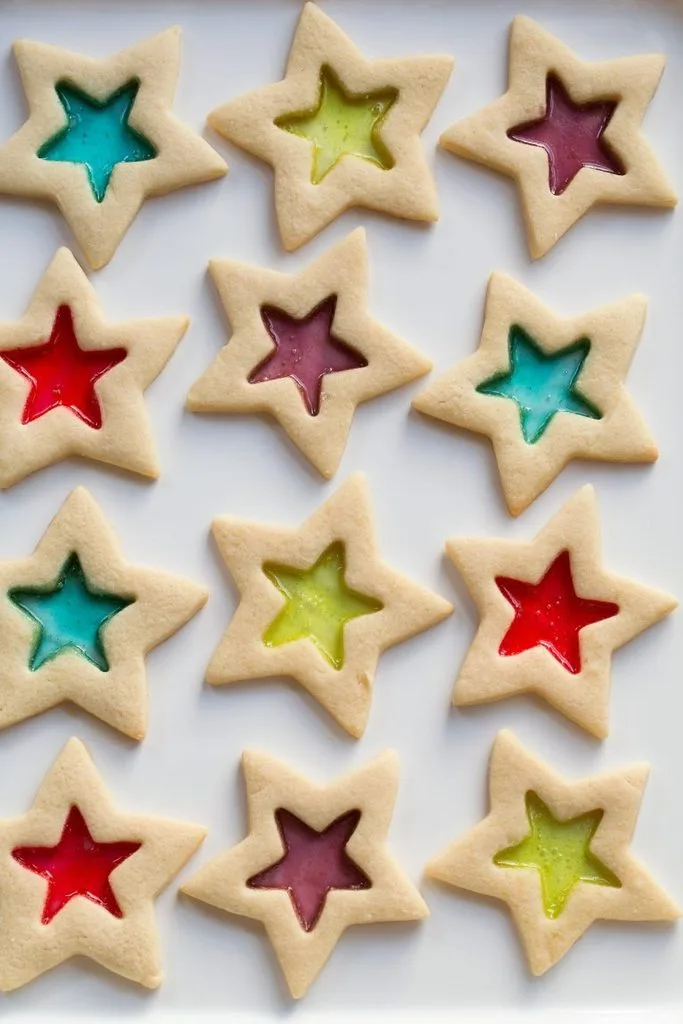
Present these glittering, jewel-toned cookies arranged in a single layer on a wide white or glass platter to highlight their translucent colorful centers. Hold them up to ambient holiday lights or place them near a light source to show off the stained glass effect to your guests. Serve alongside a cold glass of milk, warm tea, or hot cocoa for a festive holiday treat pairing.
Nutritional Information
Here is a quick overview of the estimated key nutritional metrics per serving (1 star cookie) for this recipe.
- Calories: 210 kcal
- Protein: 3 g
- Carbohydrates: 31 g
- Fat: 8 g
Make Ahead and Storage
Managing your holiday baking schedule or storing leftover stained glass cookies is simple when following these easy guidelines.
Room Temperature Storage
Store fully cooled stained glass cookies in an airtight container at room temperature for up to 1 week. Place sheets of parchment paper between layers so the candy centers do not stick together.
Refrigerator Guidelines
Avoid storing stained glass cookies in the refrigerator! The ambient humidity inside the fridge will react with the hard candy centers, causing them to turn sticky and soft.
Freezing Process
Freeze the unbaked cookie cutouts (without candy filling) on a baking sheet until solid, then store in a freezer bag for up to 2 months. Thaw, fill with crushed candies, and bake as directed.
Reheating Instructions
No reheating needed! Always enjoy your Stained Glass Cookies straight from room temperature storage for the best crisp cookie crunch and hard-candy window snap.
Why You’ll Love This Recipe?
You are going to fall in love with how effortlessly this recipe transforms basic sugar cookie dough into a breathtaking holiday masterpiece.
- Breathtaking Visual Appeal: Glowing, translucent candy windows make these cookies look like actual stained glass art on your dessert table.
- Fun & Creative Project: Crushing colorful hard candies and filling cookie cutouts is a wonderful, hands-on baking activity to enjoy with family.
- Classic Buttery Sugar Cookie Flavor: Combines a tender vanilla sugar cookie base with a sweet, crunchy fruit-flavored candy center.
- Excellent Holiday Gift & Decor: Perfect for cookie exchanges, holiday dessert platters, or poking ribbon holes through to create edible ornament displays.