
Creamy Coffee Pie Recipe
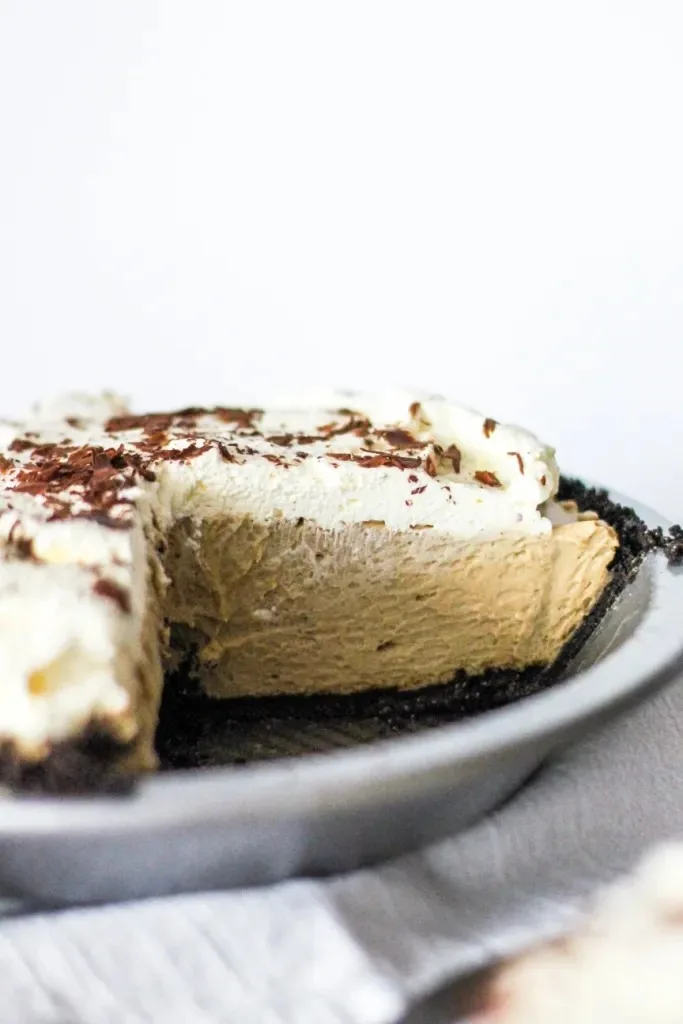
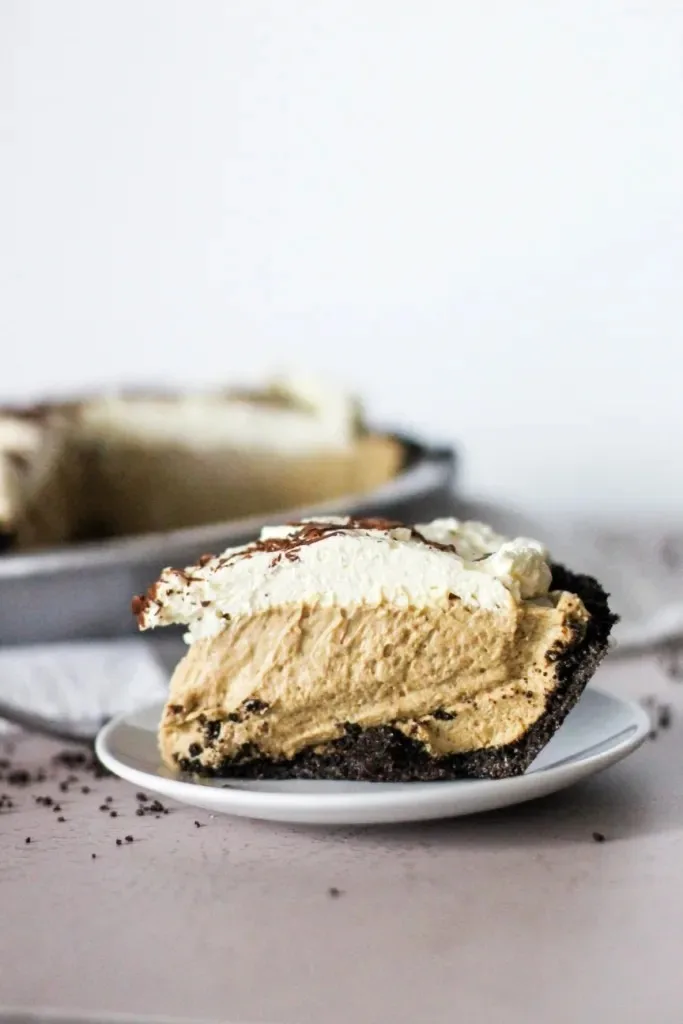
I made this creamy coffee pie over the weekend, and it turned out to be the ultimate decadent frozen dessert. Taking that first bite with the rich, velvet espresso filling melting against the crunchy Oreo crust was pure bliss.
I love how the bold coffee flavor punches through the sweetness without feeling overly heavy. It came together so effortlessly that I am already planning to make it again for my next dinner party.

Ingredients
Here are the six basic ingredients you will need to create this rich, frozen coffee treat at home.
- 25 Oreos – Crushing whole sandwich cookies with their filling creates a rich, sweet crust base that holds together beautifully.
- 4 tbsp Butter (melted) – Unsalted melted butter binds the cookie crumbs together so the crust sets firm when chilled.
- 3 cups Heavy Cream – Use cold heavy whipping cream with high fat content so it whips up into thick, stable peaks.
- ½ cup Powdered Sugar – Dissolves smoothly into the cream without leaving any gritty texture in your silky filling.
- 2 tbsp Instant Espresso Powder – Delivers a concentrated, deep coffee flavor that stands up well against the rich dairy.
- 14 oz Sweetened Condensed Milk – Adds rich sweetness and creates a soft, scoopable texture even when fully frozen.
Note: Serves 8 to 10 people generously as a rich frozen dessert pie.
Variations
You can easily tailor this pie to suit different dietary preferences or add fun flavor twists.
- Gluten-Free Version: Swap standard Oreo cookies for gluten-free chocolate sandwich cookies to keep the crust entirely gluten-free.
- Nutty Coffee Twist: Drizzle a quarter cup of warm hazelnut spread or peanut butter over the crust before adding the filling.
- Mocha Fudge Style: Fold half a cup of mini chocolate chips into the whipped filling and top with chocolate fudge drizzle.
- Decaf Option: Use decaffeinated instant espresso powder so you can enjoy a slice late at night without the caffeine kick.
Cooking Time
This no-bake pie comes together quickly with most of the time spent letting it set in the freezer.
- Prep Time: 20 minutes
- Cooking Time: 0 minutes (No-Bake)
- Total Time: 6 hours 20 minutes (includes freeze time)
Equipment You Need
Having these standard kitchen tools ready makes preparing this dessert fast and simple.
- Food Processor: Pulverizes whole Oreo cookies into fine, even crumbs in just a few quick pulses.
- 9-inch Deep Dish Pie Plate: Provides enough depth and volume to fit the full amount of tall, fluffy filling.
- Hand Beaters or Stand Mixer: Essential for whipping the heavy cream into firm, stiff peaks quickly and efficiently.
- Rubber Spatula: Used to scrape the bowl clean and gently fold the condensed milk into the whipped cream evenly.
- Flat Tamper or Measuring Cup: Helps press the Oreo crumb crust firmly and evenly against the sides and bottom of your pan.
How to Make Creamy Coffee Pie?
Making this frozen pie is incredibly straightforward and requires zero oven time. The key is whipping your heavy cream to stiff peaks so the pie holds its high, fluffy shape once frozen. Follow these steps to assemble your stunning coffee pie.
Prepare the Oreo Crust
Place 25 whole Oreos into your food processor and pulse until they form fine, uniform crumbs. Pour in the melted butter and pulse a few more times until the crumbs are evenly coated and resemble wet sand. Dump two-thirds of the mixture into your 9-inch deep dish pie plate, using your fingers or a tamper to press it firmly up the sides. Add the remaining crumbs to the center and press them flat into the bottom to complete the crust.
Whip the Cream and Espresso
Add the cold heavy cream, powdered sugar, and instant espresso powder into the bowl of your stand mixer fitted with a whisk attachment. Whip the mixture on high speed for about 6 to 7 minutes until thick, stiff peaks form. Watch the cream closely toward the end so it becomes firm without turning into butter. The espresso powder should be completely dissolved, giving the whipped cream a soft, light brown coffee color.
Fold in the Condensed Milk
Pour the entire can of sweetened condensed milk directly into the whipped espresso cream. Turn your mixer to low speed and mix for just 30 seconds to begin incorporating the thick milk. Stop the mixer, scrape down the sides and bottom of the bowl thoroughly with a rubber spatula, then mix on low for another 30 seconds. Be careful not to overmix here so the filling keeps its airy structure.
Fill and Freeze
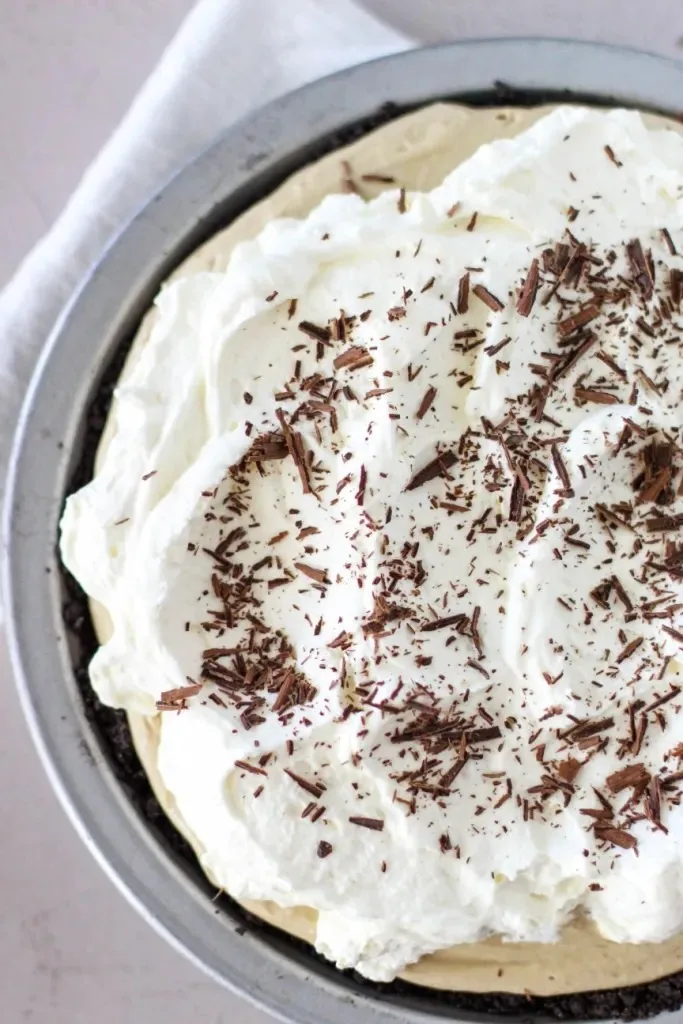
Spoon the thick coffee filling gently into your prepared Oreo crust, piling it high into the center. Smooth out the top with your spatula or swirl an attractive design into the surface with the back of a spoon. Place the pie uncovered into the freezer for at least 6 hours until frozen completely solid. Once frozen, wrap the pie tightly in plastic wrap to keep it fresh until serving time.
Additional Tips for Making this Recipe Better
Having made this pie multiple times, I have picked up a few helpful tricks for the absolute best results.
- I make sure my heavy cream is ice-cold right out of the fridge so it whips up to maximum volume.
- I use a flat-bottomed measuring cup to press the Oreo crumbs firmly into the pie plate so it never crumbles.
- I refrain from overmixing after adding the condensed milk so my pie stays light and velvety instead of dense.
- I cover the frozen pie with a cake carrier lid in the freezer so the tall decorative swirls never get crushed.
How to Serve Creamy Coffee Pie?
Before serving, let the pie sit on your counter at room temperature for about 10 minutes so it softens just enough for easy slicing. Garnish the top with chocolate curls, a dusting of cocoa powder, or crushed Oreo crumbs right before bringing it to the table. You can also add a swirl of fresh whipped cream and a drizzle of chocolate syrup over each slice for an elegant restaurant-style presentation. Serve it alongside hot espresso or warm coffee to contrast the icy, velvety dessert.
Nutritional Information
Here is an estimated breakdown of the nutritional facts per slice for this rich coffee pie.
This overview gives you a quick look at the estimated nutritional content per individual slice.
- Calories: 450 kcal
- Protein: 6 g
- Carbohydrates: 48 g
- Fat: 27 g
Make Ahead and Storage
This frozen dessert is the ultimate make-ahead recipe since it relies on freezing to set up properly.
Preparing Ahead
You can make this entire pie up to two weeks in advance, making it a stress-free option for holidays and parties. Assemble and freeze the pie completely uncovered for 6 hours, then wrap it securely to store until needed.
Refrigeration and Restoring
Do not store this pie in the refrigerator long-term, as the whipped filling will thaw and lose its firm structure. Only leave it in the fridge for 15 to 20 minutes if you need to soften a very solid pie before cutting.
Freezing Guidelines
Keep the pie stored in your freezer wrapped tightly in plastic wrap to protect the delicate cream from absorbing freezer odors. It stays wonderfully fresh and delicious in the freezer for 1 to 2 months without losing quality.
Reheating Instructions
Since this is a frozen icebox pie, it should never be heated or put near warm appliances. Simply slice it straight from the freezer after letting it sit at room temperature for 10 minutes to take off the hard chill.
Why You’ll Love This Recipe?
This creamy coffee pie is a guaranteed crowd-pleaser that delivers big coffee house flavors with minimal effort.
- No Baking Required: You do not even need to turn on your oven, making it an ideal cool treat for hot summer days.
- Short Ingredient List: Uses just six staple ingredients that combine into an impressive, bakery-quality dessert.
- Effortless Prep Work: Takes only twenty minutes of hands-on prep time before the freezer does all the heavy lifting.
- Incredible Texture Contrast: The combination of a crunchy chocolate Oreo crust and silky, frozen coffee cream is downright addictive.