
Blackberry Pistachio Dream Bars Recipe
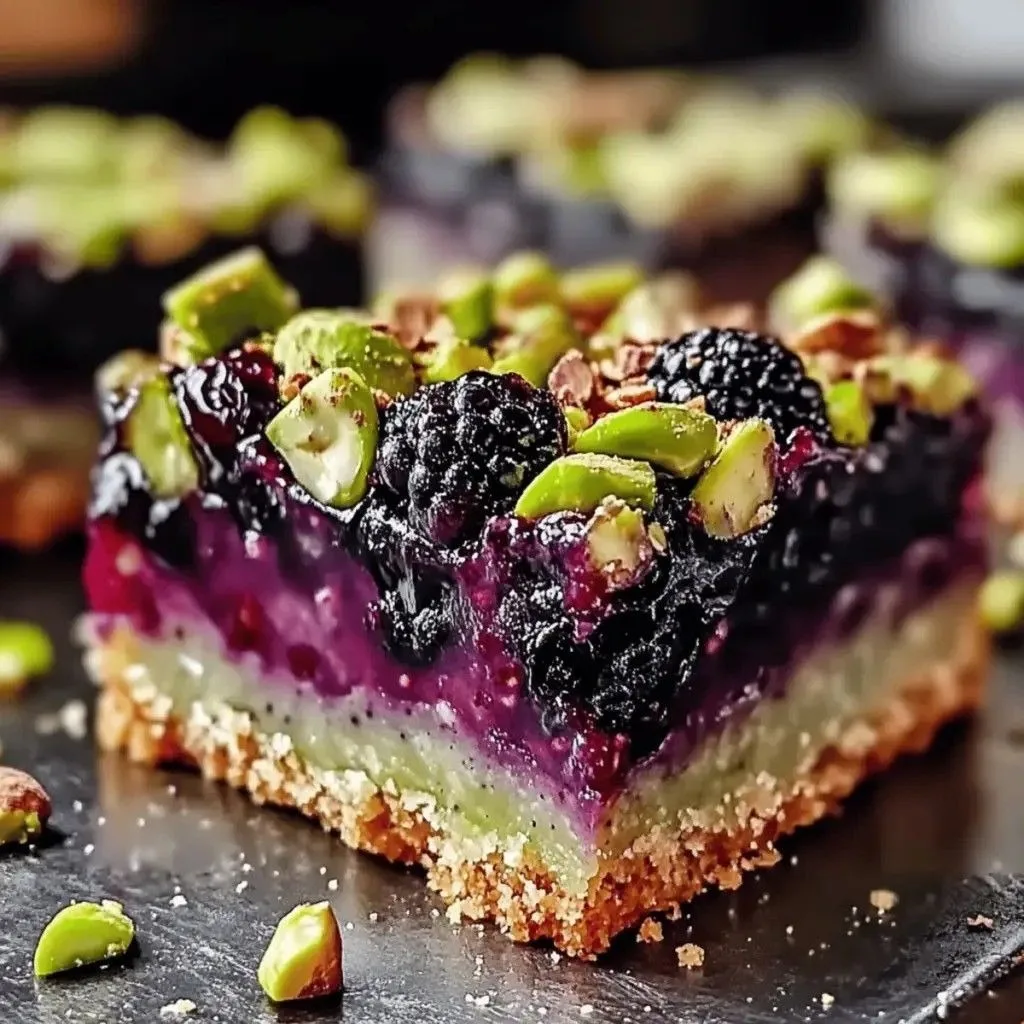
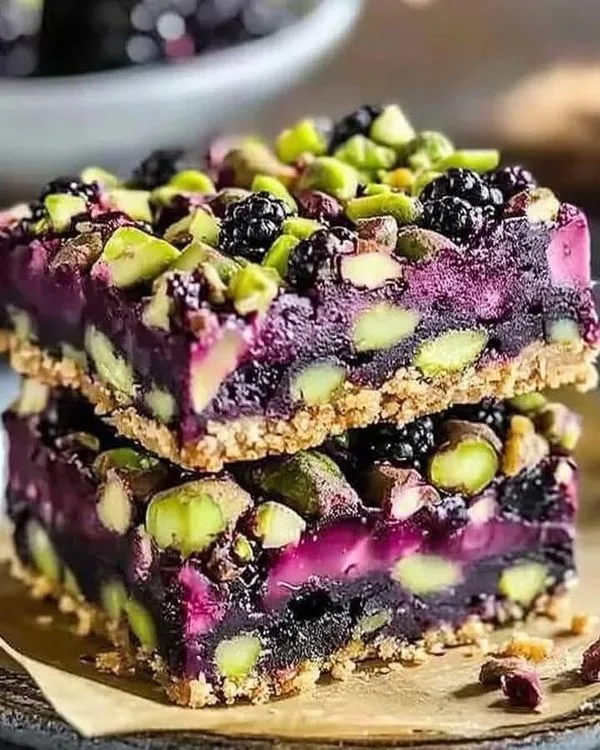
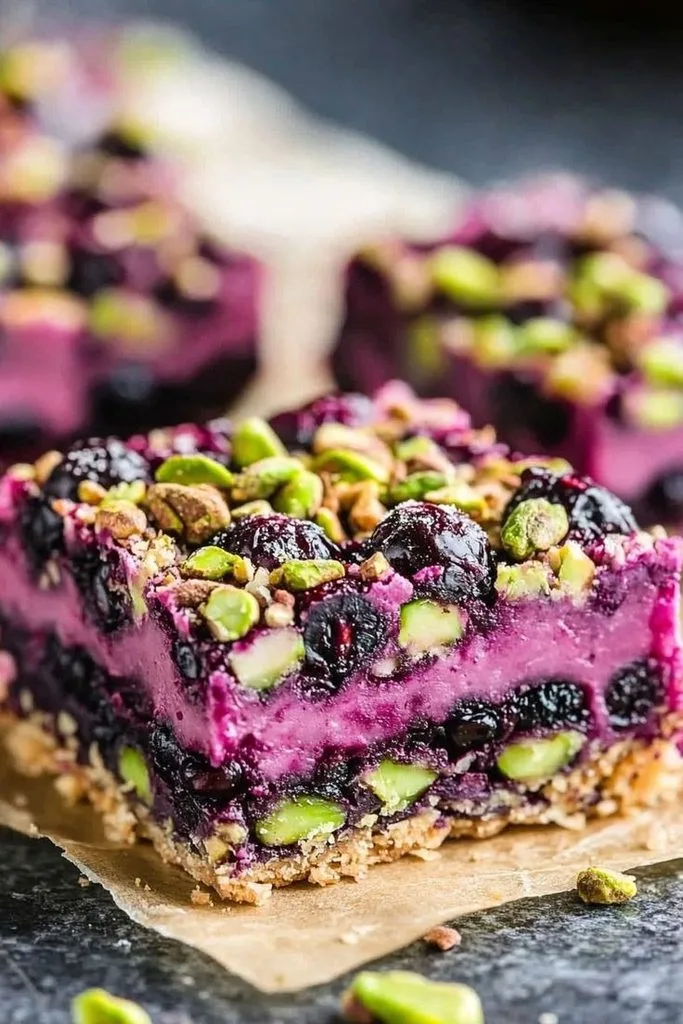
When I first whipped up a batch of these Blackberry Pistachio Dream Bars in my kitchen, I was completely blown away by the contrast of colors and rich flavors. The nutty, vibrant green pistachio crust forms the absolute perfect foundation for the bright, tart sweet blackberry filling layered on top.
I brought these to a family gathering on a warm afternoon, and the entire tray was wiped clean before I even had a chance to grab a second square. Every single bite delivers a lush, melt-in-your-mouth texture that feels genuinely luxurious!
Ingredients
Using fresh berries and high-quality raw pistachios ensures your bars deliver maximum natural flavor and an eye-catching visual finish.
For the Pistachio Crumb Base
- 1 1/2 cups raw unsalted pistachios, shelled. Shelling raw pistachios and pulsing them gives your crust a beautiful green color and rich nutty depth.
- 1 cup all-purpose flour or almond flour. Almond flour keeps the base naturally tender while providing a subtle extra nuttiness.
- 1/2 cup unsalted butter, melted. Melted butter binds the nuts and flour together into a rich, pressable crust dough.
- 1/4 cup pure maple syrup or honey. Natural liquid sweeteners add a gentle caramel note without refined sugars.
- 1/2 teaspoon salt. A pinch of salt balances the sweet berries and highlights the earthy pistachio oils.
For the Blackberry Dream Layer
- 3 cups fresh or frozen blackberries. Fresh blackberries yield a bright, tangy flavor profile and rich purple hue for the filling.
- 1/4 cup pure maple syrup. Sweetens the tart berries just enough without masking their natural fruit flavor.
- 2 tablespoons chia seeds or tapioca starch. Chia seeds naturally gel and thicken the warm berry juice into a lush, sliceable jam layer.
- 1 tablespoon fresh lemon juice. Freshly squeezed lemon juice brightens the berry notes and preserves the vivid color.
- 1 teaspoon vanilla extract. Adds cozy bakery warmth to round out the fruit and nut layers.
Note: Serves 16 individual bar squares.
Variations
Adapt these delicious bars with simple ingredient swaps to suit your dietary needs or seasonal fruit preferences.
- Grain-Free & Vegan Option: Use almond flour for the crust, substitute melted coconut oil for the butter, and stick with pure maple syrup.
- Berry Swap: Replace half or all of the blackberries with fresh raspberries, blueberries, or dark sweet cherries for a different fruit profile.
- Extra Crunch Topping: Reserve 1/3 cup of the raw pistachio crumb mixture to sprinkle over the berry layer before chilling or baking.
Cooking Time
Here is the complete time breakdown for prepping, simmering the berry layer, and chilling your bars.
- Prep Time: 20 minutes
- Cooking Time: 15 minutes
- Total Time: 2 hours 35 minutes (includes 2 hours of chilling time)
Equipment You Need
Having these basic kitchen tools ready will make preparing your pistachio base and fruit filling smooth and easy.
- 8×8-inch Baking Dish: The ideal square pan size for creating thick, perfectly proportioned dessert layers.
- Food Processor: Quickly pulses whole shelled pistachios into a uniform, fine meal for the crust.
- Medium Saucepan: Used to simmer and break down the fresh blackberries into a thick, jammy filling.
- Parchment Paper: Lines your baking pan so you can lift the chilled bars out cleanly for slicing.
- Rubber Spatula: Perfect for spreading the sticky berry layer evenly over the pressed nut crust.
How to Make Blackberry Pistachio Dream Bars Recipe?
Follow these simple, step-by-step instructions to pulse your pistachio crust, cook the thick blackberry jam, and assemble your layered bars.
Prepping the Pan and Pistachio Base
Line an 8×8-inch baking dish with parchment paper, leaving a slight overhang on the sides for easy removal later. In a food processor, pulse the shelled raw pistachios until finely ground, then add the flour, melted butter, maple syrup, and salt. Process until a coarse, sticky dough forms, then press 3/4 of the mixture firmly into the bottom of your prepared dish to form a smooth crust layer.
Cooking the Blackberry Filling
Place the fresh or frozen blackberries, maple syrup, and fresh lemon juice into a medium saucepan over medium heat. Bring the fruit to a gentle simmer, using a wooden spoon or potato masher to break down the berries as they soften for about 6 to 8 minutes. Stir in the chia seeds (or tapioca starch) and vanilla extract, letting the mixture simmer for another 3 to 5 minutes until it thickens into a jam-like consistency.
Layering and Chilling
Pour the warm blackberry filling directly over your pressed pistachio base, using a spatula to spread it evenly to the edges. If desired, crumble the remaining 1/4 of your reserved pistachio dough loosely over the top layer of berries. Place the dish into the refrigerator to chill for at least 2 hours (or until set firm), allowing the chia seeds to fully gel and the butter in the crust to harden.
Slicing and Serving
Once the bars are fully chilled and firm to the touch, use the parchment paper overhang to lift the entire block out of the baking dish onto a cutting board. Use a sharp knife to slice into 16 uniform squares, wiping your blade clean between cuts for neat edges. Serve chilled straight from the fridge for the best texture and visual presentation.
Additional Tips for Making this Recipe Better
A few hands-on techniques I rely on in my kitchen to ensure your dessert bars turn out vibrant, firm, and delicious every time.
- Pulse the pistachios carefully: I always pulse my pistachios in short bursts rather than running the processor continuously. Overprocessing turns the nuts into nut butter instead of a nice crumbly crust dough.
- Let the berry filling cool slightly: I like to let my cooked blackberry jam sit on the counter for 10 minutes before spreading it over the crust so it doesn’t melt the butter base right away.
- Press the base firmly: I use the flat bottom of a measuring cup to press the nut dough tightly into the pan so the bars don’t crumble when sliced.
- Chill thoroughly before cutting: Resist the urge to slice early! Giving the dish a full 2 hours in the fridge is essential for clean, square cuts.
How to Serve Blackberry Pistachio Dream Bars?
Present these vibrant green and deep purple bars on a white serving platter to let their natural colors pop.
Garnish the top of the bars right before serving with a sprinkle of chopped bright green pistachios, a dust of powdered sugar, or a few fresh whole blackberries. Pair a chilled bar square with a refreshing glass of iced green tea, a cold brew coffee, or a glass of almond milk for a wonderful afternoon treat.
Nutritional Information
Here is an estimated nutritional breakdown per square (based on a 16-bar yield):
- Calories: 180 kcal
- Protein: 4 g
- Carbohydrates: 18 g
- Fat: 11 g
Make Ahead and Storage
Follow these easy guidelines for storing leftovers and keeping your fruit bars fresh for days.
Refrigerating
Keep your sliced bars stored in an airtight container between sheets of parchment paper in the refrigerator for up to 6 days. Serving them cold ensures the crust stays delightfully firm and crisp.
Freezing
Wrap individual bar squares tightly in plastic wrap and store them inside a freezer-safe bag or container for up to 2 months. Thaw in the refrigerator overnight or on the counter for 15 minutes before enjoying.
Reheating
These bars are designed to be enjoyed cold or at room temperature, so you should avoid reheating them in a microwave or oven, which will melt the setting agents in the fruit and crust layers.
Why You’ll Love This Recipe?
Discover why these nutty, fruity bars are destined to become a staple in your summer and fall dessert lineup.
- Naturally Nutrient-Dense: Packed with healthy fats from real pistachios and antioxidants from fresh blackberries for a guilt-free indulgence.
- Stunning Color Contrast: The vivid purple blackberry layer against the bright green pistachio base makes for a drop-dead gorgeous presentation.
- No Artificial Refined Sugars: Sweetened naturally with pure maple syrup and real fruit, keeping the sweetness perfectly balanced.
- Ideal Make-Ahead Treat: Keeps beautifully in the fridge or freezer, making weeknight snacking or party hosting completely stress-free.
