Biscoff Rice Krispie Treats Recipe
I just finished whipping up a batch of these Biscoff Rice Krispie Treats, and my kitchen smells like a dream. The warm, spiced scent of Biscoff combined with sweet marshmallows is absolutely heavenly. As I pressed the sticky, crispy mixture into the pan, I knew this was going to be a hit.
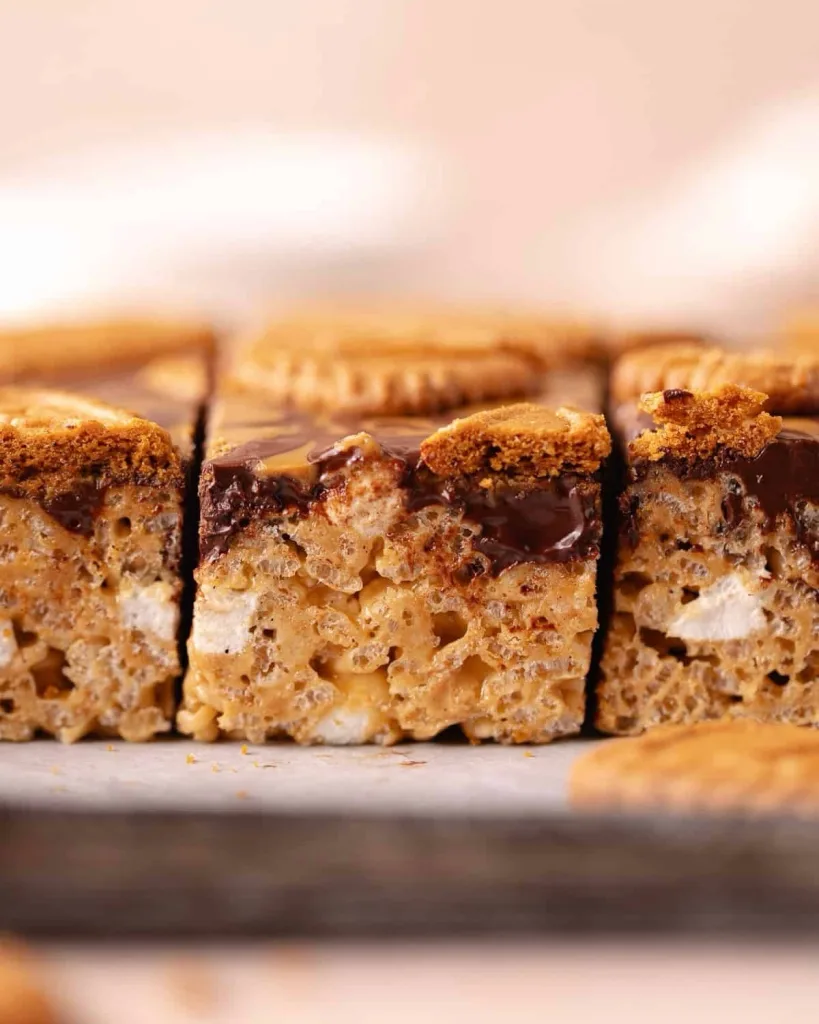
The hardest part was waiting for the swirled white chocolate and Biscoff topping to set before I could slice into them. I couldn’t resist a taste of the mixture from the spoon, and let me tell you, these are dangerously delicious.
Ingredients
Here is the simple list of ingredients you will need to create these irresistible treats.
For the Base
- 50g unsalted butter: This helps melt the marshmallows smoothly and adds a touch of richness. You can use salted butter if you prefer a bit of contrast to the sweetness.
- 225g mini marshmallows: Mini marshmallows melt faster and more evenly than large ones. Using white ones ensures the color of the Biscoff shines through.
- 175g Biscoff spread: This is the star ingredient. You can use either the smooth or crunchy version depending on the texture you prefer.
- 175g Rice Krispies cereal: The classic puffed rice cereal provides that signature light crunch and texture.
For the Topping
- 200g Biscoff spread: A little extra melted spread for the topping adds another layer of that irresistible spiced cookie flavor.
- 200g white chocolate: The creamy sweetness of white chocolate pairs perfectly with the spiced notes of Biscoff.
Note: This recipe will make approximately 16 treat squares.
Variations
While this recipe is a showstopper as is, it’s also incredibly easy to adapt to your own taste.
- Chocolate Swap: Not a fan of white chocolate? Feel free to use milk or dark chocolate for the topping instead. A dark chocolate swirl would offer a wonderful bitter contrast.
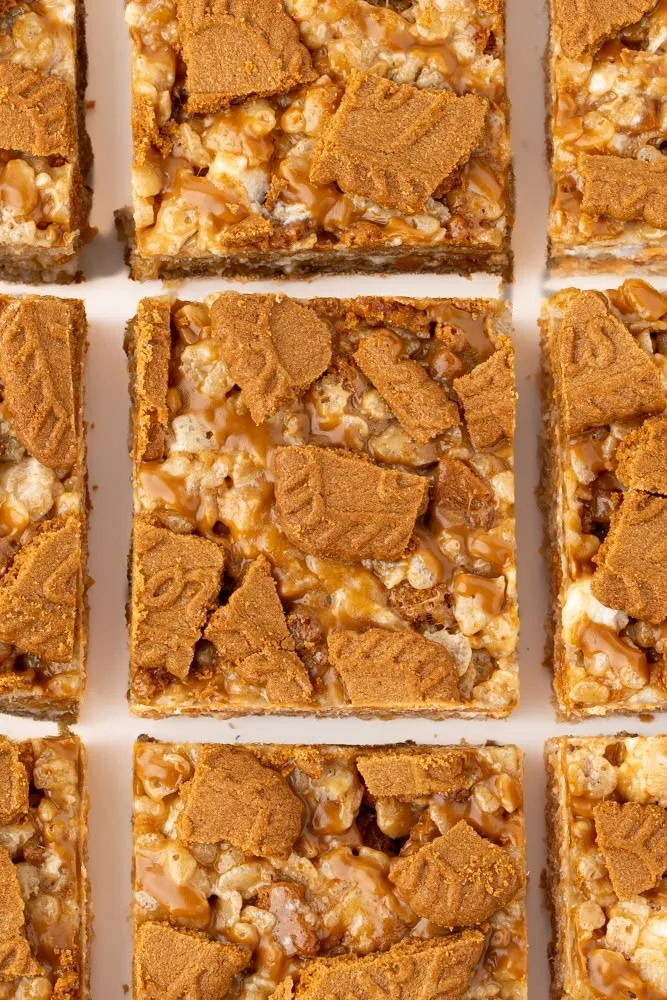
- Add a Crunch: For more texture, stir in a handful of crushed Biscoff biscuits along with the Rice Krispies.
- Nutella Twist: If you’re out of Biscoff, you can substitute it with Nutella or another hazelnut spread for a completely different but equally delicious chocolate-hazelnut treat.
- Salty Kick: A sprinkle of flaky sea salt over the top before the chocolate sets can beautifully enhance all the sweet flavors.
Cooking Time
- Prep Time: 20 minutes
- Cook Time: 10 minutes
- Total Time: 2 hours 30 minutes (includes setting time)
Equipment you need
- Large Pan: A large, heavy-bottomed pan is needed to melt the butter and marshmallows without scorching them.
- 9×9″ Square Tin: This is the ideal size for achieving thick, satisfying treat bars.
- Parchment Paper: Essential for lining the tin to prevent sticking and allow for easy removal of the treats.
- Spatula: A sturdy spatula is necessary for stirring the sticky mixture and pressing it into the tin.
How to Make Biscoff Rice Krispie Treats?
This no-bake recipe is wonderfully simple and comes together in just a few steps. The process involves melting, mixing, and pressing, making it a great recipe for bakers of all skill levels. The magic happens when the warm, gooey marshmallow and Biscoff mixture coats every single Rice Krispie, creating a perfectly chewy and crispy base.
Step 1: Melt the Base Ingredients
Begin by lining your 9×9-inch square tin with parchment paper, leaving some overhang on the sides to use as handles later. In a large pan, add the unsalted butter and mini marshmallows. Place the pan over a low-to-medium heat and stir continuously as the ingredients melt together. Keep the heat low to prevent the mixture from burning. Continue stirring until you have a completely smooth and melted marshmallow cream.
Step 2: Add Biscoff and Cereal
Once the marshmallow mixture is smooth, remove the pan from the heat. Immediately add the Biscoff spread and stir it in until it’s fully incorporated and the mixture is a uniform caramel color. Next, pour in the Rice Krispies. Work quickly to fold the cereal into the marshmallow mixture until every piece is evenly coated. The mixture will be very sticky, so use a strong spatula.
Step 3: Press into the Tin
Transfer the sticky Rice Krispie mixture into your prepared tin. To make pressing it down easier, you can lightly butter your hands or the back of a spatula. This will prevent the mixture from sticking to everything. Press the mixture down firmly and evenly to create a compact layer. This ensures your treats hold together well when you cut them.
Step 4: Create the Topping and Set
For the topping, melt the white chocolate in a microwave-safe bowl in short 20-second bursts, stirring between each until smooth. In a separate bowl, gently melt the Biscoff spread in the microwave for about 20 seconds. Pour the melted white chocolate and Biscoff spread over the Rice Krispie base. Use a skewer or a knife to gently swirl the two together, creating a beautiful marbled effect. Place the tin in the fridge for at least two hours to allow the topping to set completely before slicing.
Additional Tips for Making this Recipe Better
Having made these gooey treats a few times now, I’ve gathered some helpful hints to ensure they come out perfectly every time.
- I find that working quickly is key once the marshmallows are melted. The mixture starts to get firm as it cools, so I have all my ingredients measured and ready to go beforehand.
- Don’t press the Rice Krispie mixture into the pan too hard. If you compact it too much, the treats can become dense and hard instead of light and chewy. A firm but gentle press is all you need.
- I always use fresh marshmallows. Older marshmallows that have been sitting in the pantry can be a bit dry and don’t melt as smoothly, which can affect the final texture.
- When melting the white chocolate, I’m extra careful not to overheat it, as it can seize and become grainy. Short bursts in the microwave with plenty of stirring is the safest method.
How to Serve Biscoff Rice Krispie Treats?
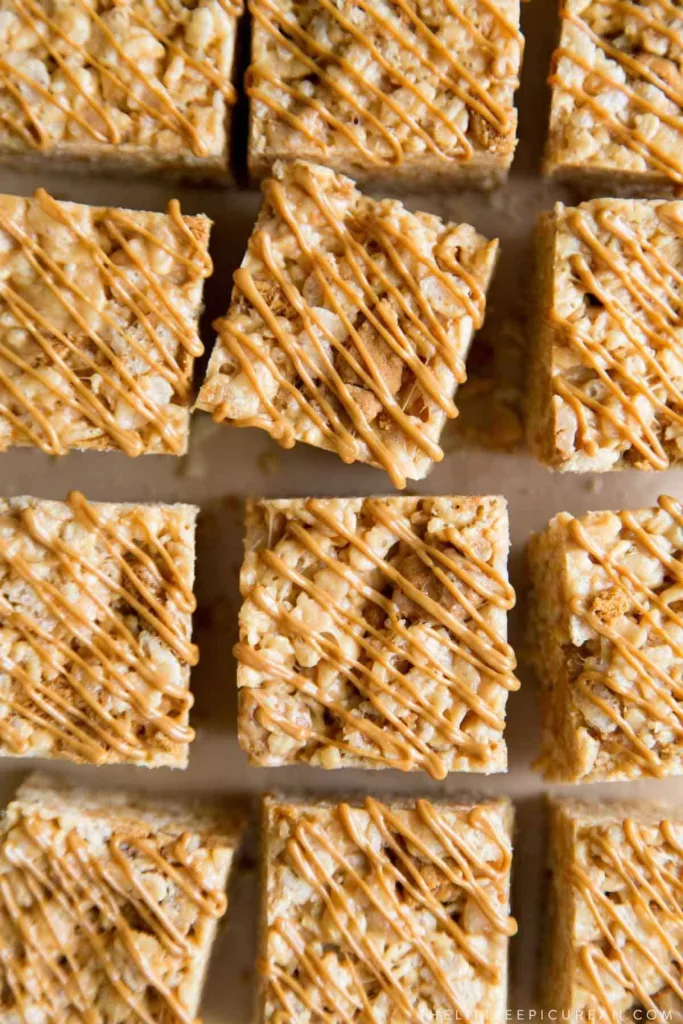
These treats are a delight served just as they are, cut into generous squares. For a bit of extra flair, you can place them on a platter and garnish with some crushed Biscoff biscuits or a drizzle of extra melted white chocolate. They make a fantastic addition to a dessert table, a bake sale, or packed into lunchboxes. For a more decadent dessert, serve a square slightly warmed with a scoop of vanilla ice cream on the side.
Nutritional Information
Here is a general overview of the nutritional content for these treats.
- Calories: Approximately 326 per square (if cut into 16)
- Protein: 3g
- Carbohydrates: 42g
- Fat: 16g
Make Ahead and Storage
These Biscoff Rice Krispie Treats are perfect for making ahead.
Once set and cut, you can store the treats in an airtight container at room temperature. They will stay fresh and chewy for up to five days, though they are often eaten long before then! Storing them in the fridge can make them a bit hard, so room temperature is best.
You can also freeze these treats for longer storage. Place the cut squares in a single layer on a baking sheet to freeze, then transfer them to a freezer-safe bag. They can be frozen for up to a month. Simply let them thaw at room temperature for about an hour before enjoying.
Why You’ll Love This Recipe?
There are so many things to love about this simple yet impressive no-bake treat.
- Incredibly Easy to Make: With just a few ingredients and no oven required, this is a perfect recipe for beginners or for when you need a quick and easy dessert without much fuss.
- The Ultimate Flavor Combination: The warm, spiced flavor of Biscoff paired with sweet marshmallows and creamy white chocolate is a truly winning combination that will have everyone coming back for more.
- Perfectly Chewy and Crispy: This recipe strikes the ideal balance between gooey, chewy marshmallow and light, crispy cereal, creating a texture that is simply irresistible.
- A Crowd-Pleasing Treat: These treats are a guaranteed hit with both kids and adults, making them the perfect dessert to bring to parties, potlucks, or any social gathering.