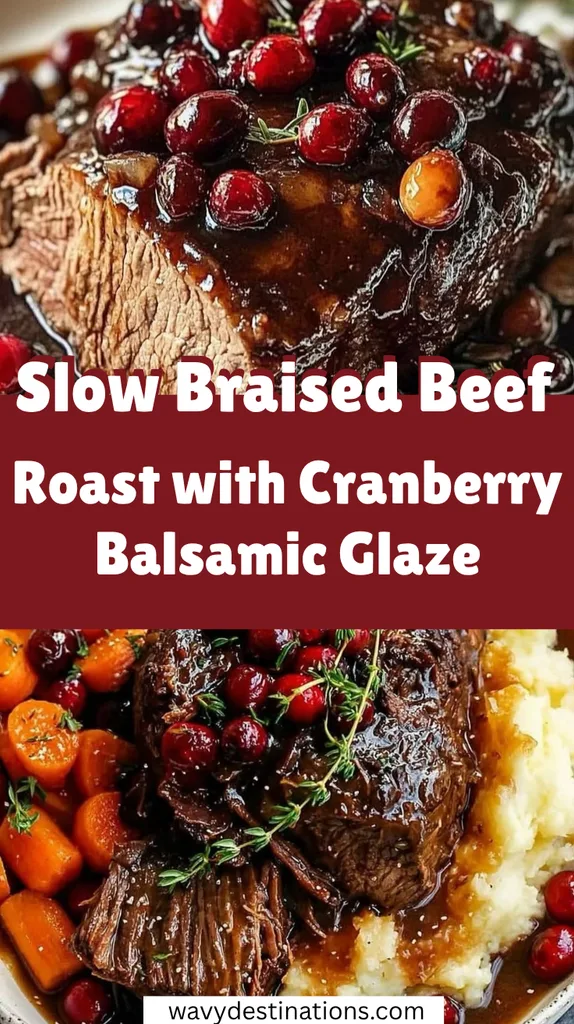
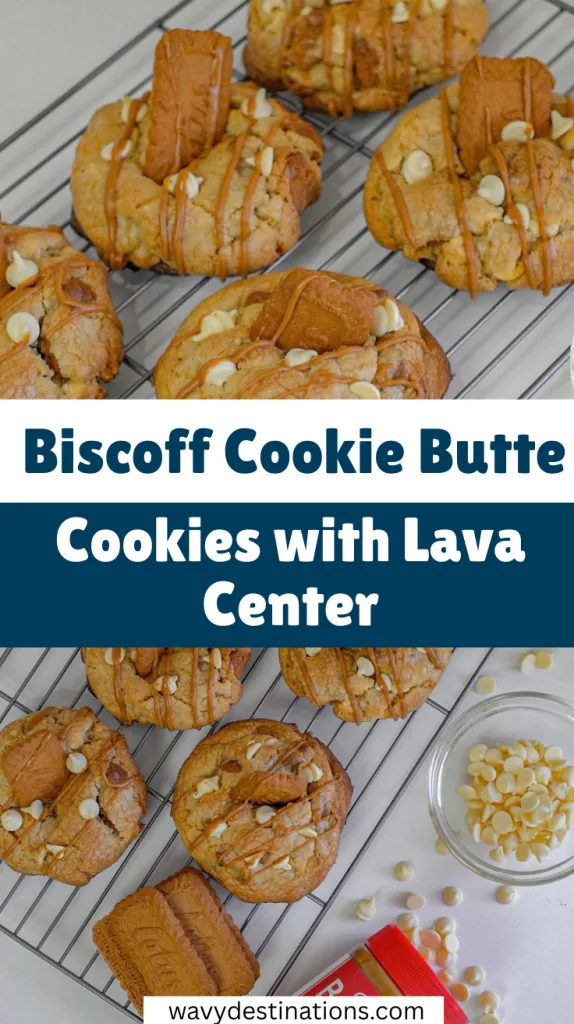
Biscoff Cookie Butter Cookies with Lava Center Recipe
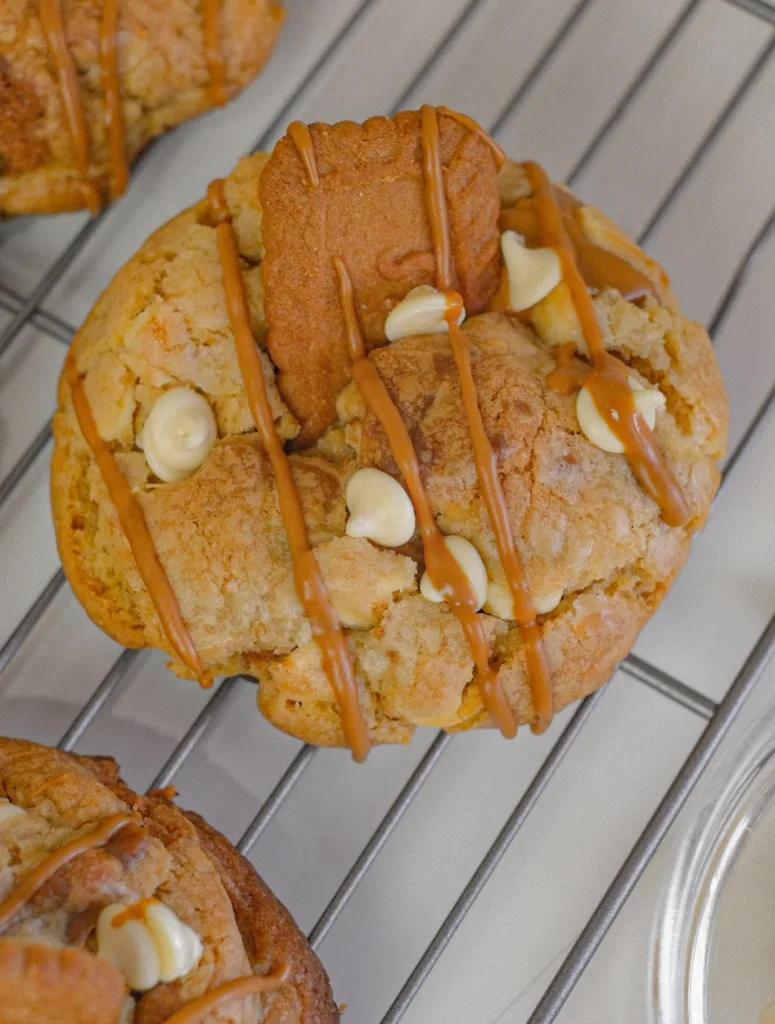
I have to admit, I completely lost my self-control when I pulled the first batch of these Biscoff Cookie Butter Cookies with Lava Center out of the oven because the smell of caramelized cookie butter was just intoxicating.
There is something magical about biting into a cookie that has a slightly crisp edge but then immediately gives way to a warm, gooey, molten center that tastes like pure happiness.
It took me a few tries to get that lava center perfectly suspended inside without leaking everywhere, but I’ve finally cracked the code and I can’t wait for you to try it.
Trust me, you’re going to want to have a glass of milk on standby for these because they are rich, decadent, and totally worth the effort.
Ingredients
Here’s everything you’ll need to make these lava-filled treats perfectly at home.
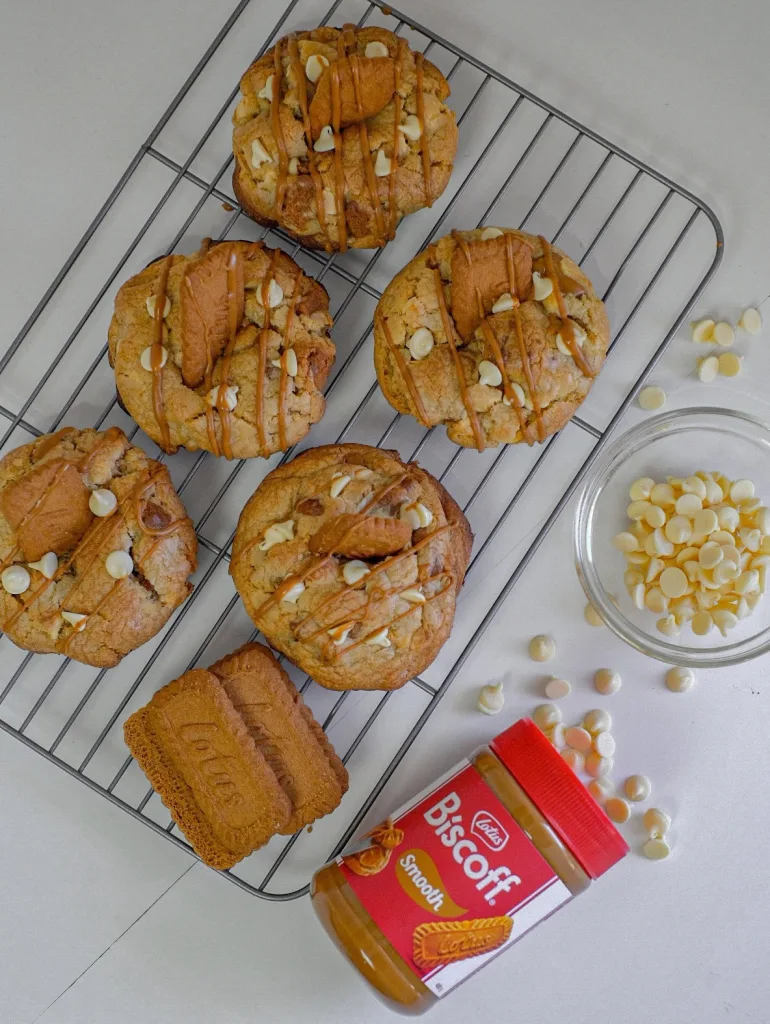
- 1/2 cup + 1/4 cup Biscoff Cookie Butter (divided): The star of the show; you need the extra 1/4 cup frozen solid for the lava centers, while the rest gets mixed into the dough for double the flavor.
- 1/2 cup Salted Butter (softened): Make sure this is room temperature so it creams easily; I use salted butter because it cuts through the sweetness beautifully, but you can use vegan butter like Violife for a dairy-free version.
- 1/2 cup Light Brown Sugar (packed): This provides that essential chewiness and moisture that every good cookie needs, plus it complements the caramel notes of the Biscoff.
- 1/4 cup Granulated Sugar: A little bit of white sugar helps the edges get that nice crisp texture while the center stays soft.
- 1 tsp Pure Vanilla Extract: Don’t skip this, as it rounds out the flavors and makes the cookie butter taste even more like a bakery-style treat.
- 1 1/4 cup All-Purpose Flour: Be careful not to pack this down; spoon it into your measuring cup and level it off so your cookies don’t end up dry or cakey.
- 1 tbsp Cornstarch: My secret weapon for keeping cookies soft and tender; it also helps bind the dough so it holds the lava center better.
- 1/2 tsp Baking Soda: This gives the cookies just enough lift and spread without making them too fluffy.
- 1/4 tsp Salt: Just a pinch enhances all the other flavors and balances the rich sweetness of the spread.
- 2-4 Biscoff Cookies (crushed): This is optional for rolling the dough balls in before baking, but I love the extra crunch and professional look it gives the finished cookie.
Note: This recipe makes approximately 8-9 large cookies.
Variations
Here are some tasty ways you can modify these cookies to suit your preferences.
There are plenty of ways to tweak this recipe depending on your dietary needs or what you have in the pantry. Here are a few ideas to switch things up:
- Dairy-Free/Vegan: As noted in the ingredients, simply swap the regular butter for a high-quality plant-based butter stick (not tub margarine). The Biscoff spread and cookies are accidentally vegan already!
- White Chocolate Chip: Fold in a handful of white chocolate chips into the dough if you have a serious sweet tooth; the creamy vanilla flavor pairs perfectly with the spiced cookie butter.
- Spiced Up: Add a pinch of cinnamon or nutmeg to the dry ingredients to emphasize the speculoos spice flavor, especially during the fall season.
- Crunchy Center: Instead of smooth cookie butter, use the “crunchy” version for the filling to add a surprising texture to the molten center.
Cooking Time
Here’s how long it takes from start to finish so you can plan your baking session.
- Prep Time: 20 minutes (plus freezing time)
- Cooking Time: 10 minutes
- Total Time: 30 minutes active time
Equipment You Need
Here’s what I use for making and baking these lava cookies with ease.
- Baking Sheet: Used for freezing the lava dollops and baking the cookies; light-colored metal pans work best to prevent burning.
- Parchment Paper: Essential for preventing sticking and making cleanup a breeze; never bake directly on the pan for these.
- Electric Mixer (Hand or Stand): Needed to properly cream the butter and sugars together until fluffy and pale.
- Mixing Bowls: You’ll need at least one large bowl for the dough and a small one for dry ingredients.
- Cookie Scoop (Medium/Large): ensures all your cookies are the same size so they bake evenly.
- Wire Cooling Rack: Allows air to circulate around the hot cookies so they cool without getting soggy bottoms.
How to Make Biscoff Cookie Butter Cookies with Lava Center?
Follow these step-by-step instructions to create cookies with the perfect gooey lava center.
Preparing the Lava Centers
The absolute most critical step happens before you even touch the flour, and that is freezing your cookie butter cores. If you try to stuff the cookies with room-temperature spread, it will just melt into the dough and disappear, leaving you with a flat cookie instead of a stuffed one. I usually scoop about 8 or 9 half-tablespoon dollops onto a small parchment-lined plate and shove them in the freezer for at least an hour, or overnight if I’m organized. They need to be solid as a rock so you can handle them easily during assembly.
Making the Cookie Dough
Start by creaming your softened butter, brown sugar, white sugar, and the non-frozen portion of the cookie butter together in a large bowl until the mixture looks creamy and slightly pale. This usually takes about 2 to 3 minutes on medium speed, and it’s important because it builds the structure of the cookie. Then, mix in your vanilla extract before gently adding the dry ingredients—flour, cornstarch, baking soda, and salt. Mix this just until the flour streaks disappear; over-mixing here will develop gluten and make your cookies tough, which we definitely don’t want.
Stuffing and Shaping
Now comes the fun part where we hide the treasure inside the dough. Take about two tablespoons of dough and flatten it into a thick disc in the palm of your hand, making a small well or indentation in the center with your thumb. Grab one of your frozen cookie butter balls from the freezer—work quickly so they don’t melt—and place it right in that well. Carefully fold the edges of the dough up and over the frozen ball, rolling it gently between your hands to seal it completely so no filling is visible.
Chilling and Baking
Once all your dough balls are stuffed and rolled, place them back in the freezer for about 10 to 15 minutes while your oven preheats to 350°F (175°C). This short chill prevents the dough from spreading too fast in the oven, ensuring your lava center stays contained. Bake them for exactly 10 minutes; they might look slightly underdone and puffy in the middle, but that is exactly what you want. Let them rest on the hot baking sheet for 5 minutes to set up before moving them to a cooling rack.
Additional Tips for Making this Recipe Better
A few tricks from my own kitchen can take your lava cookies from good to unforgettable.
- Don’t skip the freeze: I learned the hard way that if you don’t freeze the filled dough balls before baking, they spread into flat puddles, so give them that extra 10 minutes in the freezer.
- Weigh your flour: If you have a kitchen scale, use it for the flour (aim for about 155g); if you use too much flour, the cookies won’t spread enough and will be too thick and cakey.
- Undercook slightly: The residual heat from the pan continues to cook them after you pull them out, so taking them out when they look soft ensures that gooey, fudgy texture we are aiming for.
- Seal them tight: When wrapping the dough around the frozen core, I always double-check for cracks or holes because the filling will find any escape route and leak out during baking.
How to Serve Biscoff Cookie Butter Cookies with Lava Center?
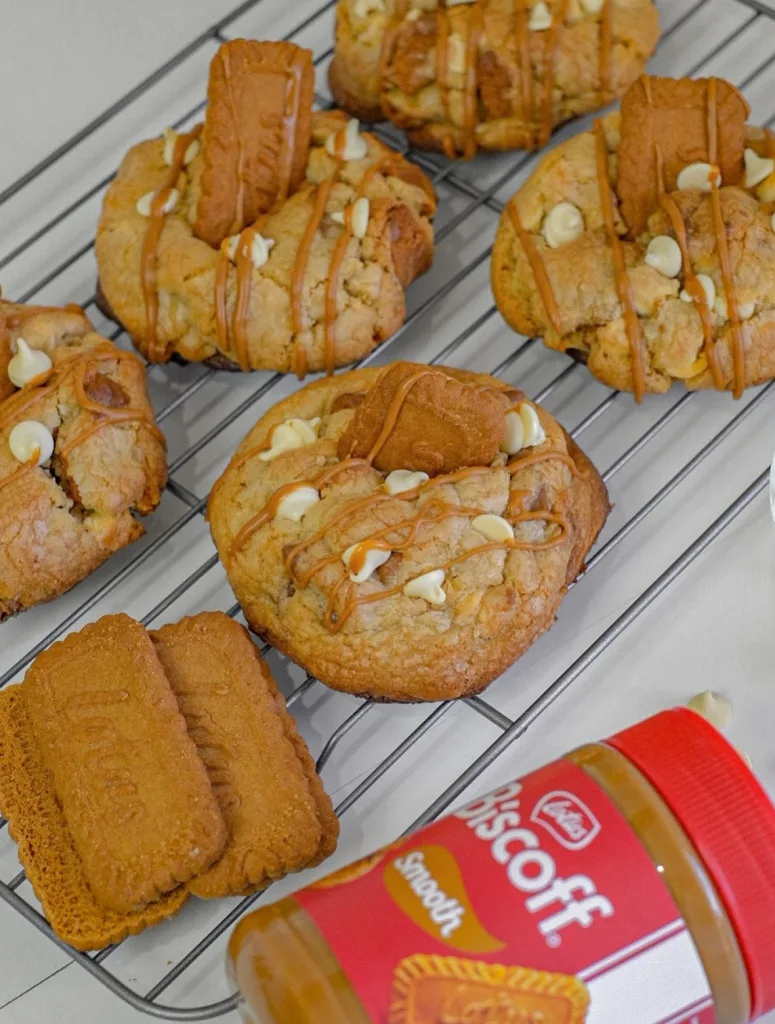
These cookies are absolute showstoppers on their own, but serving them warm is the key to that dramatic lava experience. I love stacking them on a simple white platter to let their golden-brown color shine, perhaps with a light dusting of powdered sugar for contrast. They pair incredibly well with a tall glass of cold oat milk or a hot cup of black coffee to cut through the sweetness. If you want to go overboard for a dinner party dessert, serve a warm cookie in a bowl topped with a scoop of vanilla bean ice cream—the heat from the cookie melts the ice cream slightly, creating a sauce that mixes with the cookie butter lava.
Nutritional Information
Here’s a quick look at the key nutrition facts for each irresistible cookie.
- Calories: ~198 kcal
- Protein: 1g
- Carbohydrates: 18g
- Fat: 8g
Make Ahead and Storage
Here’s how to store leftovers, freeze dough, and keep those centers gooey for days.
Room Temperature Storage
These cookies stay delicious for about 2 to 3 days when kept in an airtight container at room temperature. The lava center will solidify as it cools, turning back into a creamy texture similar to the jar consistency, which is still delicious but less “molten.”
Freezing Instructions
You can freeze the baked cookies for up to a month, but my favorite trick is to freeze the raw, shaped dough balls. Store the stuffed dough balls in a freezer bag, and when a craving hits, you can bake them straight from frozen—just add an extra minute or two to the baking time.
Reheating Tips
To restore that fresh-baked, gooey lava effect, pop a room-temperature cookie in the microwave for about 10 to 15 seconds. This warms up the Biscoff center just enough to make it liquid again without cooking the dough further, making it taste like it just came out of the oven.
Why You’ll Love This Recipe?
Here are just a few reasons these cookies will have you coming back for more!
- Surprise Center: There is nothing quite as satisfying as breaking open a cookie to reveal a hidden, melty pool of cookie butter inside.
- Easy to Make: Despite looking impressive and technical, the process is straightforward and doesn’t require any fancy equipment or advanced pastry skills.
- Rich Flavor Profile: The combination of brown sugar, butter, and warm spices creates a depth of flavor that is far more interesting than a standard chocolate chip cookie.
- Vegan Friendly: It’s incredibly easy to make this recipe completely vegan without sacrificing any taste or texture, making it a great option for varied crowds.
- Texture Contrast: You get the best of both worlds with crispy, chewy edges and a soft, molten middle in every single bite.