
Grilled Cheese Sliders Recipe
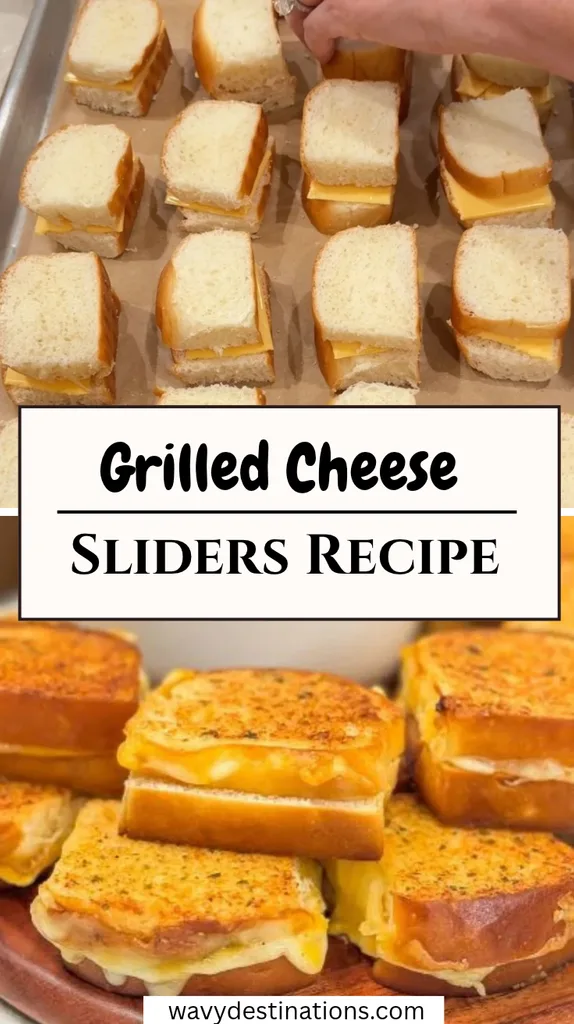
I made these incredibly cheesy Grilled Cheese Sliders for a quick lunch recently, and they were an instant favorite. After baking these myself, I can tell you that combining sweet Hawaiian rolls with a duo of American and Provolone cheeses creates the ultimate gooey, pull-apart comfort food. Slicing the whole pack of rolls horizontally makes assembling a large batch so effortless, while buttering the buns inside and out guarantees a rich, golden crust.
The American cheese delivers that classic melt, while the Provolone brings a subtle, smoky richness. Trust me, whether you are hosting a game day party or craving an easy family meal, these warm, crispy sliders will be devoured in seconds!
Ingredients
Here is everything you will need to assemble and bake these warm, gooey party sliders, along with helpful pro tips on why each component works so well.
- 1 12 ounce package King’s Hawaiian Rolls – sweet, soft rolls that provide a tender texture and subtle sweetness to contrast the salty cheese.
- 6 slices American cheese – melts effortlessly into a silky, smooth layer that holds the sliders together.
- 6 slices Provolone cheese – brings a mild, creamy depth and fantastic cheese-stretch to every single bite.
- 3 tablespoons butter, softened – brushed onto the rolls to crisp up the tops and bottoms in the oven until golden brown.
Note: Serves 6 as a cozy lunch or crowd-pleasing appetizer (yields 12 mini sliders).
Variations
If you want to tailor these easy sliders for different flavor preferences, give these simple ingredient swaps a try.
- Bacon & Tomato Twist: Add crispy cooked bacon strips and thin tomato slices between the cheese layers for a classic diner-style upgrade.
- Garlic Herb Crust: Sprinkle garlic salt, dried oregano, and grated Parmesan cheese over the buttered top buns before baking.
- Spicy Pepper Jack Version: Swap the Provolone cheese for Pepper Jack cheese to add a zesty kick to every bite.
Cooking Time
Planning your quick slider prep and oven baking schedule is completely simple with this quick time breakdown.
- Prep Time: 10 minutes
- Cooking Time: 20 minutes
- Total Time: 30 minutes
Equipment You Need
Having these standard kitchen tools ready before you begin will make assembling and flipping your sliders smooth and effortless.
- 9×13-inch baking pan or rimmed baking sheet – holds the 12 connected sliders securely while baking in the oven.
- Long serrated bread knife – cuts the entire block of Hawaiian rolls in half horizontally in one clean motion.
- Pastry brush – paints the softened and melted butter evenly across the roll tops and bottoms.
- Wide spatula – helps flip the entire slab of sliders halfway through baking for an even crunch.
How to Make Grilled Cheese Sliders?
Creating bakery-quality grilled cheese sliders relies on layering two complementary cheeses and flipping the rolls halfway through baking. By buttering both the interior and exterior of the rolls, you ensure a crisp, golden crust on both sides.
Prepping the Oven and Rolls
Preheat your oven to 350°F (175°C) and spray a 9×13-inch baking pan or sheet pan with nonstick cooking spray. Without separating the individual rolls, use a long serrated knife to cut the entire 12-ounce package of King’s Hawaiian Rolls in half horizontally, laying both halves flat on a clean work surface.
Layering the Cheeses
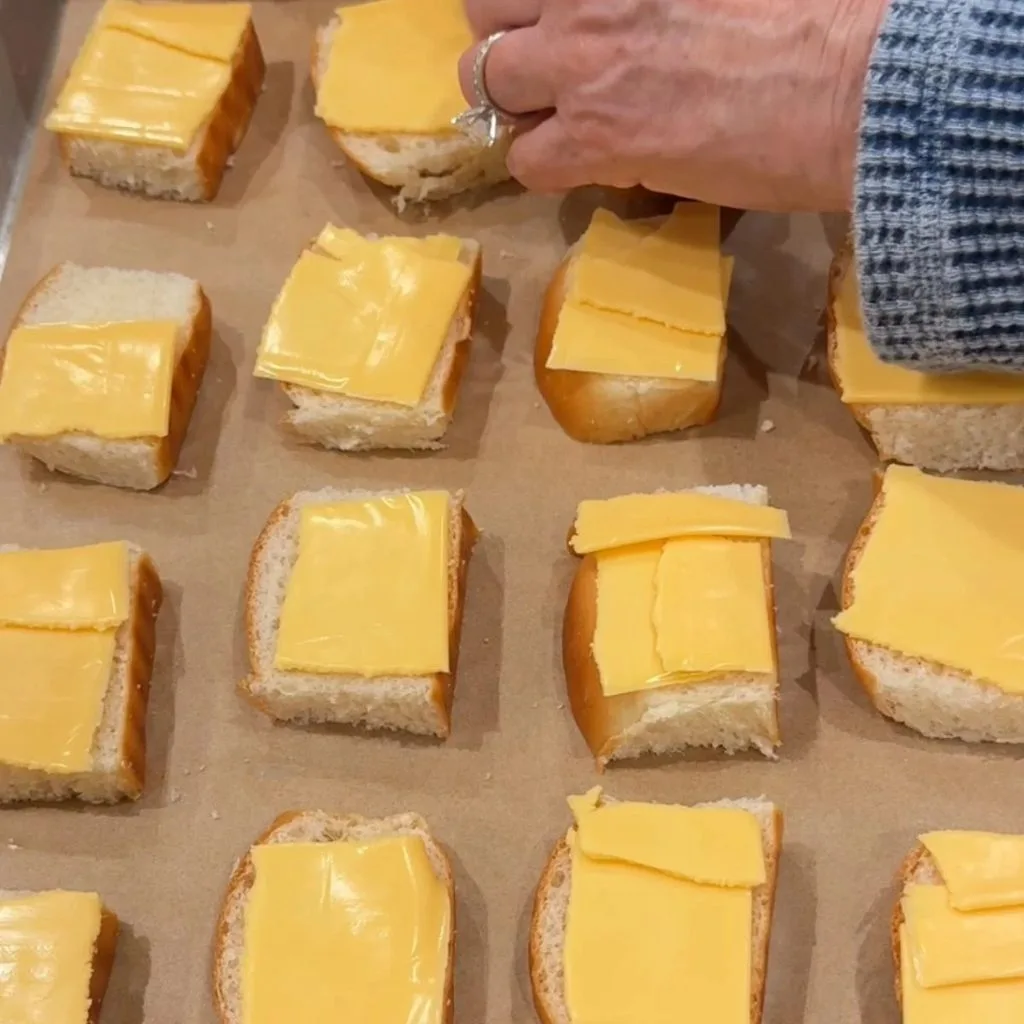
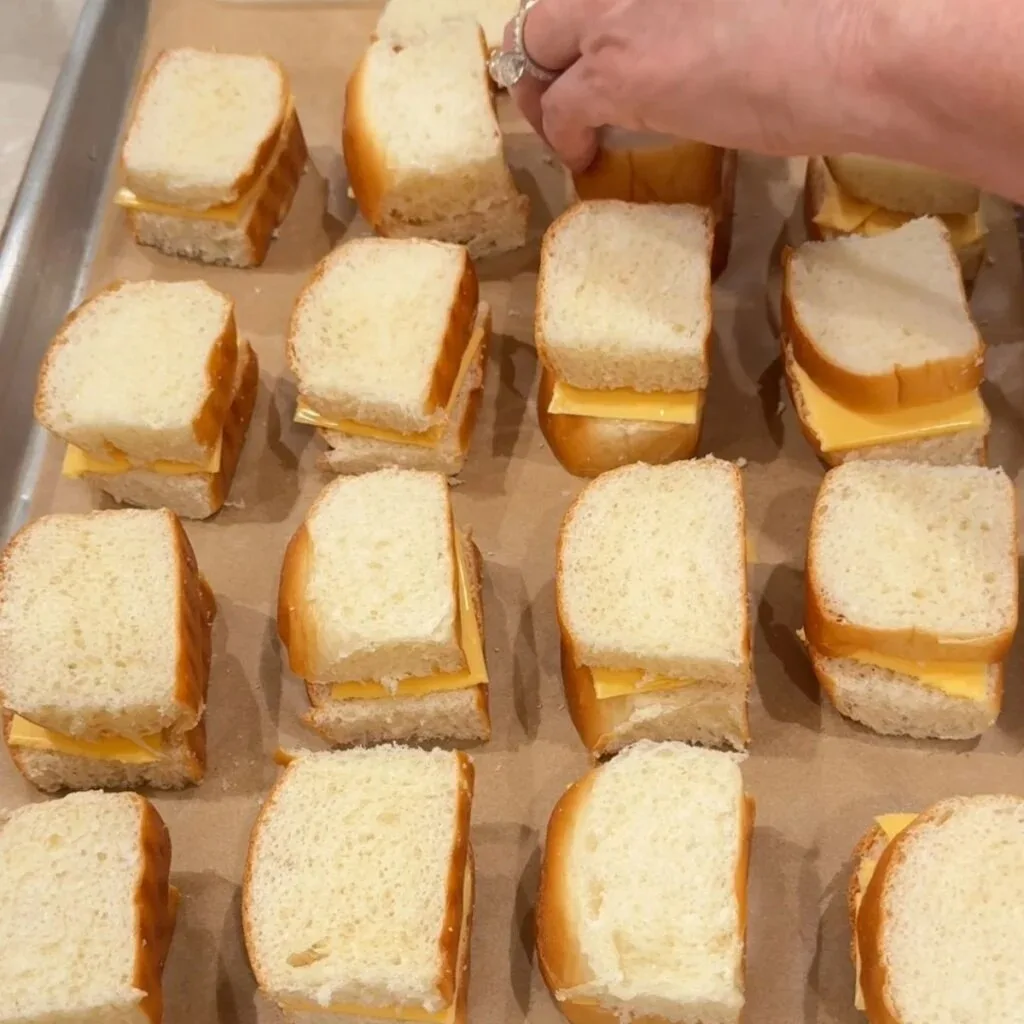
Spread the bottom cut-sides of the rolls evenly with softened butter, then place the bottom slab into the prepared baking dish. Arrange the 6 slices of American cheese and 6 slices of Provolone cheese in an even, overlapping layer over the bottom buns. Place the top half of the rolls over the cheese layer.
Buttering and Baking
Brush the tops of the rolls generously with melted butter (and sprinkle with kosher salt or garlic salt if desired). Place the baking sheet in the oven and bake for 20 to 25 minutes, carefully flipping the roll slab halfway through using a wide spatula, until both sides are golden brown and the cheese is fully melted.
Slicing and Serving
Remove from the oven, slice cleanly between the roll seams into individual sliders, and serve warm immediately.
Additional Tips for Making this Recipe Better
Here are a few personal observations and tricks I learned while making these sliders that will help you achieve absolute perfection in your own kitchen.
- I always make sure to alternate the American and Provolone slices so every slider gets a balanced mix of both cheeses.
- In my experience, flipping the sliders halfway through baking is the secret to getting a true “grilled cheese” crunch on both top and bottom buns.
- I love dusting the top with garlic powder and coarse sea salt right after applying the melted butter for an incredible garlic-bread aroma.
- Whenever I make these, I slice them right after taking them out of the oven so the melted cheese pulls apart dramatically when served.
How to Serve Grilled Cheese Sliders?
Present these warm, golden sliders arranged on a wide wooden board or platter alongside a big bowl of warm tomato soup for dipping. Serve as a fun party platter, game day snack, or cozy weeknight meal paired with a fresh green salad or crispy potato chips. Keep extra garlic butter on the side for guests who love extra flavor.

Nutritional Information
Here is a quick overview of the estimated key nutritional metrics per serving (2 sliders) for this recipe.
- Calories: 310 kcal
- Protein: 12 g
- Carbohydrates: 28 g
- Fat: 17 g
Make Ahead and Storage
Managing your meal prep or storing leftover cheesy sliders is simple when following these easy guidelines.
Room Temperature Storage
Keep freshly baked Grilled Cheese Sliders at room temperature for no longer than 1 to 2 hours while serving. Leaving cheese-filled rolls out for longer will cause the cheese to firm up and lose its gooey texture.
Refrigerator Guidelines
Store leftover sliders inside an airtight container or wrapped tightly in aluminum foil in the refrigerator for up to 3 days.
Freezing Process
Assemble the sliders completely (without baking), wrap tightly in plastic wrap and foil, and freeze for up to 1 month. Thaw in the refrigerator overnight before baking as directed.
Reheating Instructions
Reheat individual sliders in a 350°F (175°C) oven or toaster oven for 5 to 7 minutes until the cheese is gooey and re-melted. Avoid using a microwave if possible, as it will make the soft bread rubbery.
Why You’ll Love This Recipe?
You are going to fall in love with how effortlessly this simple recipe turns basic rolls into an addictive, crowd-pleasing comfort dish.
- Ultra-Gooey Melt: Combining American and Provolone cheeses creates the ultimate rich, stretchy cheese center.
- Quick 30-Minute Meal: Comes together in just a few simple steps, making it ideal for busy weeknight dinners or quick hosting.
- Ideal Pull-Apart Presentation: Keeping the rolls connected while baking makes assembly fast and serving interactive for guests.
- Budget-Friendly Comfort Food: Uses basic, affordable pantry and dairy staples to deliver maximum savory satisfaction.