
Hot Chocolate Cheesecake Recipe
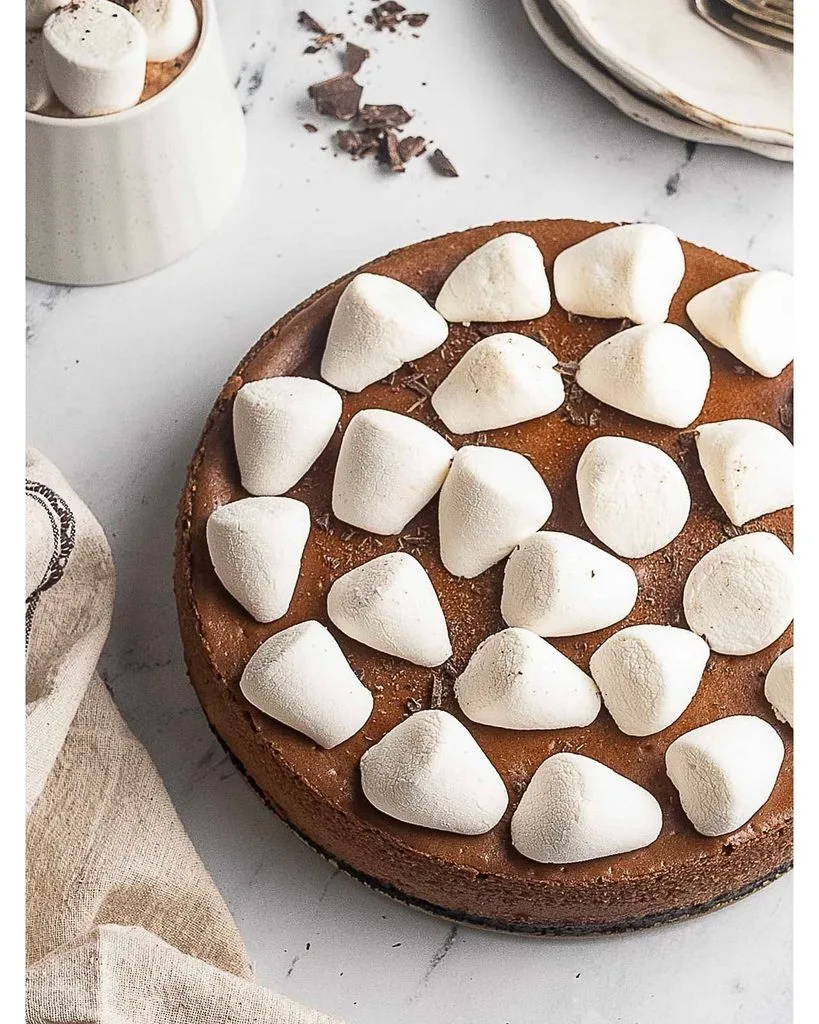
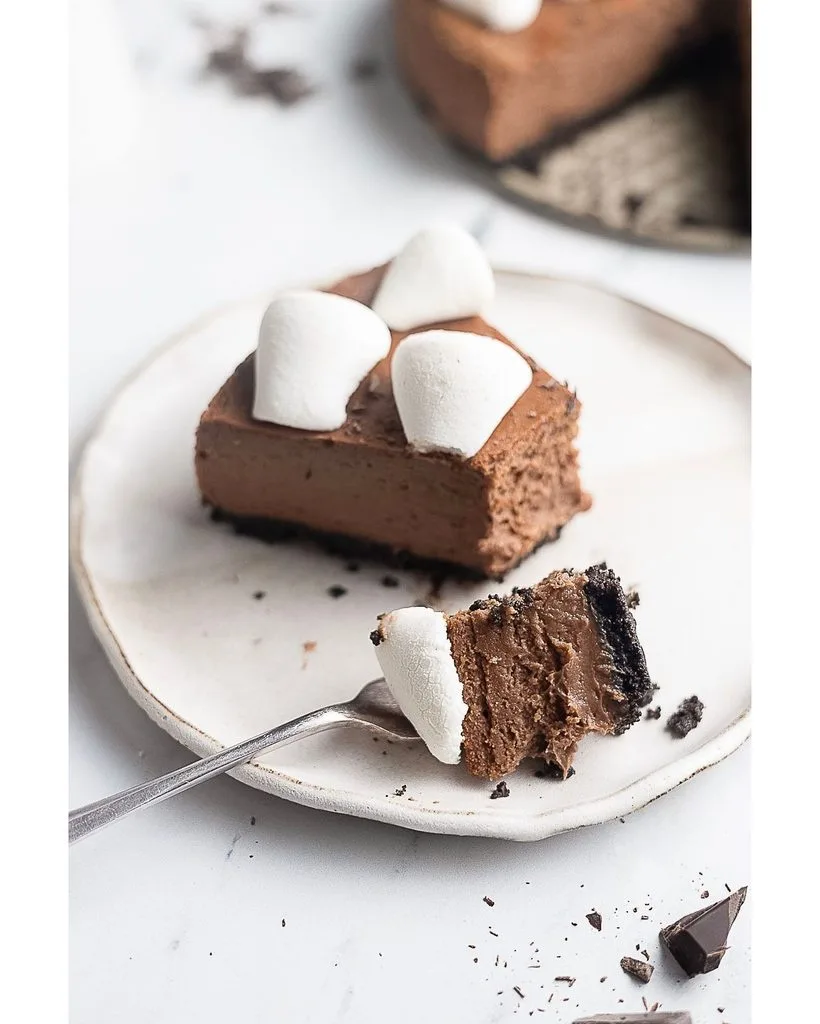
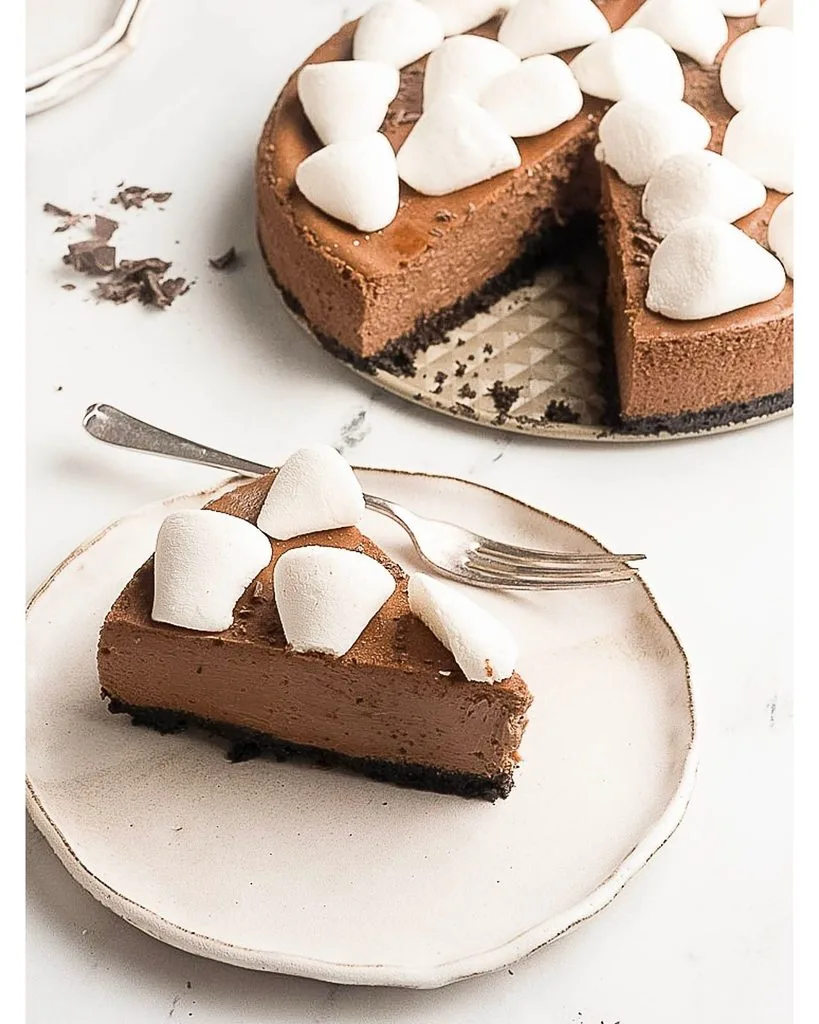
I baked this hot chocolate cheesecake over the weekend, and it completely stole the show at our family dessert night. As soon as I cut into the velvety slice, the smooth cocoa filling and rich toasted marshmallow topping blew everyone away.
I love how the warm cocoa flavor blends seamlessly with the subtle tang of cream cheese and the spiced graham cracker crust. It turned out so rich and luscious that it has already become my new favorite cold-weather dessert.
Ingredients
Here are the essential ingredients you will need to craft this rich, cozy hot chocolate cheesecake at home.
- 6 tbsp Unsalted Butter (melted) – Rich melted butter binds the graham cracker crumbs together for a sturdy crust.
- 9 Graham Crackers (1 sleeve) – Pulse whole crackers into fine crumbs to create the classic sweet foundation.
- 1/4 cup Hot Chocolate or Cocoa Mix (for crust) – Infuses the crust base with a subtle cocoa flavor from the very start.
- Pinch Fine Salt – A light pinch of salt balances the sweet chocolate and graham cracker notes.
- 32 oz Cream Cheese (four 8-ounce packages) – Soften to room temperature completely so your cheesecake filling remains ultra-smooth.
- 1 cup Sugar – Fine granulated sugar sweetens the cream cheese base while keeping the texture light.
- 2/3 cup Hot Chocolate or Cocoa Mix (for filling) – Pick a dark cocoa mix without added dairy for rich, true chocolate depth.
- 1 cup Sour Cream – Adds a bright tanginess and silkiness that makes every bite feel decadent.
- 6 large Eggs – Use room-temperature eggs to bind the filling without whipping excess air into the batter.
- 1 tbsp Pure Vanilla Extract – Pure vanilla enhances the deep chocolate flavors with a subtle aromatic warmth.
- 10 Marshmallows – Slice on the diagonal to top the cheesecake edge for a classic hot cocoa look.
Note: Serves 12 people generously as a rich, festive holiday or winter dinner party dessert.
Variations
You can effortlessly customize this cheesecake to suit special diets or introduce fun flavor twists.
- Gluten-Free Version: Use certified gluten-free graham crackers for the crust base without changing any measurements.
- Peppermint Twist: Add a quarter teaspoon of peppermint extract to the filling and garnish with crushed candy canes.
- Toasted Marshmallow Top: Place the sliced marshmallows under a broil or use a kitchen torch to brown the tops before serving.
- Dairy-Free Alternative: Use dairy-free cream cheese, plant-based sour cream, and vegan butter for a fully dairy-free treat.
Cooking Time
This low-and-slow baked dessert requires a gentle bake and cooling period for optimal texture.
- Prep Time: 25 minutes
- Cooking Time: 2 hours 20 minutes
- Total Time: 10 hours 45 minutes (includes overnight chill time)
Equipment You Need
Having these tools on hand ensures your water bath process and springform release go smoothly.
- 9-inch Springform Pan: Essential for releasing the tall cheesecake sides cleanly without disturbing the crust.
- Food Processor: Pulverizes graham crackers and blends cream cheese into a smooth, lump-free batter.
- Large Roasting Pan: Holds the hot water bath around the springform pan to prevent top cracking.
- Heavy-Duty Aluminum Foil: Wraps the bottom of the springform pan to keep water from seeping inside.
- Wire Cooling Rack: Allows air to circulate around the baked cheesecake as it cools to room temperature.
How to Make Hot Chocolate Cheesecake?
Making a water-bath cheesecake is a rewarding process that yields a bakery-quality texture. The key is allowing the cake to cool slowly inside the turned-off oven to prevent cracks. Follow these simple steps to build your showstopping dessert.
Preparing and Baking the Crust
Preheat your oven to 325°F (165°C) and grease the inside of a 9-inch springform pan with butter. Pulse the graham crackers in a food processor until finely ground, then add melted butter, cocoa mix, and salt. Press the damp mixture firmly into the bottom of the pan and bake for 10 minutes until set. Let the crust cool completely, then tightly wrap the outside bottom and sides of the pan with foil.
Blending the Cream Cheese Filling
Wipe out the food processor bowl, then add the softened cream cheese, sugar, cocoa mix, and sour cream. Pulse until completely smooth and lump-free, scraping down the sides of the bowl a few times. Add the room-temperature eggs and vanilla extract, pulsing just until fully incorporated into the chocolate batter. Avoid over-blending at this stage so you do not whip unnecessary air pockets into the mixture.
Setting Up the Water Bath
Pour the chocolate filling over your cooled crust, smoothing the top surface with a spatula. Place the foil-wrapped springform pan inside a large roasting pan and set it on the oven rack. Carefully pour hot water into the roasting pan until it reaches halfway up the sides of the springform pan. Bake for 1 hour 10 minutes to 1 hour 20 minutes until the edges are set and the center jiggles cohesively.
Cooling and Chilling
Turn off the oven, crack the door for a few seconds to release excess heat, then close it completely. Let the cheesecake rest in the warm oven for 1 hour to finish set-through gently without cracking. Transfer the pan to a cooling rack, run a knife around the edges, and let it reach room temperature. Wrap tightly and refrigerate overnight before slicing and topping with diagonal marshmallow cuts along the edge.
Additional Tips for Making this Recipe Better
After making this cheesecake, I learned a few simple tricks that guarantee a flawless result every time.
- I always use heavy-duty wide foil so there are no seams for water bath leakage to enter the crust.
- I make sure my cream cheese and eggs are completely at room temperature so the batter stays silky smooth.
- I use a high-quality dark cocoa mix without powdered dairy for a much richer hot chocolate flavor.
- I slice the chilled cheesecake with a hot knife wiped clean between each cut for beautiful, clean slices.
How to Serve Hot Chocolate Cheesecake?
Serve this stunning dessert sliced neatly on chilled dessert plates with a warm mug of cocoa nearby. Arrange the cut marshmallows around the top outer edge, dusting them lightly with extra cocoa powder or chocolate curls for visual appeal. You can also drizzle individual slices with warm hot fudge sauce or a spoonful of whipped cream right before serving. For a cozy winter party presentation, light torch the tops of the marshmallow border until toasted golden brown.
Nutritional Information
Here is an estimated nutritional breakdown per individual slice for this rich chocolate dessert.
- Calories: 480 kcal
- Protein: 8 g
- Carbohydrates: 46 g
- Fat: 30 g
Make Ahead and Storage
This cheesecake is best made a day in advance, making it ideal for stress-free hosting.
Preparing Ahead
You can bake and chill this cheesecake up to 2 days before your event without any loss of quality or texture. Keep it fully wrapped in the springform pan in the fridge, adding marshmallow garnishes right before serving.
Refrigeration and Restoring
Store leftovers covered in the refrigerator where the cheesecake will remain fresh and creamy for up to 5 days. Leave the cake sitting on the counter for 15 minutes before serving to soften the cold cocoa texture slightly.
Freezing Guidelines
Freeze the un-garnished baked cheesecake without marshmallows by wrapping it tightly in plastic wrap and foil for up to 2 months. Thaw the frozen cake overnight in the refrigerator before adding fresh marshmallow slices on top.
Reheating Instructions
This cold dessert should never be microwaved or heated, as warming will melt the rich cream cheese texture. Simply enjoy it chilled straight from the refrigerator or slightly softened at room temperature.
Why You’ll Love This Recipe?
This hot chocolate cheesecake brings a cozy seasonal favorite into a luxurious, sliceable dessert format.
- Rich Seasonal Flavor: Combines real hot cocoa powder with creamy tanginess for an unforgettable cold-weather treat.
- Ideal Make-Ahead Dessert: Tastes even better after chilling overnight, taking all the work out of party day.
- Silky Crack-Free Texture: Using a gentle water bath creates a smooth, melt-in-your-mouth filling every single time.
- Fun Festive Presentation: Decorating the top with cut marshmallows creates an adorable visual nod to a steaming mug of cocoa.
