
Cheesecake Stuffed Baked Apples Recipe
I recently made these Cheesecake Stuffed Baked Apples, and I am completely obsessed with how delicious they turned out! The combination of tender, warm baked Gala apples filled with a rich, silky cheesecake center is pure perfection.
They give you all the cozy comfort of a classic baked apple paired with the indulgence of a creamy cheesecake. I love how impressive they look when served, yet they require so little effort to hollow out and fill. Trust me, once you make these for your family and friends, they will be begging for the recipe!
Ingredients
Choosing the right variety of apples and using softened cream cheese ensures your filling turns out completely smooth and your edible apple cups hold their shape beautifully in the oven.
- 6 Gala Apples – Gala apples provide a subtle, natural sweetness and hold their shape nicely while baking without collapsing into mush.
- 8 Ounces Cream Cheese, Softened – Softened cream cheese blends smoothly with the sugar to create a rich, velvety cheesecake base without any lumps.
- ¼ Cup Sugar – Adds just enough sweetness to balance the natural tartness of the apples and cream cheese.
- 1 Teaspoon Vanilla – Infuses a warm, fragrant aroma that complements both the cream cheese filling and the baked fruit.
- 1 Egg – Acts as the crucial binding agent that helps the rich cheesecake filling set firmly as it bakes.
- 1 Teaspoon Cinnamon – Brings a warm, cozy spice note that pairs effortlessly with baked apples.
Note: Serves 6 individual cheesecake-stuffed apples when hollowed and filled according to the ingredient amounts.
Variations
Customize these stuffed apples with simple ingredient swaps or fun flavor additions to match your personal tastes or dietary preferences.
- Dairy-Free Alternative: Swap the standard cream cheese for a high-quality vegan brick cream cheese alternative to make the filling dairy-free.
- Spiced Pecan Crunch: Stir 2 tablespoons of finely chopped pecans directly into the cream cheese batter before baking for an added nutty texture.
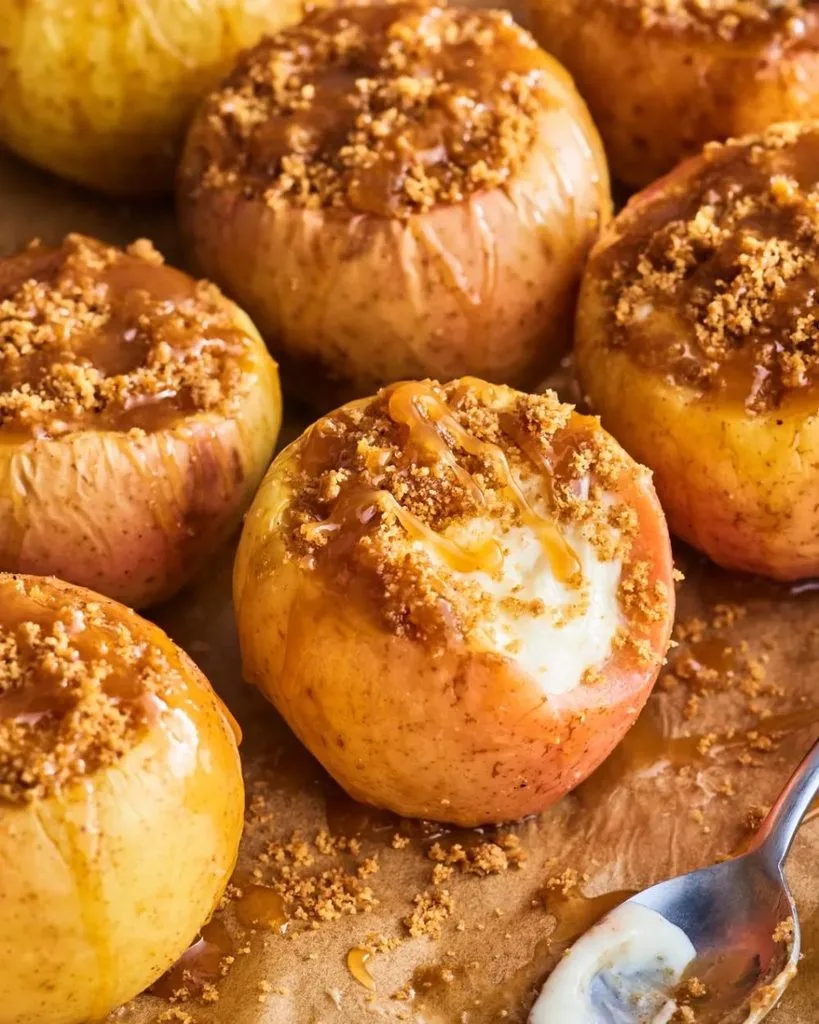
- Salted Caramel Drizzle: Top the chilled apples with a warm drizzle of salted caramel sauce and a sprinkle of crushed graham crackers right before serving.
Cooking Time
Here is the complete time breakdown so you can easily plan out making these baked stuffed apples from start to finish.
- Prep Time: 15 minutes
- Cook Time: 25 minutes
- Total Time: 40 minutes (plus cooling and chilling time)
Equipment You Need
Having these basic kitchen tools ready on your counter will make prepping and baking these stuffed apples smooth and hassle-free.
- Melon Baller or Spoon: Used to easily scoop out the cores, seeds, and insides of the apples to create neat apple cups.
- Medium Mixing Bowl: Holds the cream cheese, egg, sugar, and spices for smooth mixing.
- Hand or Electric Mixer: Creams the softened cream cheese and sugar together until completely smooth and lump-free.
- Baking Sheet: Holds all six filled apples upright and spaced apart safely while they bake in the oven.
- Sharp Chef’s Knife: Easily slices off the tops of the apples to begin the hollow-out process.
How to Make Cheesecake Stuffed Baked Apples?
Follow these simple step-by-step instructions to hollow out your fruit, mix the silky cream cheese filling, and bake them to perfection.
Prepping the Apple Cups
Preheat your oven to 350°F (175°C). Wash your 6 Gala apples thoroughly, then slice off the top stem portion of each apple using a sharp knife. Use a spoon or melon baller to carefully scoop out the core, seeds, and sweet inside flesh, leaving a sturdy outer shell to hold the filling.
Mixing the Cheesecake Filling
In a medium bowl, cream together 8 ounces of softened cream cheese and ¼ cup of sugar using a mixer until completely smooth and creamy. Add in 1 teaspoon of vanilla, 1 egg, and 1 teaspoon of cinnamon, beating on low speed until fully incorporated and lump-free.
Filling and Baking
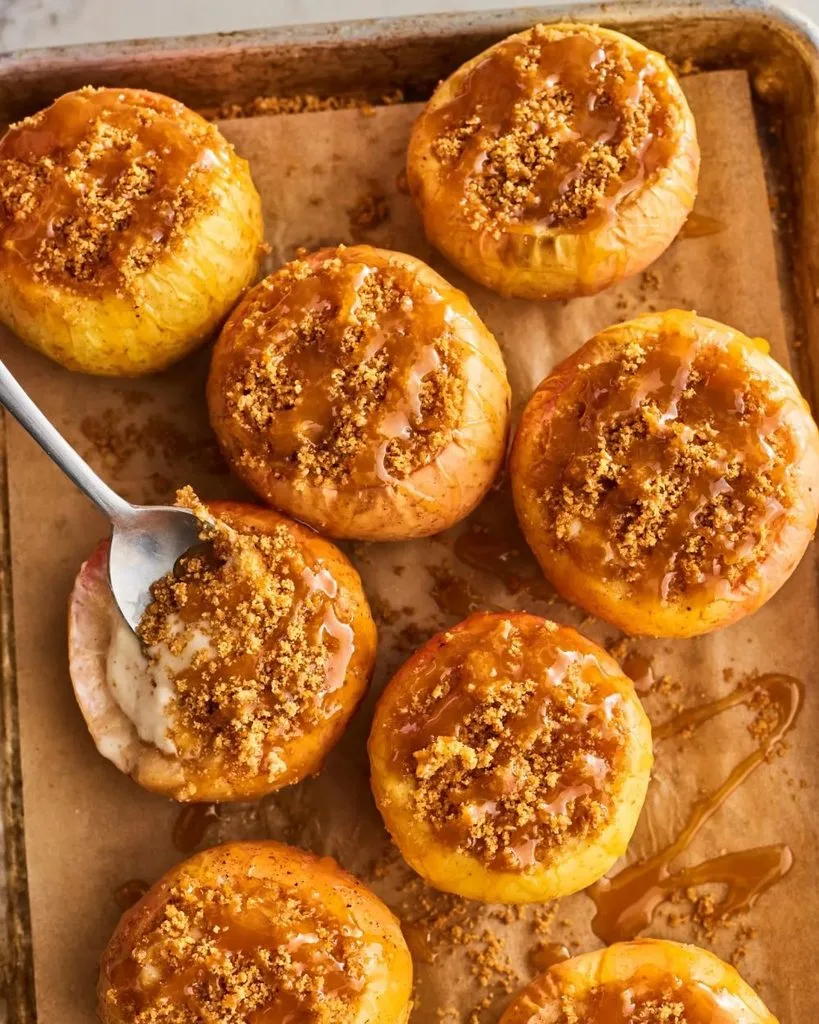
Spoon the cheesecake mixture into each hollowed-out apple, filling them about 2/3 of the way full so the batter doesn’t overflow while baking. Arrange the filled apples upright on a baking sheet, ensuring they do not touch each other, and bake for 20-25 minutes until the cheesecake filling is set.
Cooling and Serving
Carefully transfer the baked apples to a plate and place them in the refrigerator until they are completely cooled down and firm. Serve them either chilled or at room temperature, topping with caramel sauce, graham cracker crumbs, or chopped pecans if desired.
Additional Tips for Making this Recipe Better
Based on my personal experience making this dessert, these simple kitchen tips will help you get the best texture and visual presentation every time.
- I always recommend making sure your cream cheese is completely softened at room temperature before beating, otherwise you will end up with tiny lumps in your filling.
- When I scoop out the apple insides, I leave about a 1/2-inch thick wall all around so the apples stay sturdy and don’t collapse in the hot oven.
- I like to fill the apples only 2/3 full because the egg causes the cheesecake filling to puff up slightly as it bakes.
- For me, letting the baked apples chill completely in the fridge before serving is essential because it sets the cheesecake layer into that classic dense, creamy texture.
How to Serve Cheesecake Stuffed Baked Apples?
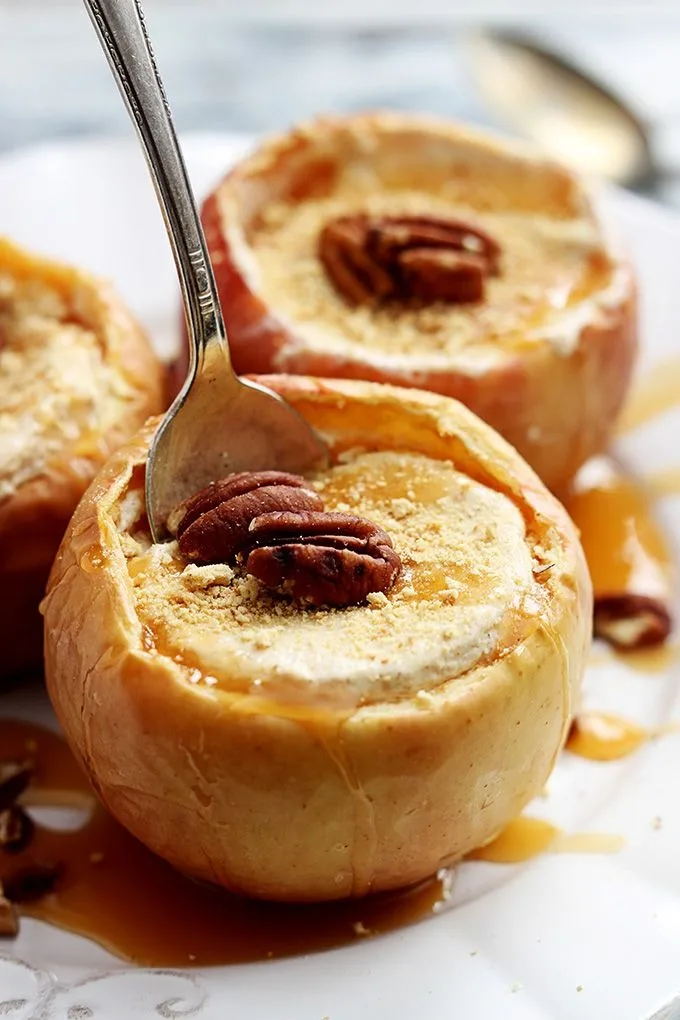
For an extra special dessert presentation, place each chilled stuffed apple on an individual dessert plate. Drizzle warm caramel sauce over the set cheesecake top, allowing it to drip down the outer skin of the baked apple. Sprinkle crushed graham cracker crumbs and toasted chopped pecans across the top for an authentic apple pie and cheesecake hybrid experience!
Nutritional Information
Here is an estimated nutritional breakdown for a single cheesecake-stuffed baked apple:
- Calories: 210 kcal
- Protein: 3 g
- Carbohydrates: 28 g
- Fat: 10 g
Make Ahead and Storage
Keep your stuffed apples fresh and delicious for days or prepare them ahead of time using these straightforward storage guidelines.
Refrigerating
Store the cooled, baked apples in an airtight container in the refrigerator. They will stay fresh, firm, and wonderfully flavorful for up to 3 to 4 days.
Freezing
It is best not to freeze these baked apples, as the cellular structure of the baked fruit and the cream cheese filling will release moisture and become watery upon thawing.
Restoring and Serving
Serve these apples straight from the refrigerator for a cold, refreshing treat, or let them sit on the counter for 15-20 minutes to enjoy them at room temperature before adding your crunchy toppings.
Why You’ll Love This Recipe?
These cheesecake-stuffed apples will quickly become a favorite seasonal treat in your house for so many great reasons.
- Perfect Portion Control: Built-in individual edible apple cups make serving these treats effortless without needing to slice or divide a whole pie.
- Unbeatable Flavor Harmony: Combines the warm spice of baked apples and cinnamon with the rich, tangy sweetness of classic cheesecake filling.
- Simple & Accessible Ingredients: Made using basic pantry and fridge staples like cream cheese, sugar, cinnamon, eggs, and fresh Gala apples.
- Impressive Make-Ahead Dessert: Because these taste best when thoroughly chilled, you can easily bake them the day before hosting a gathering.