Apple Whiskey Bacon Jam Recipe
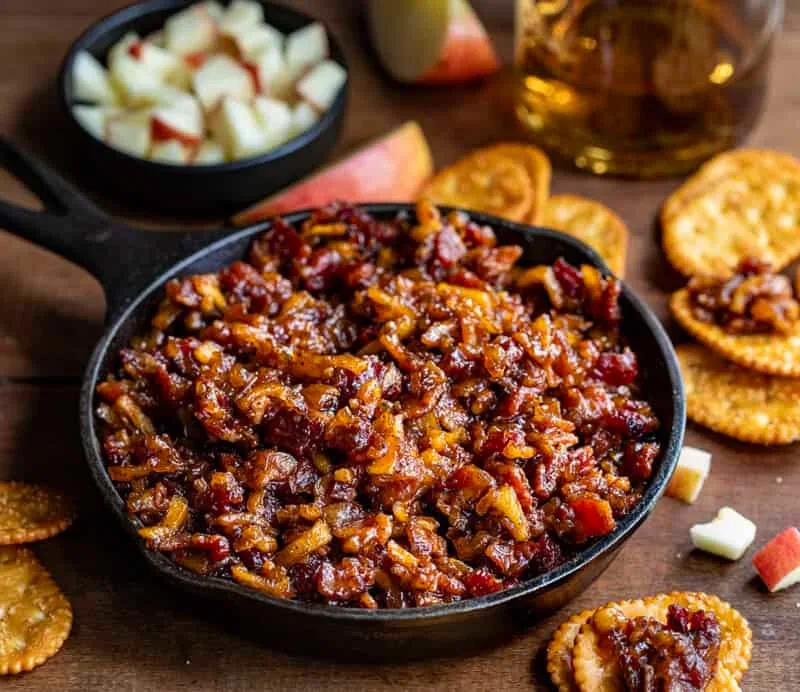
I recently rendered up a batch of Apple Whiskey Bacon Jam in my kitchen, and I was completely blown away by how addicting it tasted. My family practically scraped the jar clean, slathering every sweet, smoky, and savory spoonful over warm biscuits and toasted crostini.
It combines crisp diced Fuji apples, thick-cut crispy bacon, and a splash of warm whiskey into the ultimate gourmet spread. Trust me, once you simmer a pot of this rich, glossy jam on your stove, it will instantly become a permanent favorite in your refrigerator.
Ingredients
Here is everything you will need to pull together this sweet, savory, and smoky bacon spread right on your stovetop.
- 1 pound thick-cut bacon, diced – Thick-cut bacon works best because it retains a hearty texture and doesn’t disappear into the jam as it cooks down.
- 1 large yellow onion, finely diced – Yellow onions caramelize beautifully in the leftover bacon fat to create a sweet, savory foundation.
- 2 small Fuji apples, peeled and diced – Fuji apples hold their shape well while cooking, giving the jam a crisp, fruity bite that balances the rich meat.
- 2 teaspoons garlic, minced – Offers a subtle aromatic kick that rounds out the sweet and smoky ingredients.
- 1/2 cup brown sugar – Light brown sugar melts down to caramelize the onions and create a thick, glossy jam consistency.
- 1/4 cup maple syrup – Adds a rich, natural amber sweetness that complements the smoky bacon.
- 3 tablespoons apple cider vinegar – Introduces a bright tangy acidity that cuts through the heavy bacon fat.
- 1 teaspoon chili powder – Delivers a gentle hint of warm spice that elevates the sweet and savory notes.
- 3 tablespoons whiskey – Choose a whiskey or bourbon you enjoy drinking to infuse the jam with a warm, oaky depth.
Note: Serves 12 to 16 as a spread or condiment (yields about 2 cups).
Variations
Explore these simple tweaks to customize your bacon jam for your specific dietary needs or personal taste preferences.
- Bourbon Swap: Use your favorite oak-aged bourbon instead of standard whiskey to give the jam a sweeter, vanilla-tinged aroma.
- Sugar-Free / Low-Sugar Option: Replace the brown sugar and maple syrup with monk fruit sweetener alternatives or sugar-free maple syrup to lower the overall sugar content.
- Extra Spicy Kick: Add a quarter teaspoon of crushed red pepper flakes or a finely diced jalapeño along with the onions to give the spread a fiery bite.
Cooking Time
Here is a quick breakdown of how long this simple recipe takes from start to finish.
- Prep Time: 15 minutes
- Cooking Time: 35 minutes
- Total Time: 50 minutes
Equipment You Need
Gather these basic kitchen tools to ensure your jam preparation goes as smoothly as possible.
- Medium Saucepan or Heavy Skillet – Provides even heat distribution to crisp the bacon and caramelize the onions without scorching.
- Slotted Spoon – Essential for transferring the crispy cooked bacon out of the hot fat onto a paper towel-lined plate.
- Wooden Spoon – Perfect for stirring the caramelizing onions and scraping up savory browned bits from the pan bottom.
- Paper Towels and Plate – Used to drain excess grease from the cooked bacon pieces before adding them back to the pan.
- Glass Jar or Airtight Container – Keeps your finished bacon jam fresh and sealed tightly in the refrigerator.
How to Make Apple Whiskey Bacon Jam?
Making a batch of this savory-sweet spread is remarkably easy, turning simple bacon and fresh apples into a restaurant-quality condiment. I like to chop my bacon, onions, and apples before turning on the burner so I can manage the caramelization steps seamlessly. The whole process takes under an hour, resulting in a rich, glossy spread that elevates almost any dish it touches.
Crisp the Bacon and Sauté the Aromatics
Place your diced thick-cut bacon in a medium saucepan over medium heat and cook until crispy, stirring occasionally. Use a slotted spoon to transfer the cooked bacon onto a paper towel-lined plate, leaving about 4 tablespoons of rendered bacon grease in the pan. Add the finely diced yellow onion to the hot bacon fat, reduce the heat to medium-low, and cook for 8 to 10 minutes until translucent.
Caramelize the Apples and Combine
Add the peeled, diced Fuji apples to the pan with the onions and continue cooking for 4 to 5 minutes, stirring frequently, until the apples soften and the onions turn golden brown. Stir in the minced garlic, brown sugar, maple syrup, apple cider vinegar, chili powder, and the reserved crispy bacon until everything is well incorporated.
Deglaze with Whiskey and Simmer
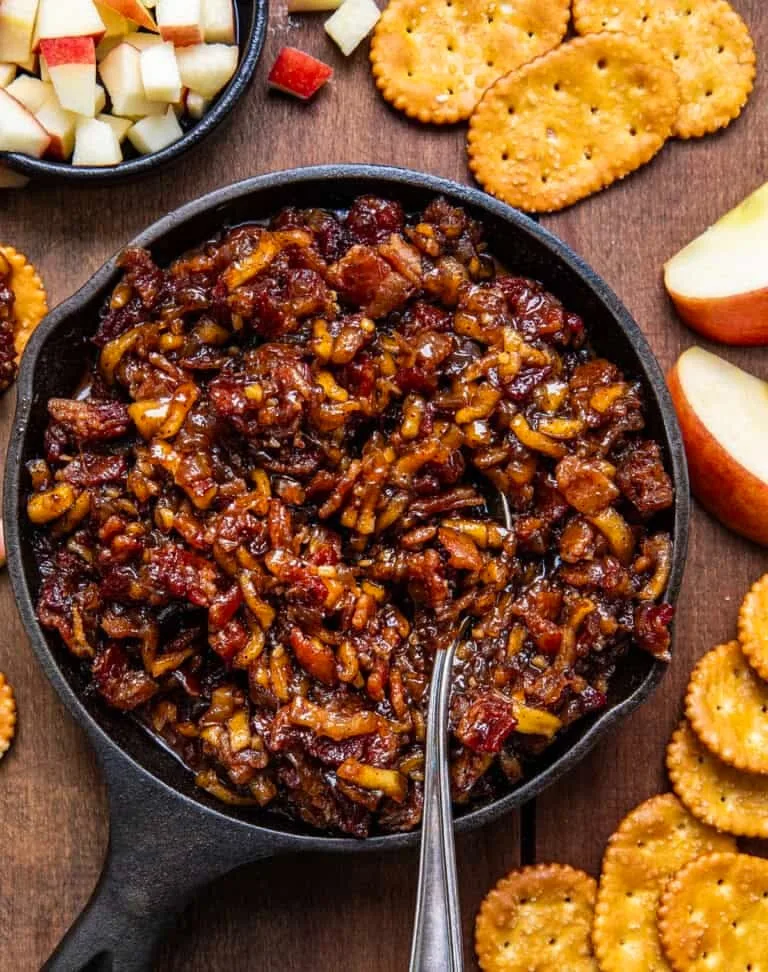
Carefully remove the pan from the direct heat source and pour in the whiskey to deglaze safely. Return the saucepan to medium-low heat and let the mixture simmer uncovered for 10 to 12 minutes, stirring occasionally. The liquid will reduce and thicken into a dark, glossy, jam-like consistency that coats the back of your spoon.
Cooling and Storage
Turn off the heat and let the warm bacon jam rest in the pan for a few minutes to cool down slightly. Transfer the jam into a clean glass jar or airtight container and let it cool completely to room temperature before sealing. Serve warm or at room temperature alongside your favorite appetizers or meats.
Additional Tips for Making this Recipe Better
These are my go-to personal tricks after making this recipe that ensure every single jar turns out perfectly.
- I always recommend taking the pan completely off the burner before adding the whiskey so you avoid flare-ups from the alcohol over the open flame.
- When I make this for my family, I leave a little bit of texture in the apples because those tiny, sweet fruit chunks contrast so nicely against the crispy bacon.
- I like to warm the jam in the microwave for 10 to 15 seconds after taking it out of the fridge, as warming it up softens the bacon fats and brings out the full whiskey flavor.
- My trick for serving is brushing a spoonful of this jam onto grilled pork chops or chicken breasts during the final two minutes of cooking for an incredible glaze.
How to Serve Apple Whiskey Bacon Jam?
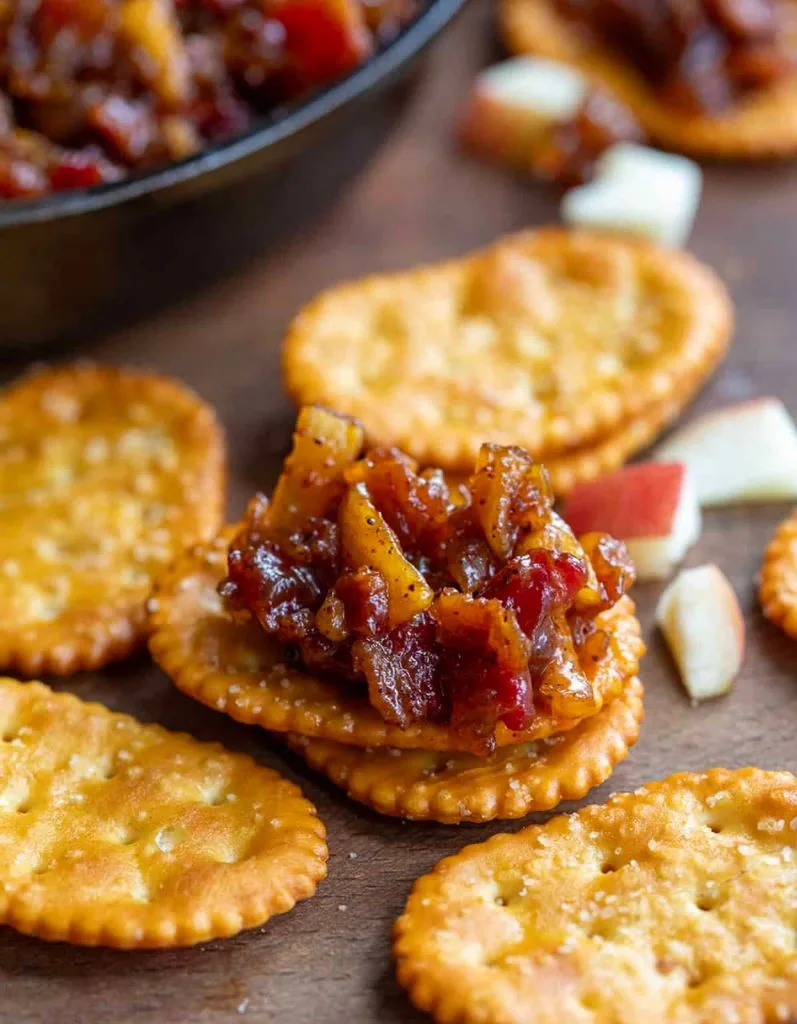
Elevate your entertaining spread by serving this glossy bacon jam warm in a small ceramic crock surrounded by buttery crackers, toasted crostini, and a wedge of sharp cheddar or creamy Brie. You can also slather a generous spoonful over homemade cheeseburgers, grilled cheese sandwiches, or turkey wraps for an instant flavor upgrade. Pairing it with a charcuterie board alongside roasted nuts and fresh apple slices makes for a visually appealing party spread.
Nutritional Information
Here is an estimated breakdown of the key nutritional values per serving (about 2 tablespoons):
- Calories: 110 kcal
- Protein: 3g
- Carbohydrates: 12g
- Fat: 6g
Make Ahead and Storage
Follow these practical storage guidelines to preserve the rich flavor and texture of your homemade jam.
Storage Guidelines
Allow the cooked jam to cool completely to room temperature before sealing it tightly in glass jars or airtight containers. Store it in the refrigerator, where it will stay wonderfully fresh and delicious for up to 1 to 2 weeks.
Freezing
Because bacon jam contains rendered fats, freeze it in small freezer-safe jars or silicone ice cube trays for easy portion control. It can be frozen for up to 3 months; simply thaw it overnight in the refrigerator before warming and serving.
Reheating
Reheat the desired amount of jam gently in a small saucepan over low heat or in the microwave for 10 to 15 seconds, stirring well. If the jam appears too thick after chilling in the fridge, simply stir in a splash of warm water or extra maple syrup to restore its glossy texture.
Why You’ll Love This Recipe?
Before you jump into the kitchen, here are a few compelling reasons why this sweet-and-savory spread belongs in your fridge:
- Unbeatable Flavor Profile: You get the ultimate sweet-and-savory contrast of smoky bacon, caramelized onions, sweet Fuji apples, and oaky whiskey in every bite.
- Incredibly Versatile Condiment: It works effortlessly as a sandwich spread, a glaze for roasted meats, a burger topping, or a star addition to charcuterie boards.
- Easy One-Pan Recipe: It comes together in a single pot in under 50 minutes, requiring simple stovetop techniques and minimal cleanup.
- Great for Gifting: You can easily double the batch and spoon it into cute mason jars to give as thoughtful homemade gourmet gifts to friends and family.