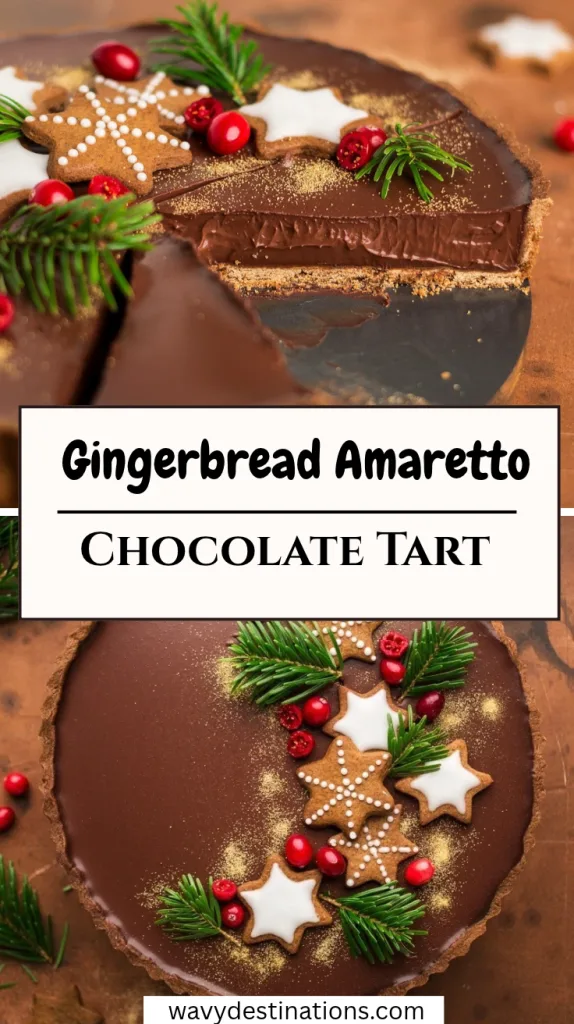
Russian Honey Cake Recipe
I made this magnificent Russian Honey Cake for a special family dinner, and my guests were completely blown away by its rich, caramel-like flavor. The delicate, paper-thin honey cake layers absorb the tangy sour cream frosting so beautifully that every forkful literally melts on your tongue. I was honestly amazed at how making my own burnt honey transformed simple ingredients into such an extraordinarily deep, complex dessert.
Even though baking eight individual layers took a bit of patience, watching it all come together coated in crisp honey crumbs was beyond rewarding. Trust me, after taking one bite of this decadent showstopper, you will be looking for every possible excuse to bake it again!
Ingredients
Using high-quality wildflower honey and real cream gives this traditional multi-layered cake its iconic caramel-infused depth and velvety texture.
- 3/4 cup wildflower honey – boiled down to create a deeply aromatic burnt honey base for both the cake and frosting.
- 3 tablespoons cold water – whisked into the hot caramelized honey to stop the cooking process smoothly.
- 1 cup white sugar – sweetens the cake dough and helps give the layers their golden structure.
- 14 tablespoons unsalted butter, cut into slices – melts into the honey mixture to create a silky, rich cake batter.
- 3/4 cup wildflower honey – adds rich natural moisture and distinct honey warmth to the cake dough.
- 2 1/2 teaspoons baking soda – reacts with the heated honey to lighten the dough and create delicate, airy layers.
- 1 teaspoon ground cinnamon – brings a gentle warm spice note that compliments the dark caramel tones.
- 3/4 teaspoon fine salt – cuts through the sweetness and balances the rich dairy in the frosting.
- 6 large cold eggs – whisked into the warm honey mixture to build structure and richness in the batter.
- 3 3/4 cups all-purpose flour – sifted gradually into the wet ingredients to form a smooth, spreadable cake dough.
- 4 cups cold heavy whipping cream – whipped to stable peaks to form the fluffy base of the filling.
- 3/4 cup sour cream – brings a essential tangy contrast that balances the sweet, rich honey layers.
Note: yields 1 full 8-layer cake, serving approximately 12 generous slices.
Variations
Explore these simple recipe tweaks to suit your personal taste preferences or dietary needs without losing that classic honey magic.
- Dairy-Free Alternative: Swap the butter for a quality plant-based block, use full-fat canned coconut cream in place of heavy cream, and choose a vegan dairy-free sour cream alternative.
- Spiced Nut Crunch: Mix 1/2 cup of finely ground toasted walnuts or pecans into the cake scrap crumbs before coating the finished frosted cake.
- Citrus-Infused Cream: Fold 1 teaspoon of freshly grated orange or lemon zest into the sour cream frosting to add a bright, refreshing contrast to the caramel notes.
Cooking Time
Keep track of your total prep, baking, and assembly times with this clear broken-down schedule.
- Prep Time: 45 minutes
- Cooking Time: 1 hour 15 minutes
- Total Time: 2 hours (plus 8 hours or overnight chilling time)
Equipment You Need
Having these essential tools laid out makes rolling, baking, and frosting your eight cake layers completely seamless.
- Deep Saucepan – used to safely boil and caramelize the wildflower honey into a dark burnt syrup.
- Large Metal Bowl – sits over low stovetop heat to gently melt the butter, sugar, and honey together evenly.
- Silicone Baking Mat – lines your sheet pans so you can spread and peel off paper-thin cake layers effortlessly.
- Offset Spatula – allows you to spread the thick batter into thin, smooth circles before baking each layer.
- Pizza Wheel – trims the baked warm cake edges cleanly into uniform rounds while saving scraps for crumbs.
- Rolling Pin – crushes the toasted crispy cake scraps inside a sealed bag into fine crumbs for coating.
How to Make Russian Honey Cake?
Step by step instruction to make russian honey cake:
Making the Burnt Honey and Batter Base
To begin, pour 3/4 cup of wildflower honey into a deep saucepan over medium heat and boil for about 10 minutes until it turns a shade darker with a deep caramel aroma, then turn off heat and whisk in the cold water. Place a large metal bowl over the lowest heat setting on your stove, adding the sugar, sliced butter, 3/4 cup of unburnt wildflower honey, and 1/4 cup of the burnt honey (reserving the rest for frosting), letting it sit for 5 to 7 minutes until melted.
Mixing Dough and Baking Layers
Whisk the cinnamon, salt, and baking soda together in a small bowl. Once the butter-honey mixture is very warm to the touch, whisk in the cold eggs, return to low heat until warmed again, then whisk in the baking soda mixture until lightened, and finally sift in the flour in 3 additions to form a smooth batter. Preheat oven to 375°F (190°C), line a baking sheet with a silicone mat, spread 1/2 cup batter into an 8-inch circle with an offset spatula, and bake for 6 to 7 minutes per layer until lightly browned, repeating to create 8 separate layers cooled on parchment.
Toasting Scraps and Preparing Cream
Trim the baked cake rounds cleanly with a pizza wheel so they are uniform, then bake the trimmed scraps along with any extra batter for 7 to 10 minutes more until dry and golden brown. Once the scraps cool completely, crush them inside a resealable bag using a rolling pin into fine crumbs. In a chilled metal bowl, whisk the cold heavy whipping cream to soft peaks, then gently fold in the sour cream and reserved burnt honey until stiff peaks form.
Assembling and Chilling the Cake
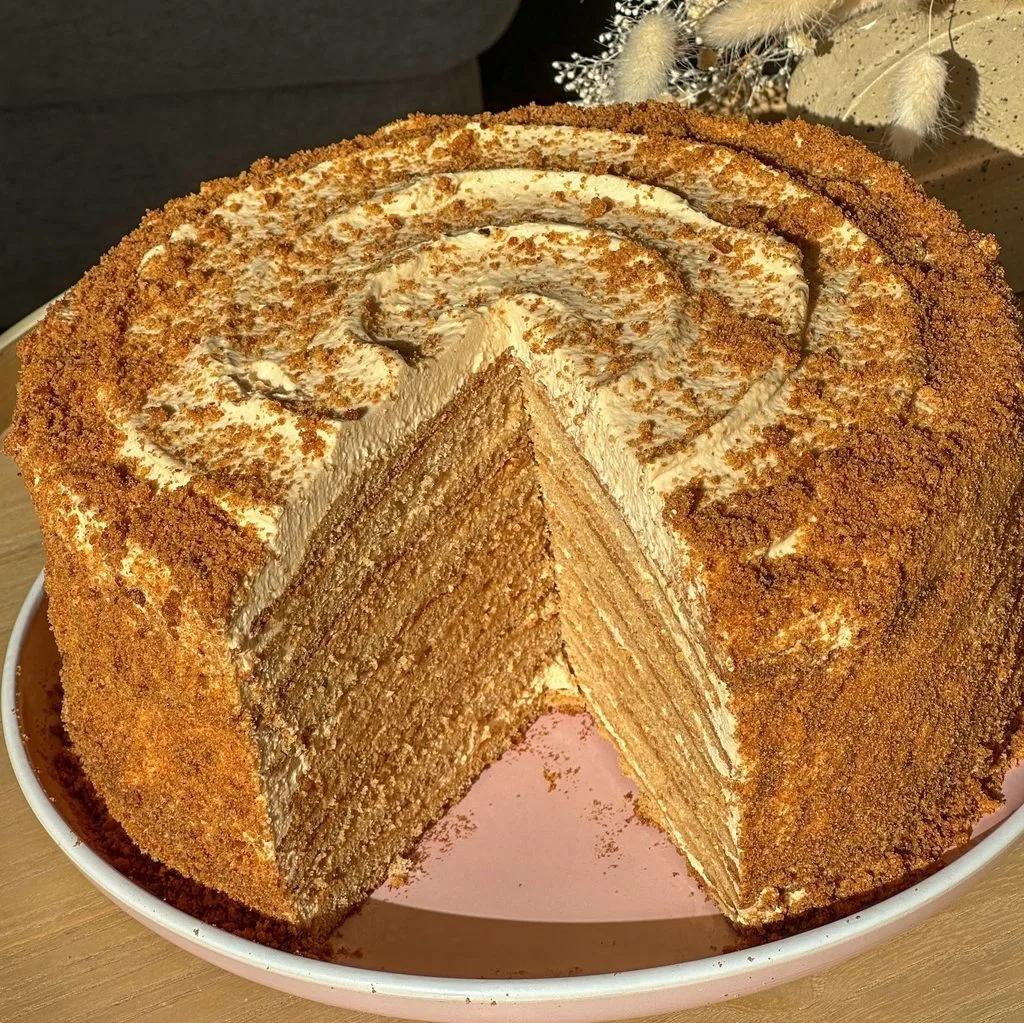
Place your first cake layer on a serving plate, spread 1 cup of the sour cream frosting evenly over top, and repeat with all 8 layers, pressing each gently smooth-side down except the final layer which goes smooth-side up. Frost the top and sides of the entire cake with remaining cream, press the reserved fine cake crumbs all over the top and sides, then cover loosely with plastic wrap and refrigerate for at least 8 hours or overnight until the layers soften into a melt-in-your-mouth texture.
Additional Tips for Making this Recipe Better
Here are my favorite personal insights gained while baking this spectacular cake to guarantee your layers and frosting turn out perfect.
- I always make sure to chill my metal bowl and whisk attachment in the freezer for 15 minutes before whipping the heavy cream so the frosting holds stiff peaks effortlessly.
- I find that peeling the silicone mat away from the warm baked cake layers right after taking them out of the oven prevents them from sticking or tearing.
- For me, letting the cake sit in the fridge overnight for a full 12 to 24 hours is non-negotiable because the cream completely softens the baked layers into a delicate sponge.
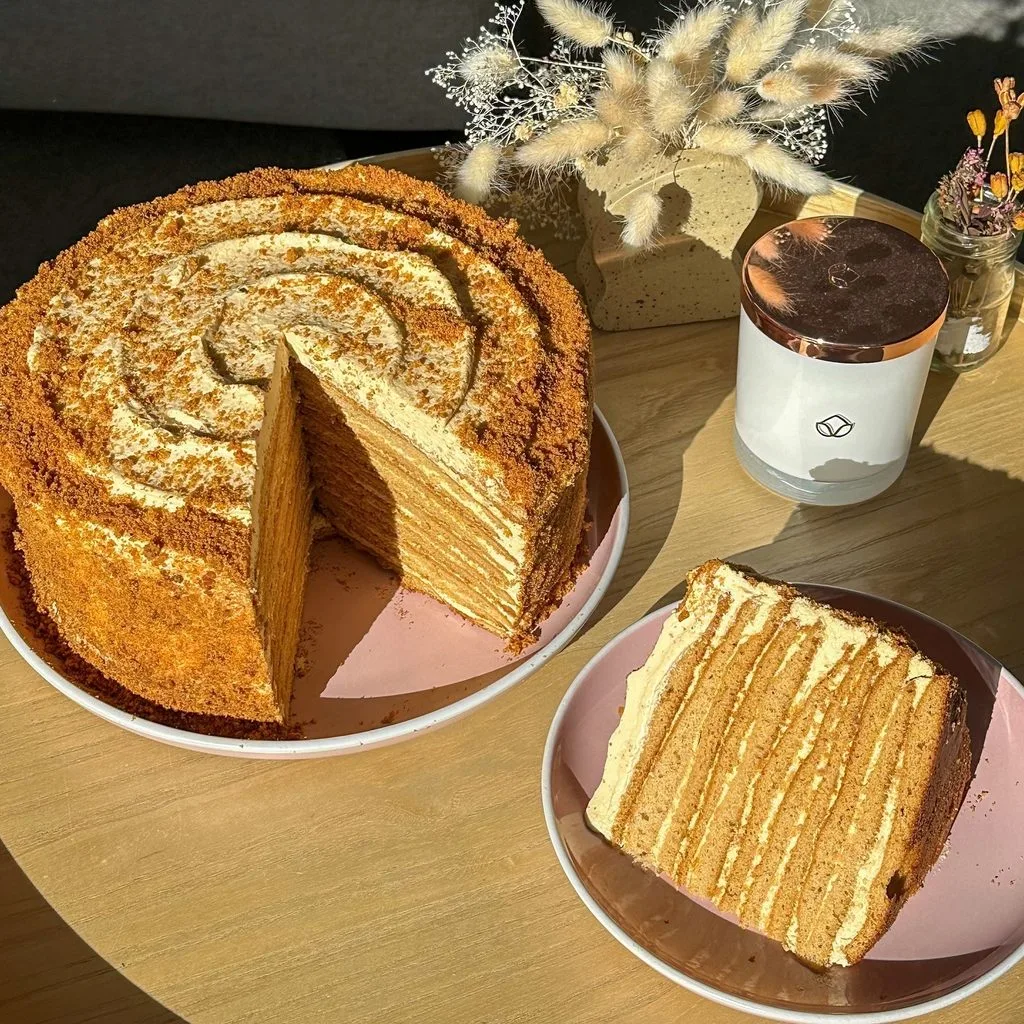
- I like to use a serrated knife dipped in warm water and wiped dry to cut clean, gorgeous slice lines through the multi-layered cake.
How to Serve Russian Honey Cake?
Make your presentation unforgettable with these simple plating techniques and elegant garnishes.
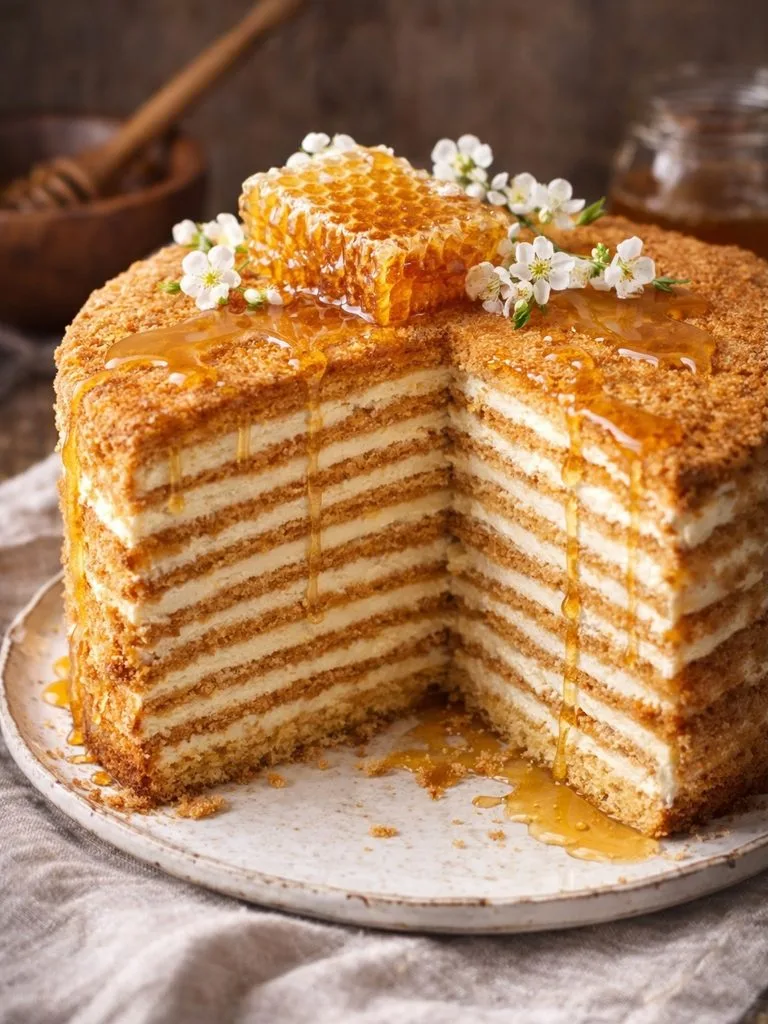
Slice the chilled cake with a warm, sharp knife to reveal the gorgeous, contrasting horizontal honey and cream layers. Transfer individual slices to dessert plates, drizzling a light ribbon of fresh wildflower honey around the base and topping with a small sprig of fresh mint or a edible flower for a classic European café look.
Nutritional Information
Here is a quick breakdown of key estimated nutritional values per serving (based on 12 slices):
- Calories: 560 kcal
- Protein: 7 g
- Carbohydrates: 68 g
- Fat: 30 g
Make Ahead and Storage
Follow these helpful guidelines to store and enjoy your multi-layered honey cake while maintaining its irresistible texture.
Room Temperature Storage
Due to the perishable heavy cream and sour cream frosting, this cake should never be left sitting out at room temperature for more than 1 to 2 hours.
Refrigerator Guidelines
Keep the assembled cake covered tightly in the refrigerator for up to 5 days. The flavor and texture actually continue to improve over the first 2 days as the honey layers absorb moisture from the cream.
Freezing Instructions
You can freeze individual sliced portions wrapped tightly in plastic wrap and aluminum foil for up to 2 months. Thaw frozen slices overnight in the refrigerator before serving to ensure the cream layers retain their silky stability.
Why You’ll Love This Recipe?
This famous showstopper dessert brings authentic bakery sophistication right into your home kitchen.
Here is why this iconic honey cake will instantly become your favorite holiday baking project:
- Unmatched Melt-in-Your-Mouth Texture – The thin baked honey layers absorb the sour cream frosting as it chills, creating a tender, cake-like structure throughout.
- Deep Caramel-Honey Complexity – Cooking down wildflower honey into burnt caramel adds a rich, sophisticated flavor depth you cannot get from regular sugar.
- Perfect Balance of Sweet and Tangy – The inclusion of sour cream in the whipped filling cuts through the rich honey sweetness effortlessly.
- Impressive Showstopper Presentation – Slicing through the 8 distinct honey layers creates a stunning visual that will amaze your family and dinner guests.