
Salted Espresso Brownie Cookies Recipe
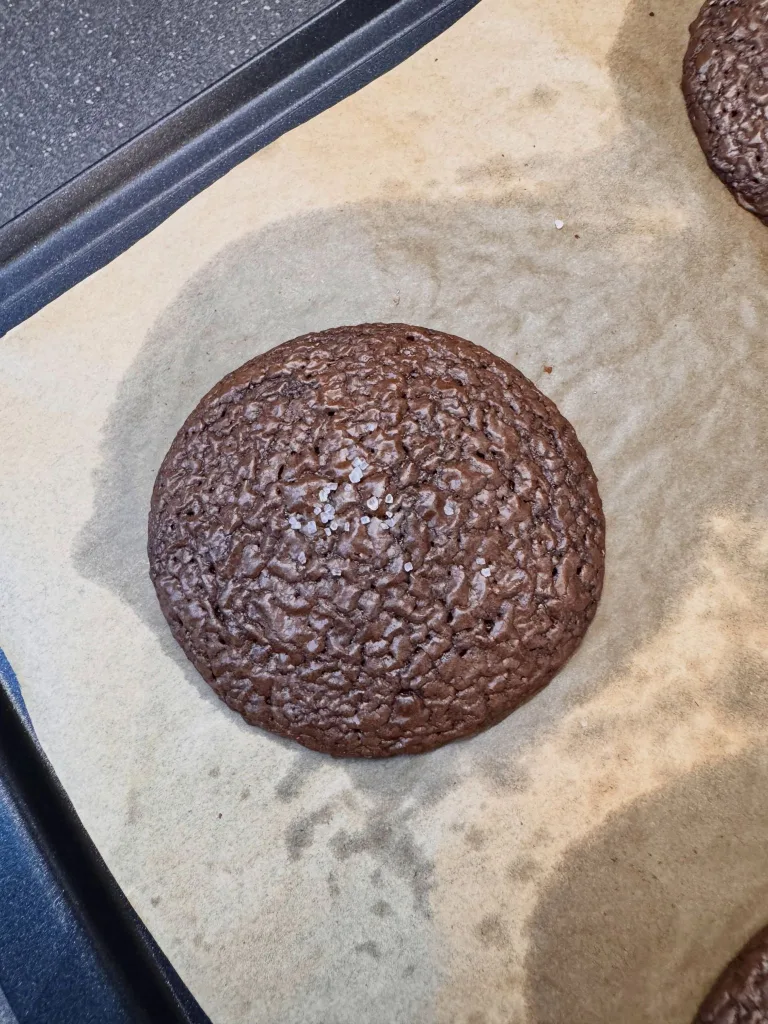
I just pulled a batch of these Salted Espresso Brownie Cookies out of the oven, and my kitchen smells like a chocolate lover’s dream. The moment I took my first bite, I knew this recipe was a winner. The center is perfectly gooey and soft, just like a great brownie, but the edges have that satisfying chewiness you expect from a cookie.
That rich chocolate flavor, deepened by the espresso and balanced with a little sprinkle of sea salt on top, is pure decadence. I’m already planning my next batch because I know these won’t last long.

Ingredients
Here are the ingredients you will need to create these decadent cookies. Using high-quality components will make a noticeable difference in the final taste and texture.
- 3/4 cup all-purpose flour: Provides the main structure for the cookies.
- 3 TBL unsweetened cocoa powder: Adds a deep, foundational chocolate flavor.
- 1 tsp baking powder: Helps the cookies rise slightly, giving them a soft texture.
- 1/4 tsp kosher salt: Balances the sweetness and enhances the chocolate notes within the batter.
- 2 large eggs, room temperature: Room temperature eggs mix more evenly into the batter, creating a smoother texture.
- 1/2 cup unsalted butter: Adds richness and moisture.
- 7 ounces semi-sweet or dark chocolate (chips or chopped bars, >60% cocoa): This is the star ingredient; using a quality chocolate like Ghirardelli or Valrhona will give you those delicious pools of melted chocolate.
- 1/2 cup granulated sugar: Provides sweetness and contributes to the classic crackly top.
- 1/2 cup light brown sugar, firmly packed: Adds moisture and a slight caramel flavor, resulting in a chewier cookie.
- 1 tsp vanilla extract: Enhances all the other flavors, especially the chocolate.
- 1/2 tsp espresso powder: This is the secret ingredient that intensifies the chocolate flavor without making the cookies taste like coffee.
- Pinch of Sea Salt: Use a finishing salt, like Maldon, to sprinkle on top for a delightful crunch and flavor contrast.
Note: This recipe yields approximately 24 cookies.
Variations
While these cookies are amazing as is, they’re also a great canvas for a few delicious tweaks.
- Nut Butter Stuffed: For a nutty surprise, freeze small dollops of peanut butter, almond butter, or cookie butter. Wrap the cookie dough around the frozen dollops before baking.
- Extra Chocolate: For an even more decadent treat, fold in an extra half-cup of chocolate chunks or chips into the batter before scooping.
- Mint Chocolate: Add 1/2 teaspoon of peppermint extract to the batter for a classic holiday flavor pairing.
- Spicy Chocolate: Mix in a pinch of cayenne pepper with the dry ingredients to add a subtle, warming kick that complements the chocolate and espresso.
Cooking Time
- Prep Time: 15 minutes
- Cook Time: 10 minutes
- Total Time: 25 minutes
Equipment you need
- Baking Sheets: You’ll need two, lined with parchment paper, to prevent the cookies from sticking.
- Medium Bowls: One for mixing dry ingredients and a heat-proof one for melting butter and chocolate.
- Whisk and Spatula: For combining the wet ingredients and gently folding in the dry ingredients.
- Cookie Scoop: Helps create uniformly sized cookies, ensuring they all bake evenly.
- Microwave or Small Saucepan: For melting the butter and chocolate smoothly.
How to Make Salted Espresso Brownie Cookies?
Creating these cookies is a straightforward process that feels like a classic baking project. You’ll start by preparing your ingredients, melting chocolate and butter to create a rich base, and then gently combining everything to form a sticky, luscious batter. The magic happens in the oven, where they transform into fudgy cookies with a beautifully crackled top.
Step 1: Combine Ingredients
First, preheat your oven to 350°F and line two baking sheets with parchment paper. In a medium bowl, whisk together the all-purpose flour, cocoa powder, baking powder, kosher salt, and espresso powder. In a separate, medium heat-proof bowl, combine the unsalted butter and both sugars. Microwave this for about 30 seconds, just until the butter is melted, and then whisk it all together. Next, melt your 7 ounces of chocolate in the microwave in 10-second intervals or in a saucepan over low heat, stirring until smooth. Let it cool for about 5 minutes.
Step 2: Mix the Batter
Add the room-temperature eggs and vanilla extract to the butter and sugar mixture, whisking until everything is well combined. Now, pour in the slightly cooled, melted chocolate. Use a spatula to gently fold the chocolate into the wet ingredients until it is fully incorporated. Finally, add the dry ingredient mixture to the wet mixture. Fold with your spatula only until the flour is no longer visible. Be careful not to overmix the batter at this stage.
Step 3: Bake the Cookies
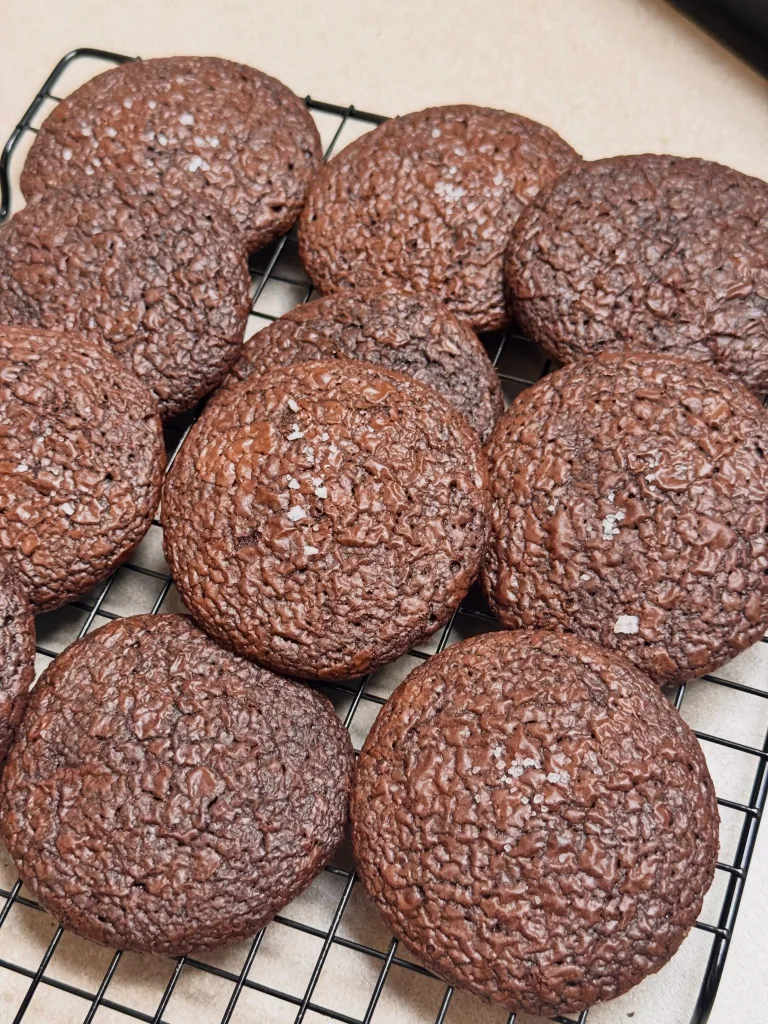
Using a cookie scoop, place 6 to 8 rounds of dough onto your prepared baking sheets, leaving about 2 inches between each one to allow for spreading. The batter will be sticky, which is normal. Place the baking sheets in the preheated oven and bake for 10-12 minutes. The cookies will look slightly underdone in the center when you take them out, which is perfect. Let them cool on the baking sheet for a few minutes before transferring them to a wire rack to cool completely.
Additional Tips for Making this Recipe Better
After making these a few times, I’ve gathered some tips that really help perfect the outcome.
- I highly recommend using a cookie scoop. The batter is quite sticky, and a scoop makes it much easier to portion evenly without making a mess.
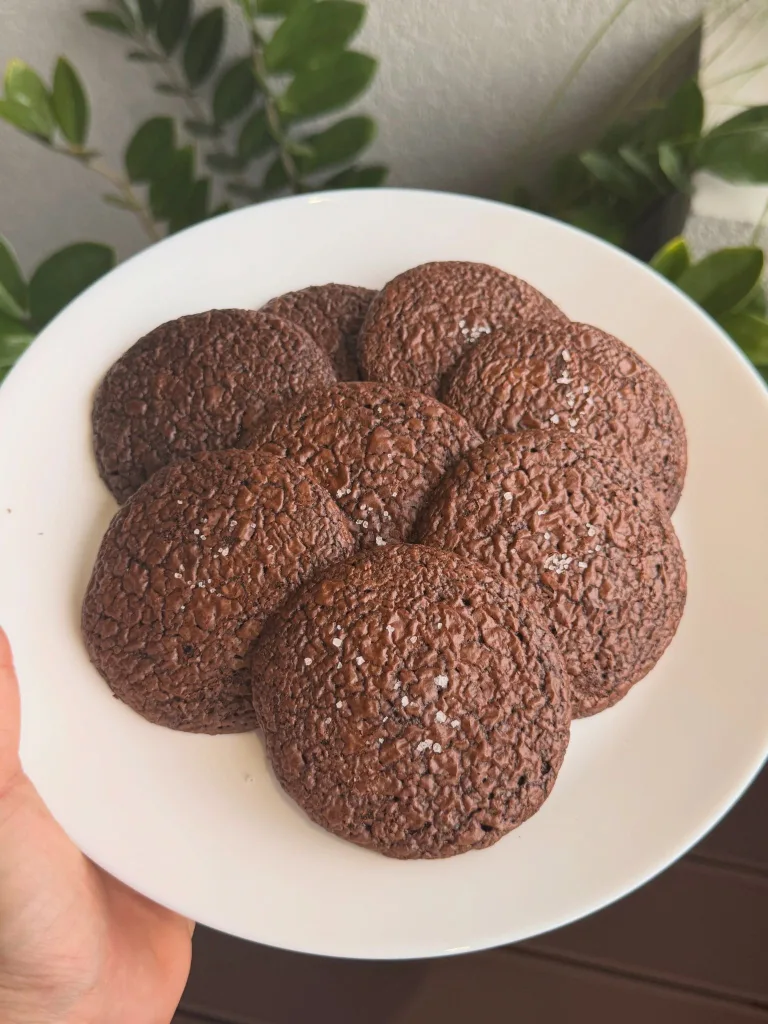
- For those picture-perfect, flaky salt tops, I sprinkle the sea salt on the cookies the moment they come out of the oven. The heat helps the salt adhere perfectly.
- I’ve found that chopping up a high-quality chocolate bar instead of using chips creates those irresistible, gooey puddles of chocolate throughout the cookie.
- Don’t skip the step of letting the melted chocolate cool slightly. If it’s too hot when you add it to the eggs, it can scramble them, and I learned that the hard way.
How to Serve Salted Espresso Brownie Cookies?
These cookies are a treat all on their own, served warm with a glass of cold milk. For a more decadent dessert, create a cookie sandwich by placing a scoop of vanilla bean or coffee ice cream between two cookies. You can also elevate their presentation by drizzling them with melted white chocolate or a rich salted caramel sauce. When serving to guests, arrange them on a platter and garnish with a few extra flakes of sea salt to highlight that special finishing touch.
Nutritional Information
Here is a general nutritional estimate for these cookies, though exact values can vary.
- Calories: Approximately 150-180 per cookie
- Protein: 2g
- Carbohydrates: 20g
- Fat: 8g
Make Ahead and Storage
These cookies are great for making ahead or storing for later enjoyment.
You can prepare the cookie dough and refrigerate it for up to 24 hours before baking. If the dough is cold, you may need to add a couple of minutes to the baking time.
Store the baked cookies in an airtight container at room temperature. They will stay fresh and delicious for up to one week. You can also freeze the baked cookies for up to three months. Simply thaw them at room temperature when you are ready to enjoy them.
Why You’ll Love This Recipe?
There are so many reasons to adore these unique and delicious cookies.
- The Best of Both Worlds: This recipe combines the rich, fudgy texture of a brownie with the convenient, chewy form of a cookie, giving you a truly unique dessert experience.
- Intense Chocolate Flavor: The combination of cocoa powder, melted chocolate, and espresso powder creates a deep, complex chocolate taste that is sophisticated and satisfying.
- Perfectly Balanced: The sprinkle of sea salt on top cuts through the richness and sweetness, creating a perfectly balanced cookie that you won’t be able to put down.
- Quick and Easy: With no dough chilling required, you can go from craving to cookie in under 30 minutes, making this a perfect recipe for last-minute dessert needs.